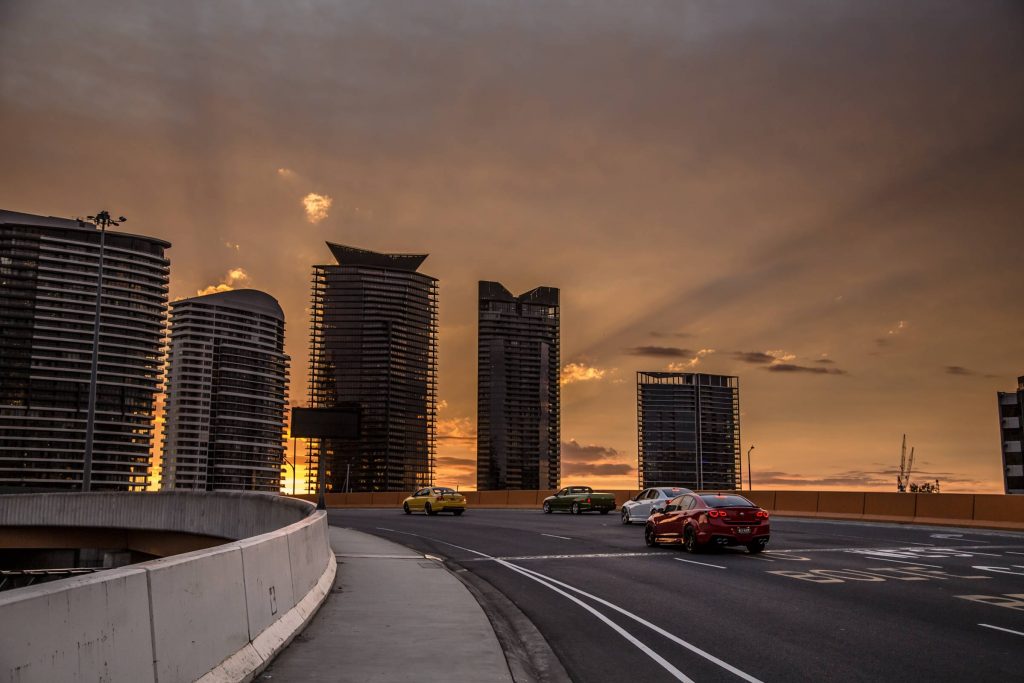
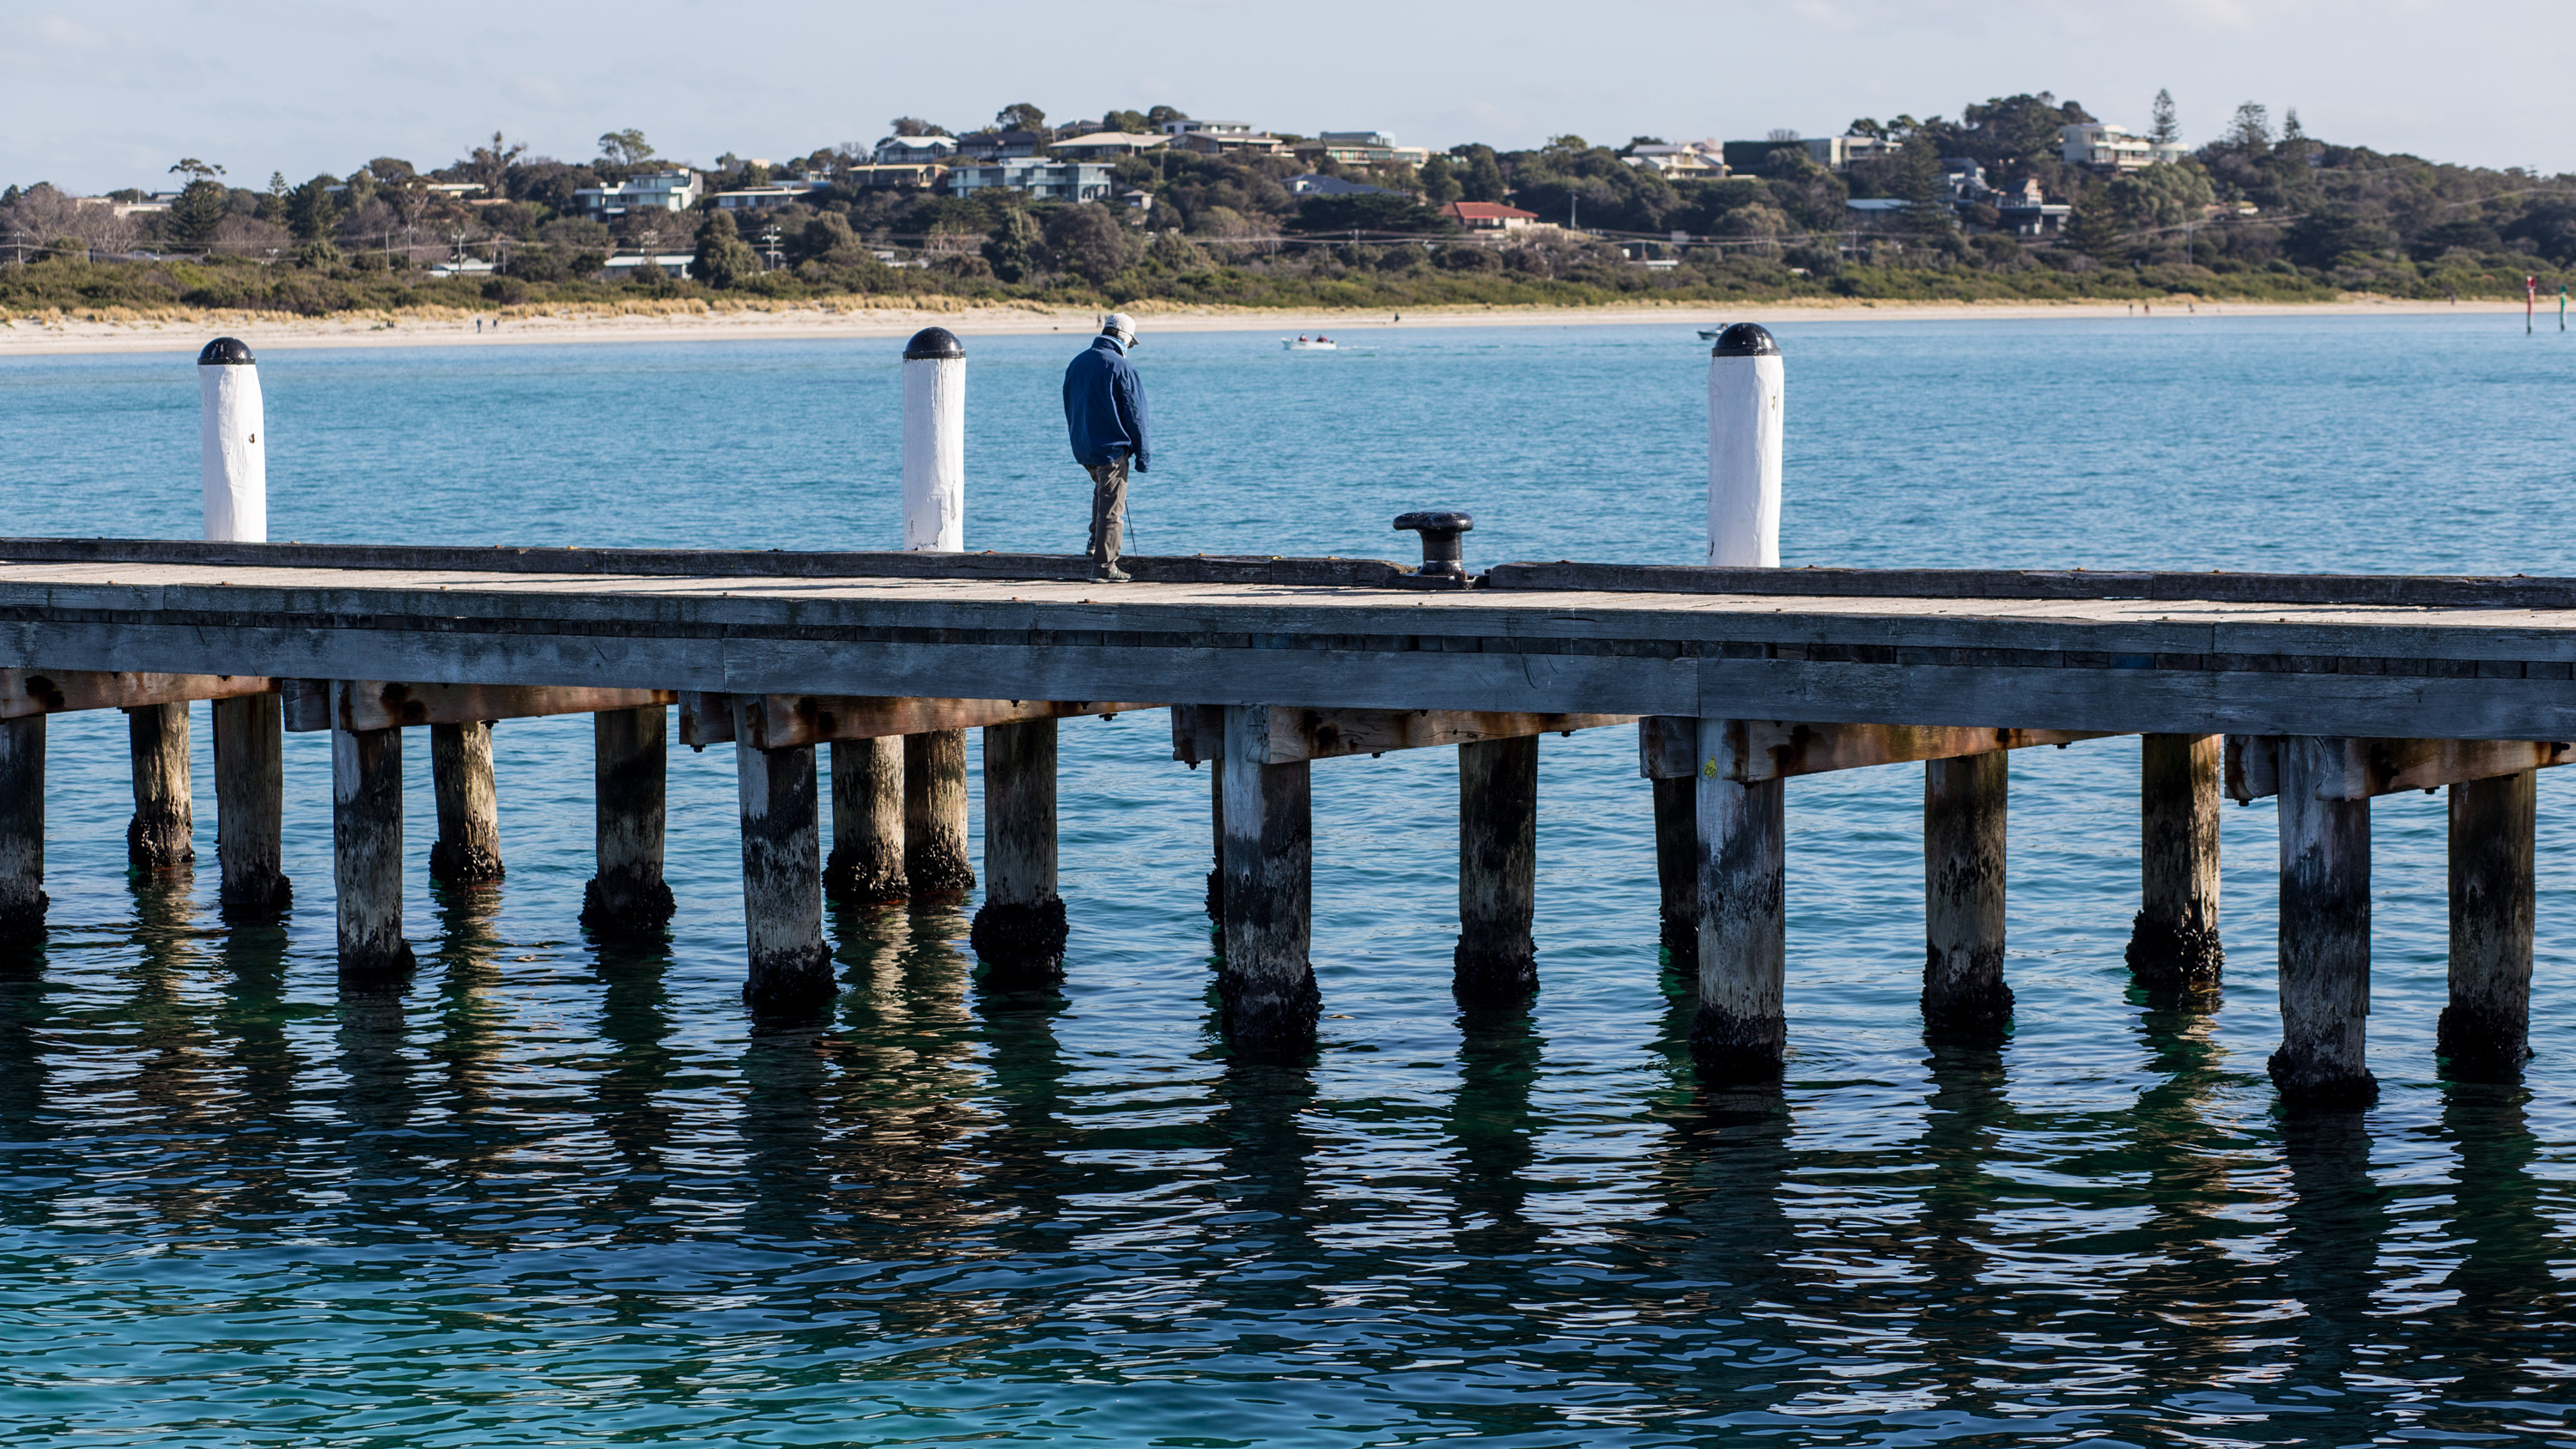
What a Wander in Mornington Peninsula!
Over a jam packed long weekend of Friday through to Monday, we had a great time in the Mornington Peninsula. Only 90 minutes from the city where we live, it’s wonderful to have so much to do that’s so close. Continue Reading..
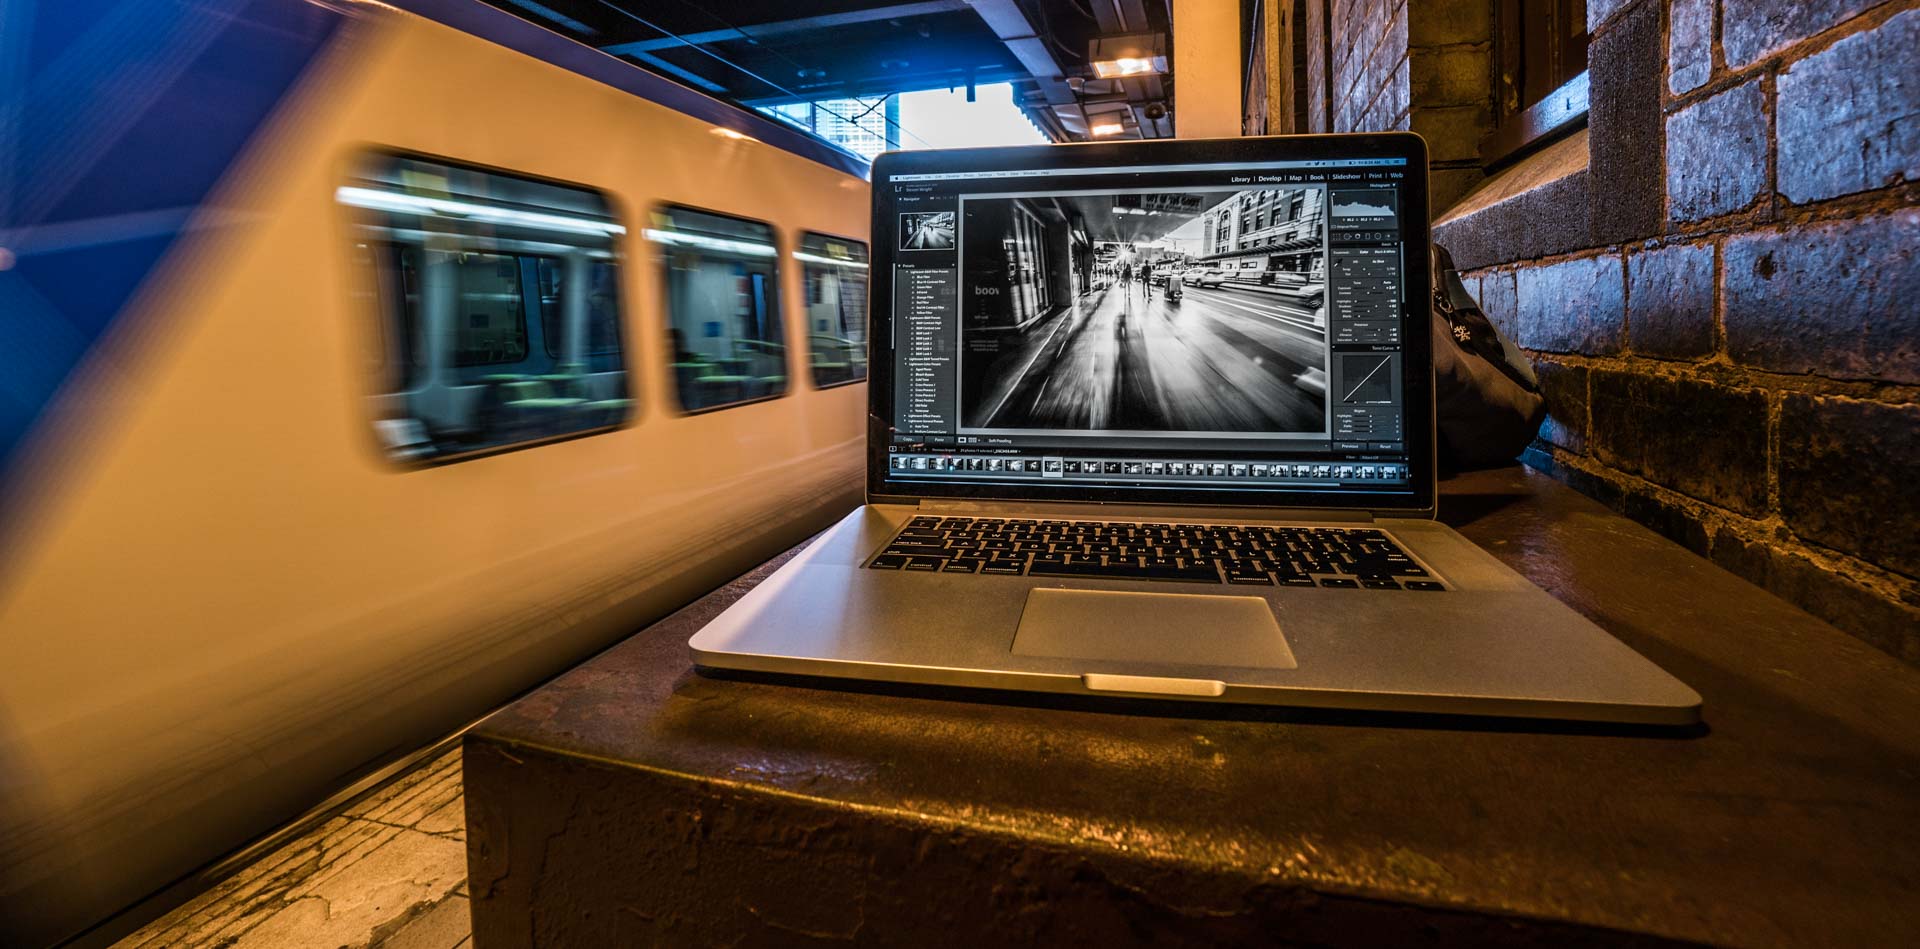
Free Melbourne photo download and a thought about the future
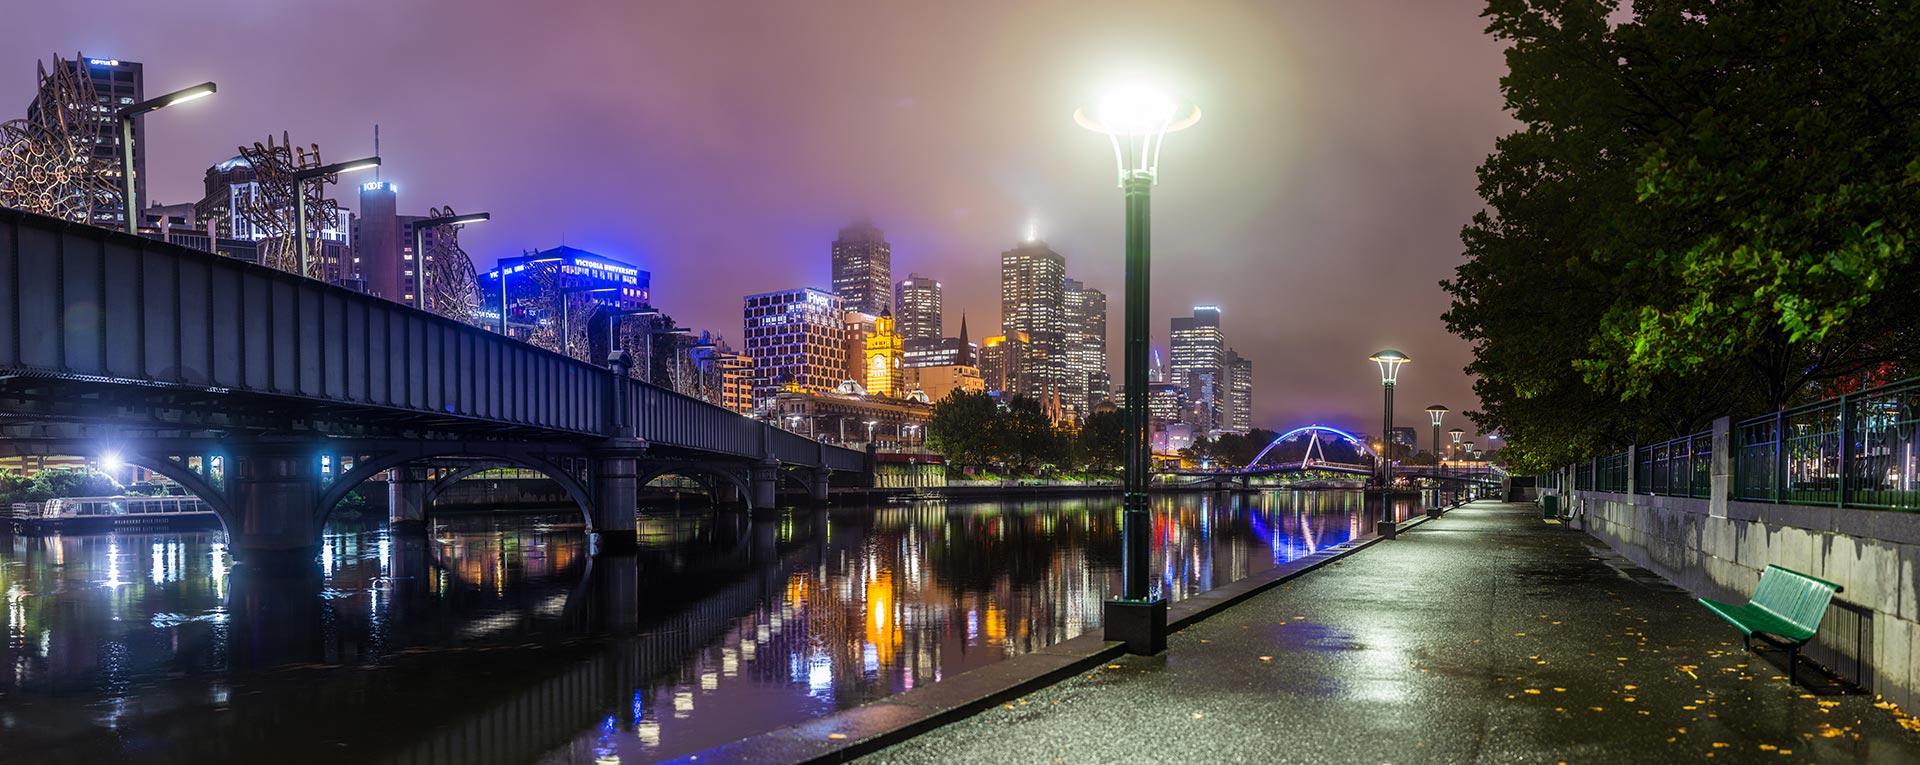
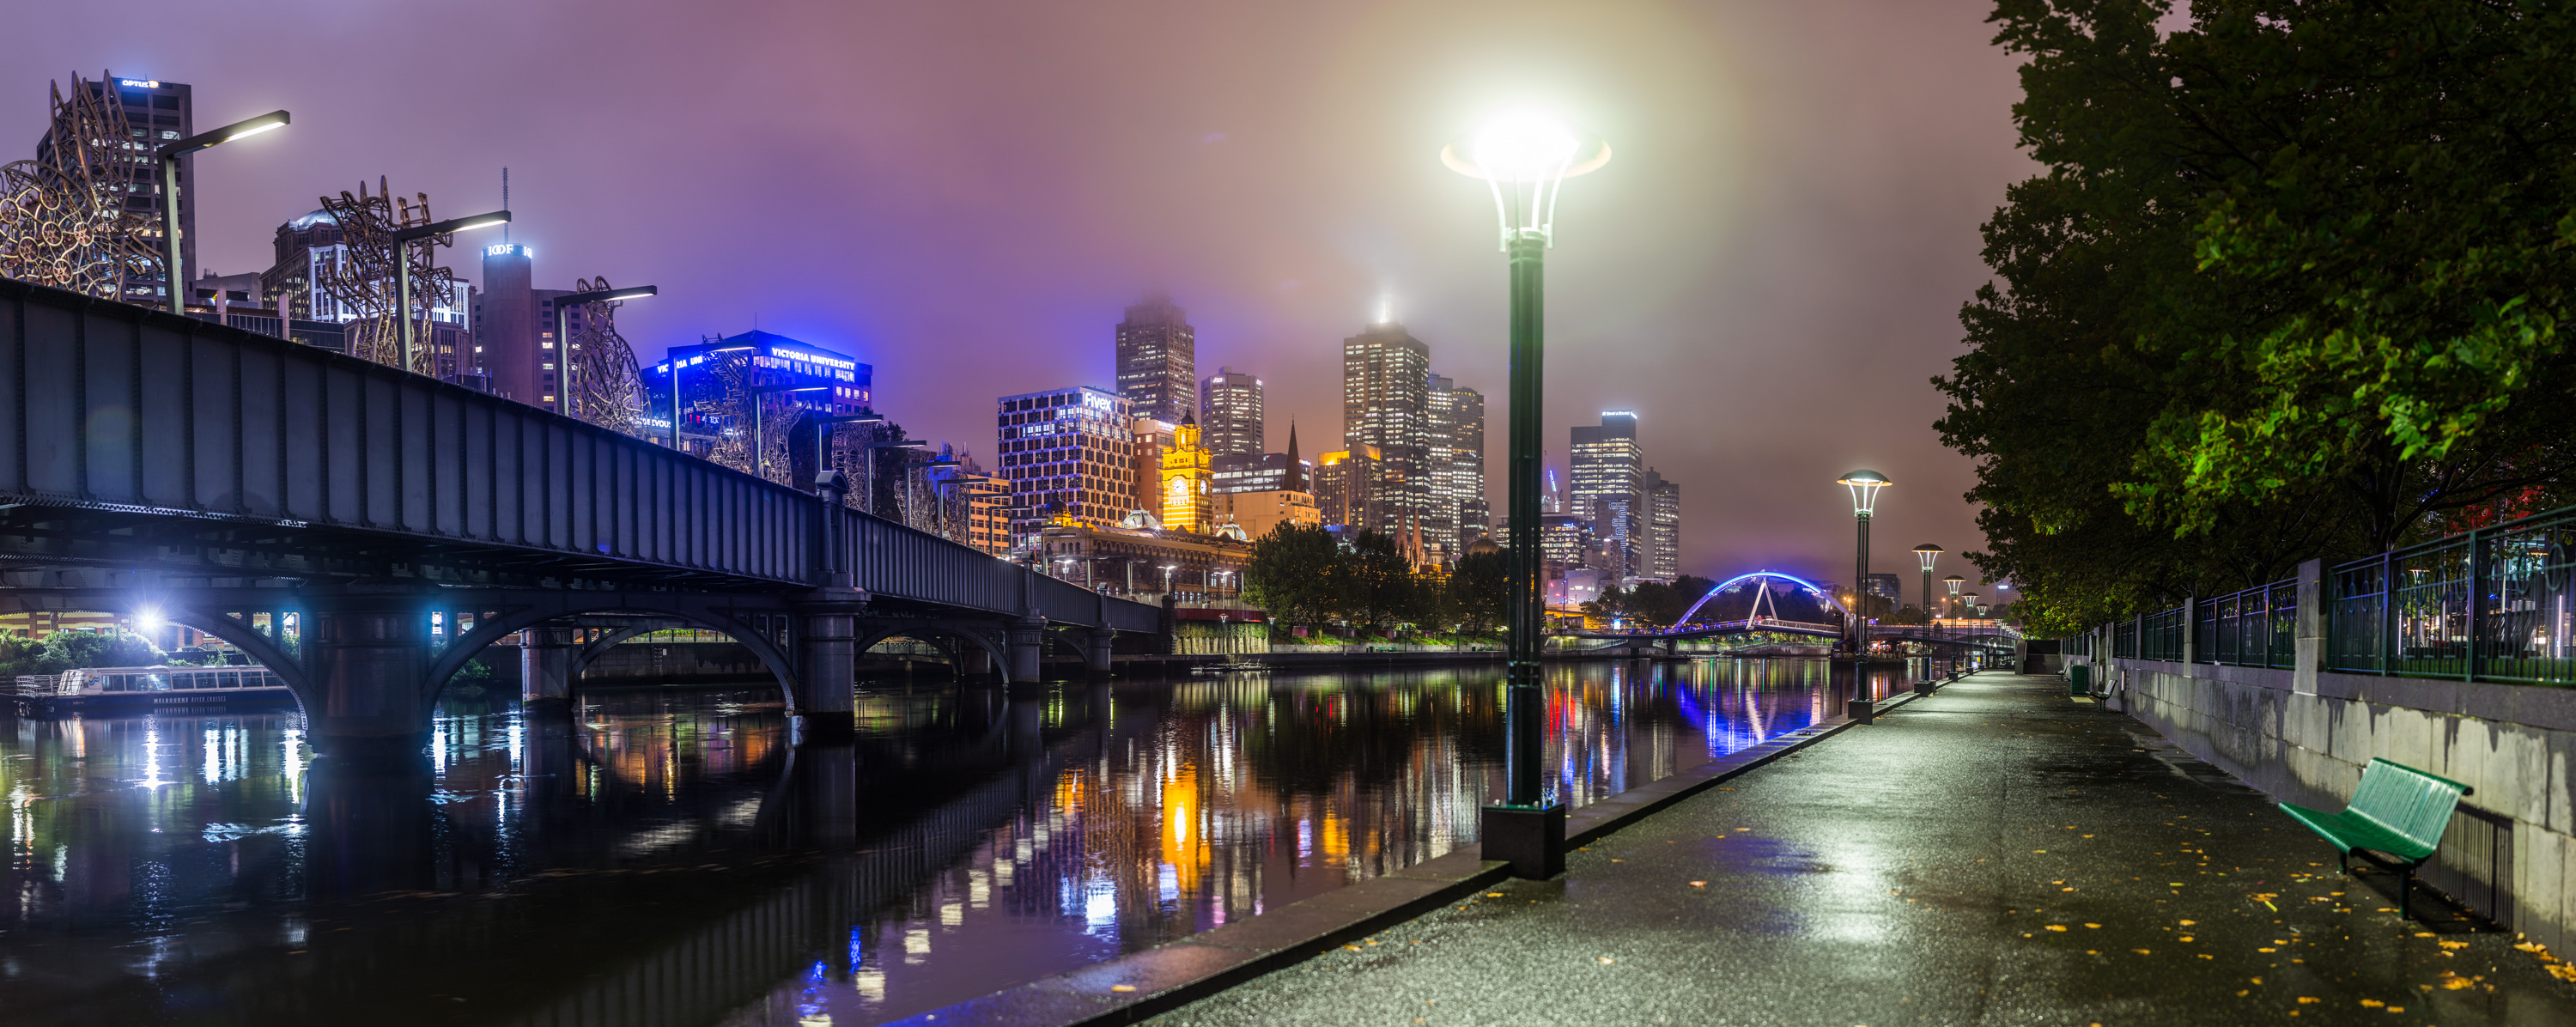
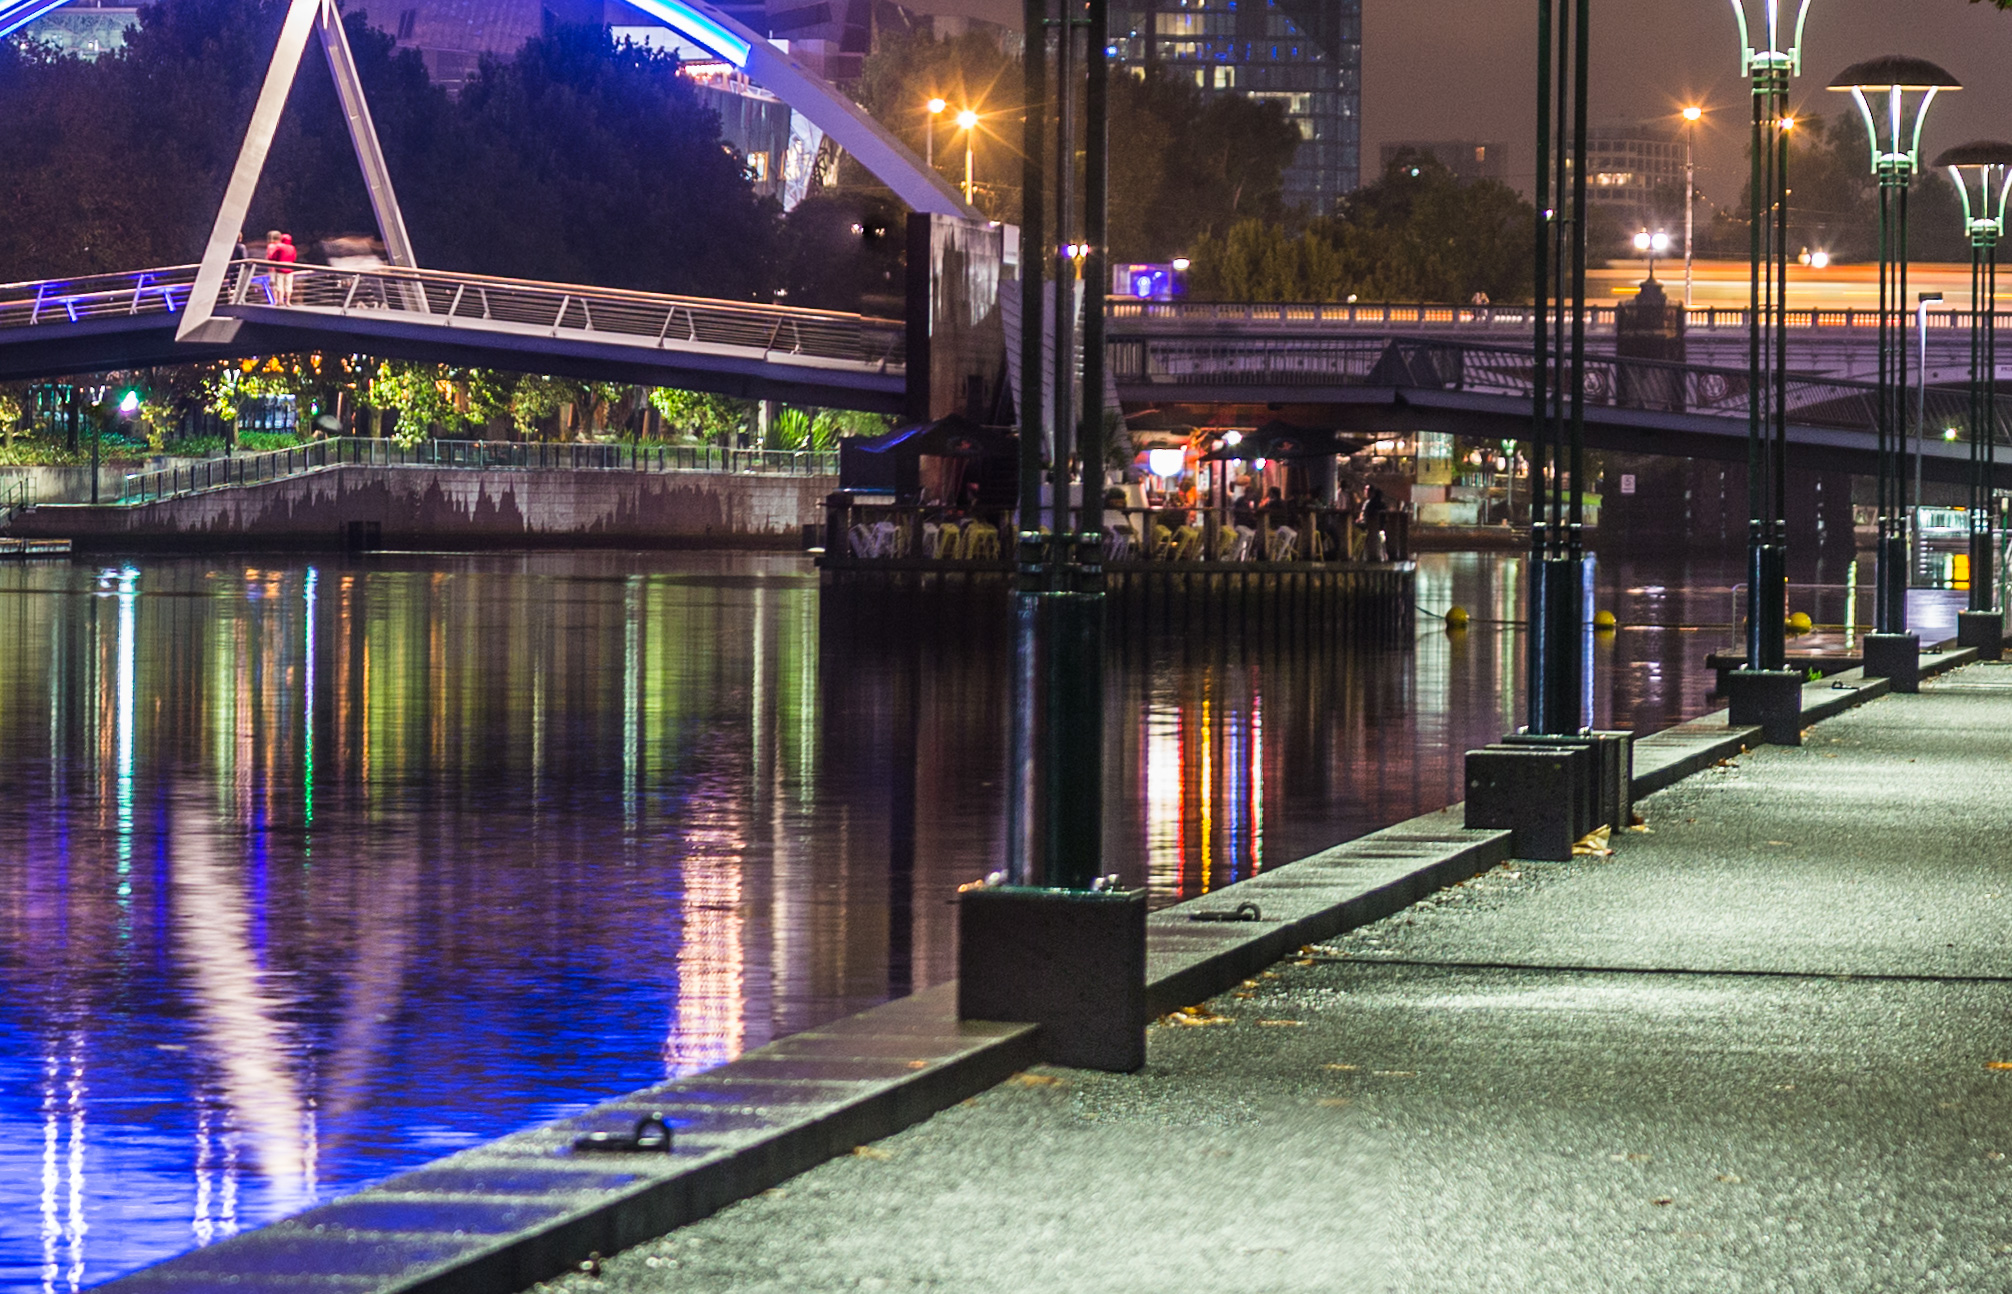
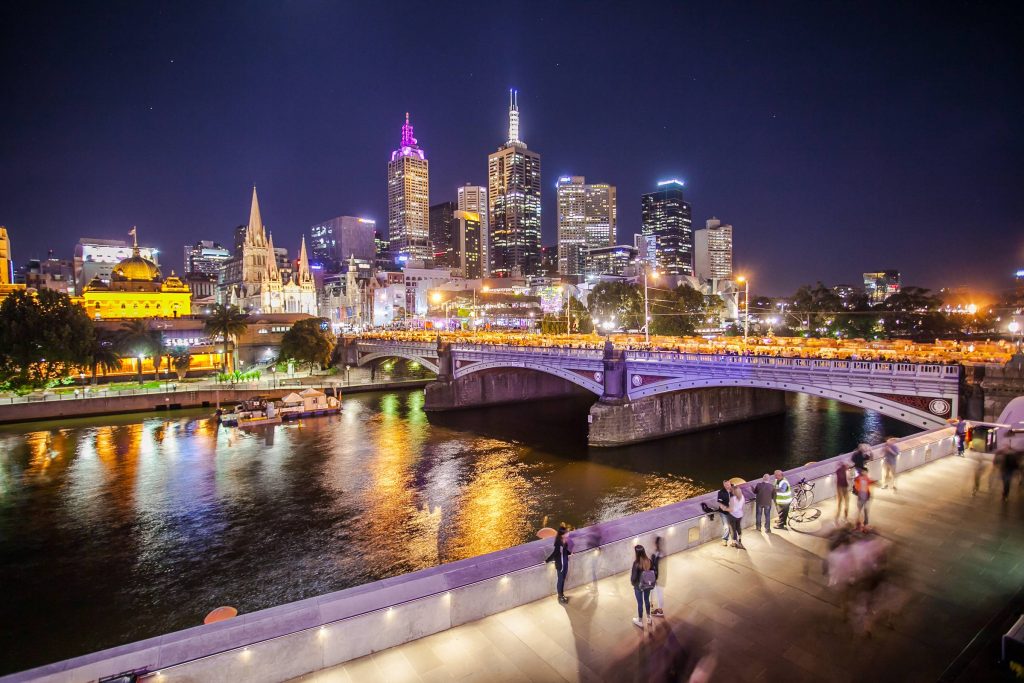
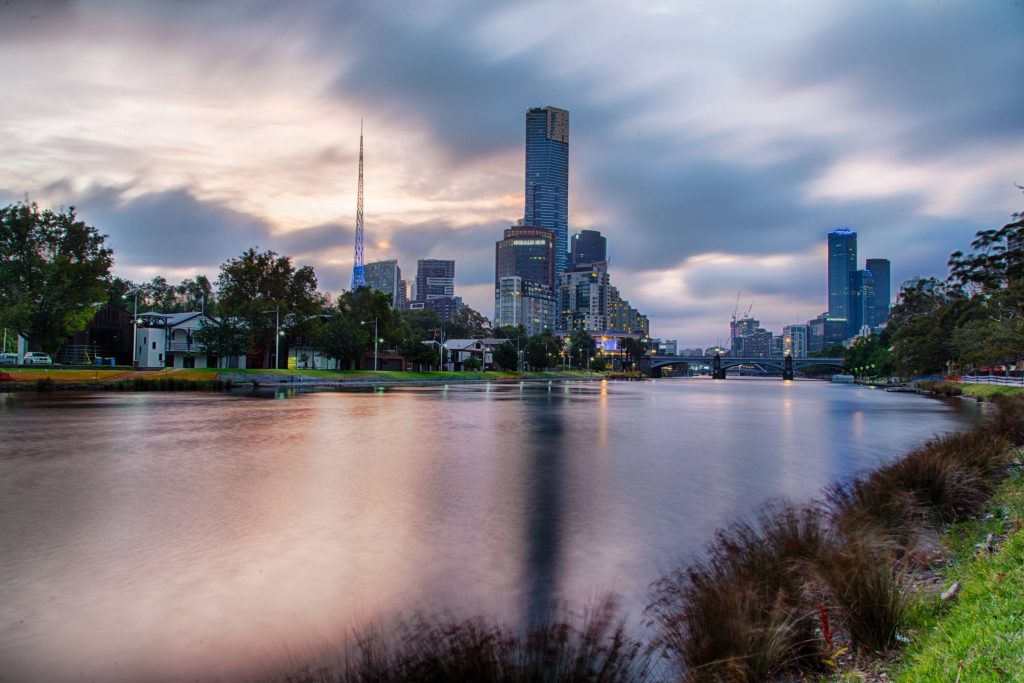
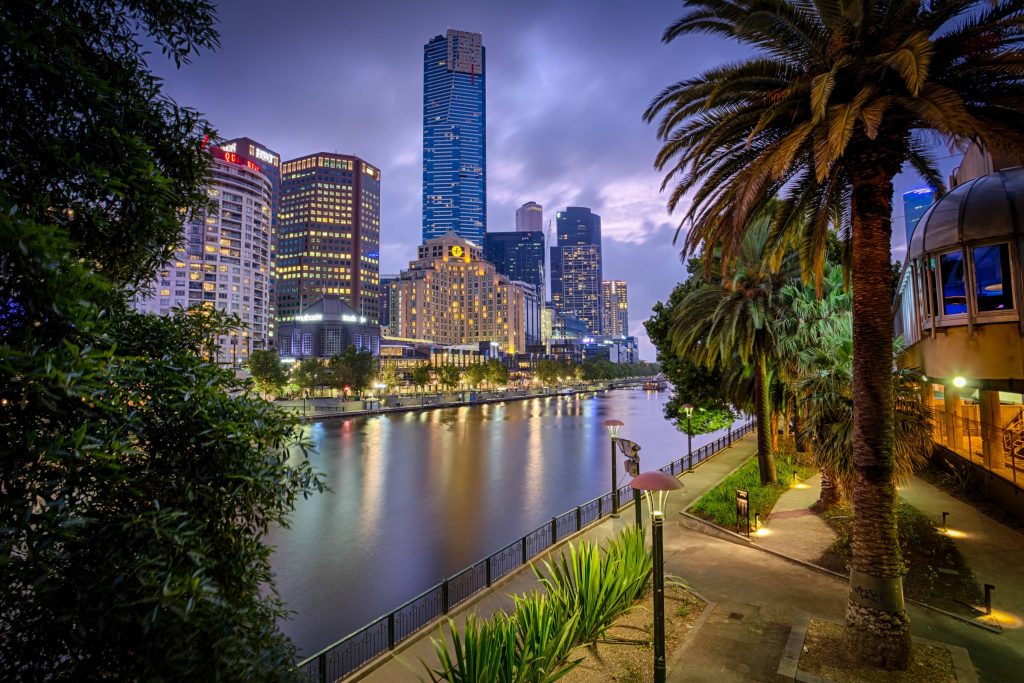
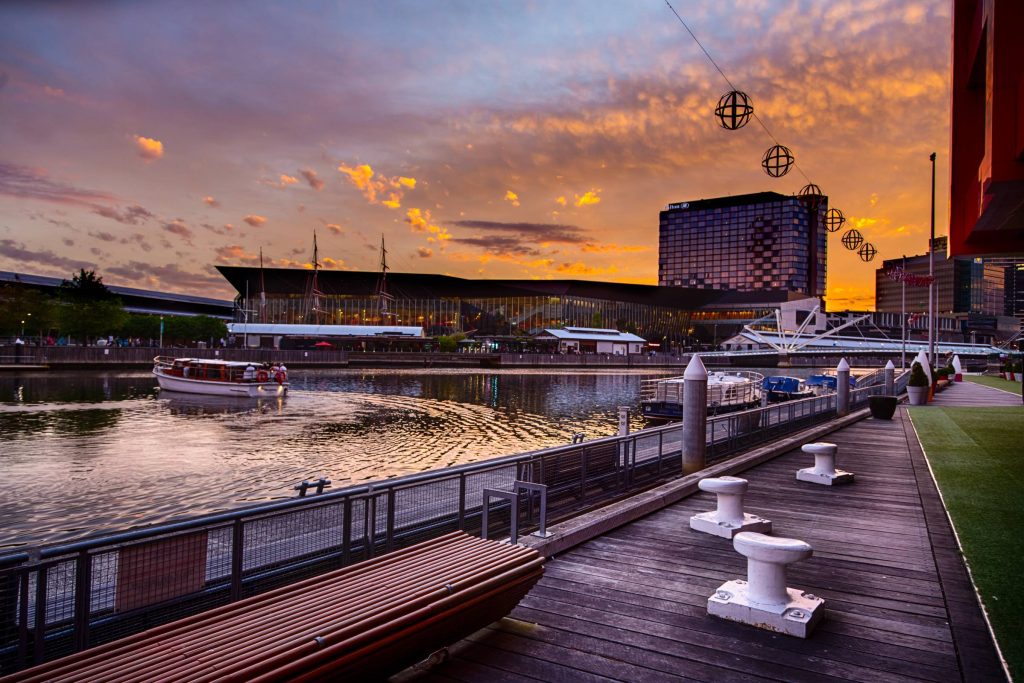
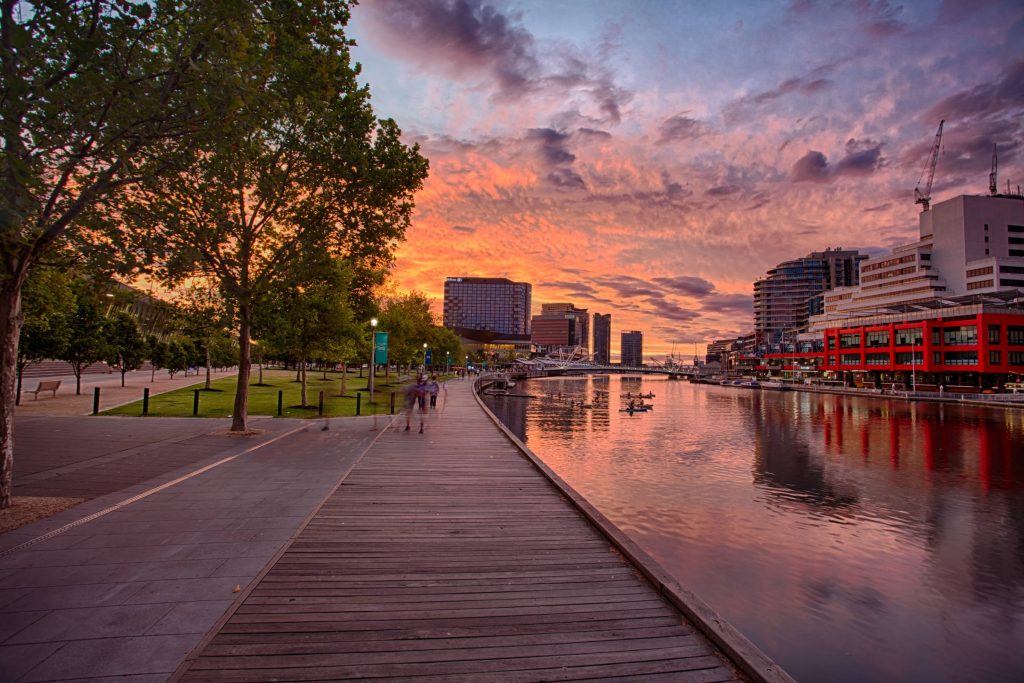
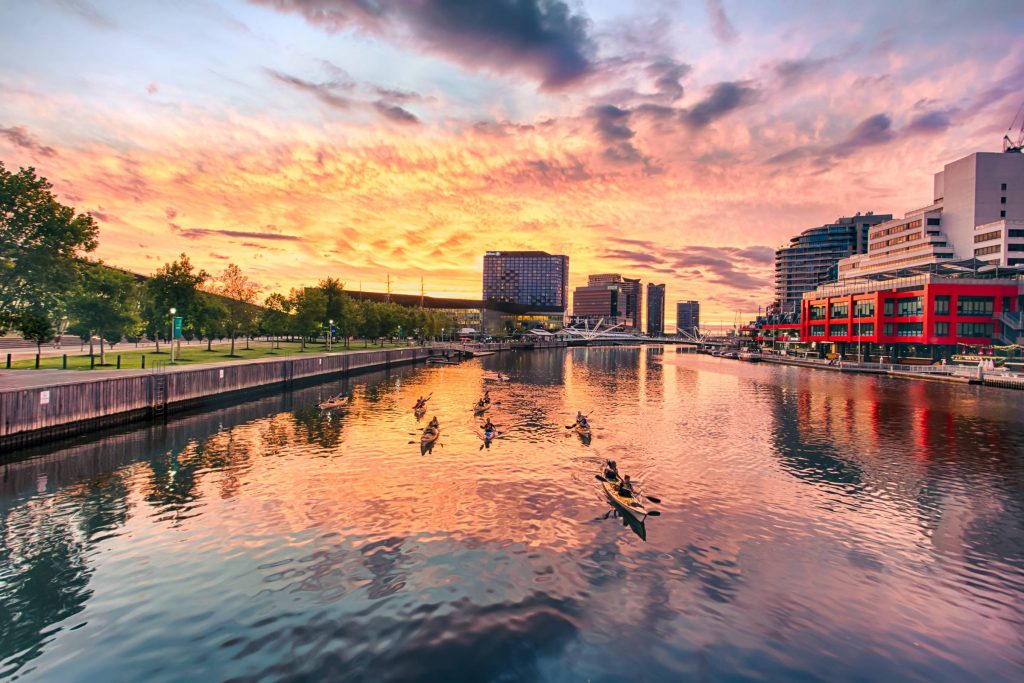
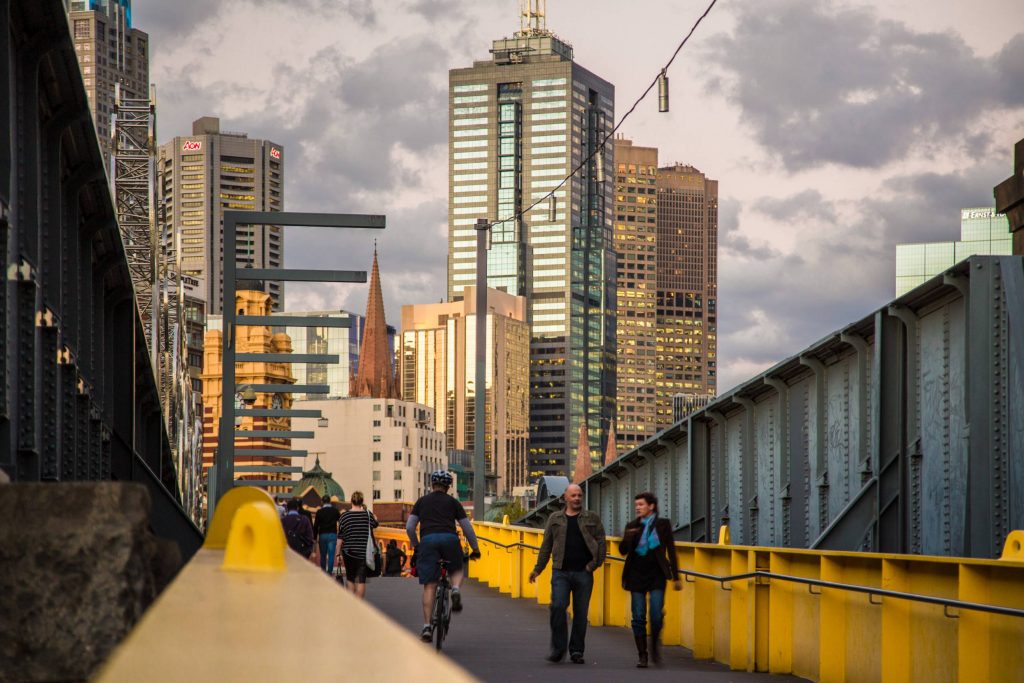
Panoramic Yarra Views
If you’d like the full 150 megapixel resolution image, for non commercial use, download Melbourne in High Resolution right now. If you use it, please let me know. Either on Twitter, Instagram, Facebook or link to this regularsteven.com. It’s 33 megabyte file, so best not do this on your mobile. You can print this as big as you like if you like. Please, just don’t sell it or use it for commercial purposes.
As for the quality, here’s the picture at 100%. You can crop in almost anywhere and figure out how to frame a shot. Over and over, a new picture can be found – the quality is crazy!
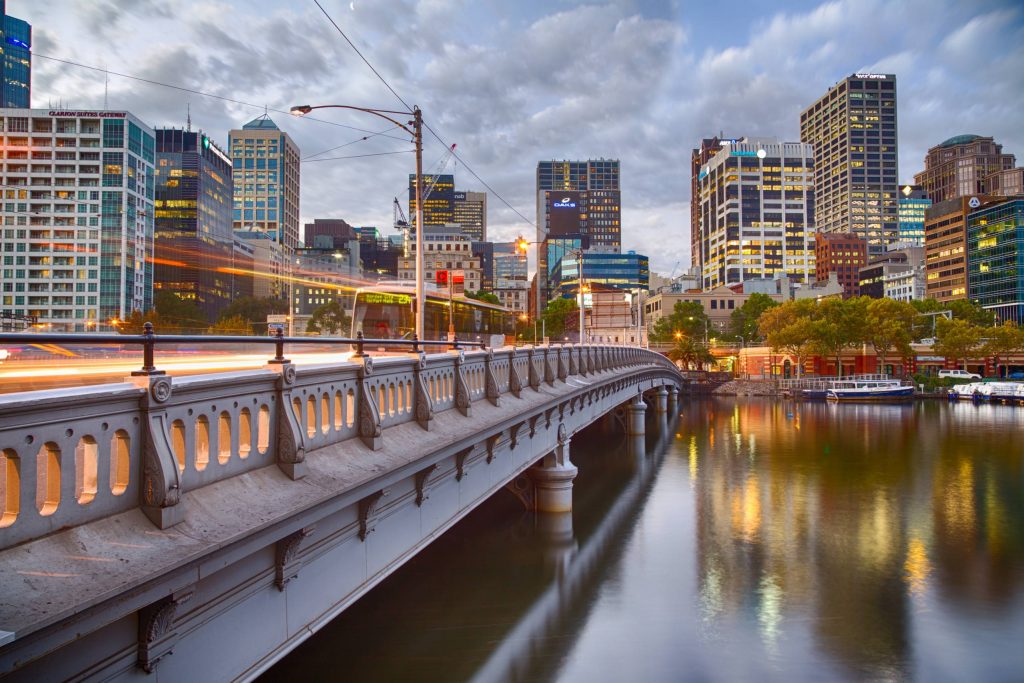
Panoramic Yarra Views
And, not only, but this picture is cropped down from 330 megapixels. Check out the full view of what I captured while standing in the rain.
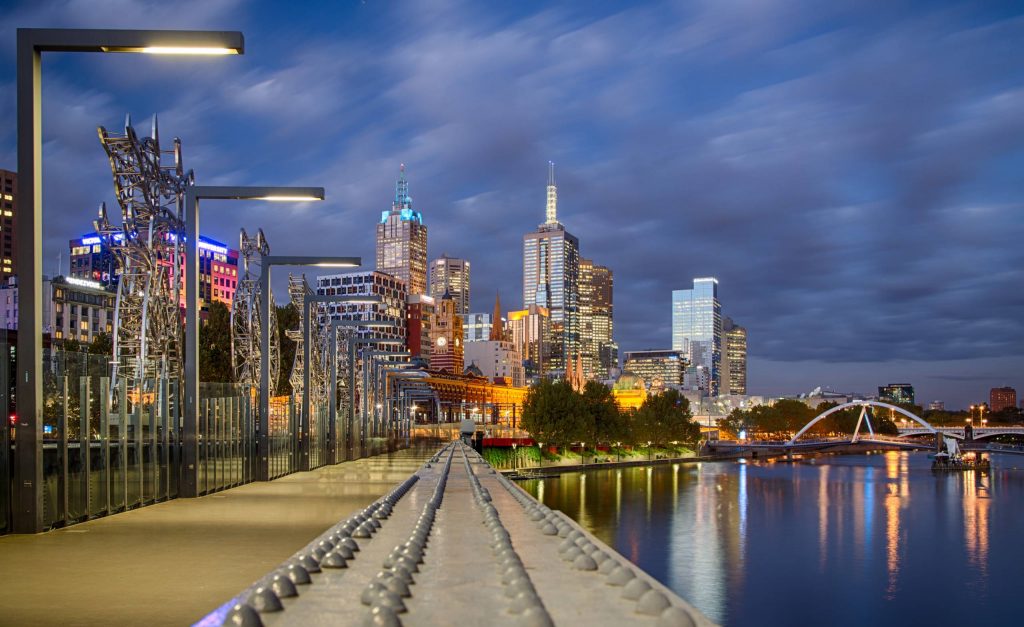
Panoramic Yarra Views
The potential detail you can get with consumer cameras is remarkable. This is a photo that has been generated from 50 individual shots, each taken at the same settings, each shot with some overlap from the previous photo, and then stitched up using Adobe Lightroom (actually very easy – select the shots, press Control+M, and it’s almost done). Each shot was captured at 70mm, which is rather tight, but I did that to try preserve straight lines while allowing for a ultra sized end picture result.
You could say this process is a hack. Sometimes, hacks lead to the future.
It’s me using tools to make for shortcomings in technology, but over time, this will change. I’m an early adopter with photography, but these kind of hacks and results are often what drive future technology.
In the future, there’s going to be all sorts of advancements in photography to the point that photography, as an art that it is today, will die. Or perhaps evolve…
There will always be those with an eye for a shot and an ability to compose on the fly to the point it’s second nature. But as technology advances, the need for those skills while on shoot are going to become less relevant with the progressing technology in post production.
Say you’ve got a camera that captures the following at:
More resolution than you need
This would give the ability to crop the shot you’d like in post, if you shoot wide enough
More focal points & depths of focus points than you need (i.e. multi
This would give you the ability to select which are you would like to focus on in post. Look at what Lytro are doing (at least trying).
A 360 degree field of view
This would allow you to crop in the section you like.
Multiple exposures all captured automatically
This would allow for shade and highlights to be manipulated easily – no issue of over or under exposed shots.
Now, my little future thought has issues. For example, portability with regards to optical quality. There are some rules of physics (with regards to light & capturing it) that will be very challenging. Equally, things such as barrel distortion make for surreal looking pictures (think of fish-eye), but again, this will increasingly be less of an issue; barrel distortion is getting better in consumer post production tools, and it’s only a matter of time.
What do you think? Will photography, as it is today, die?
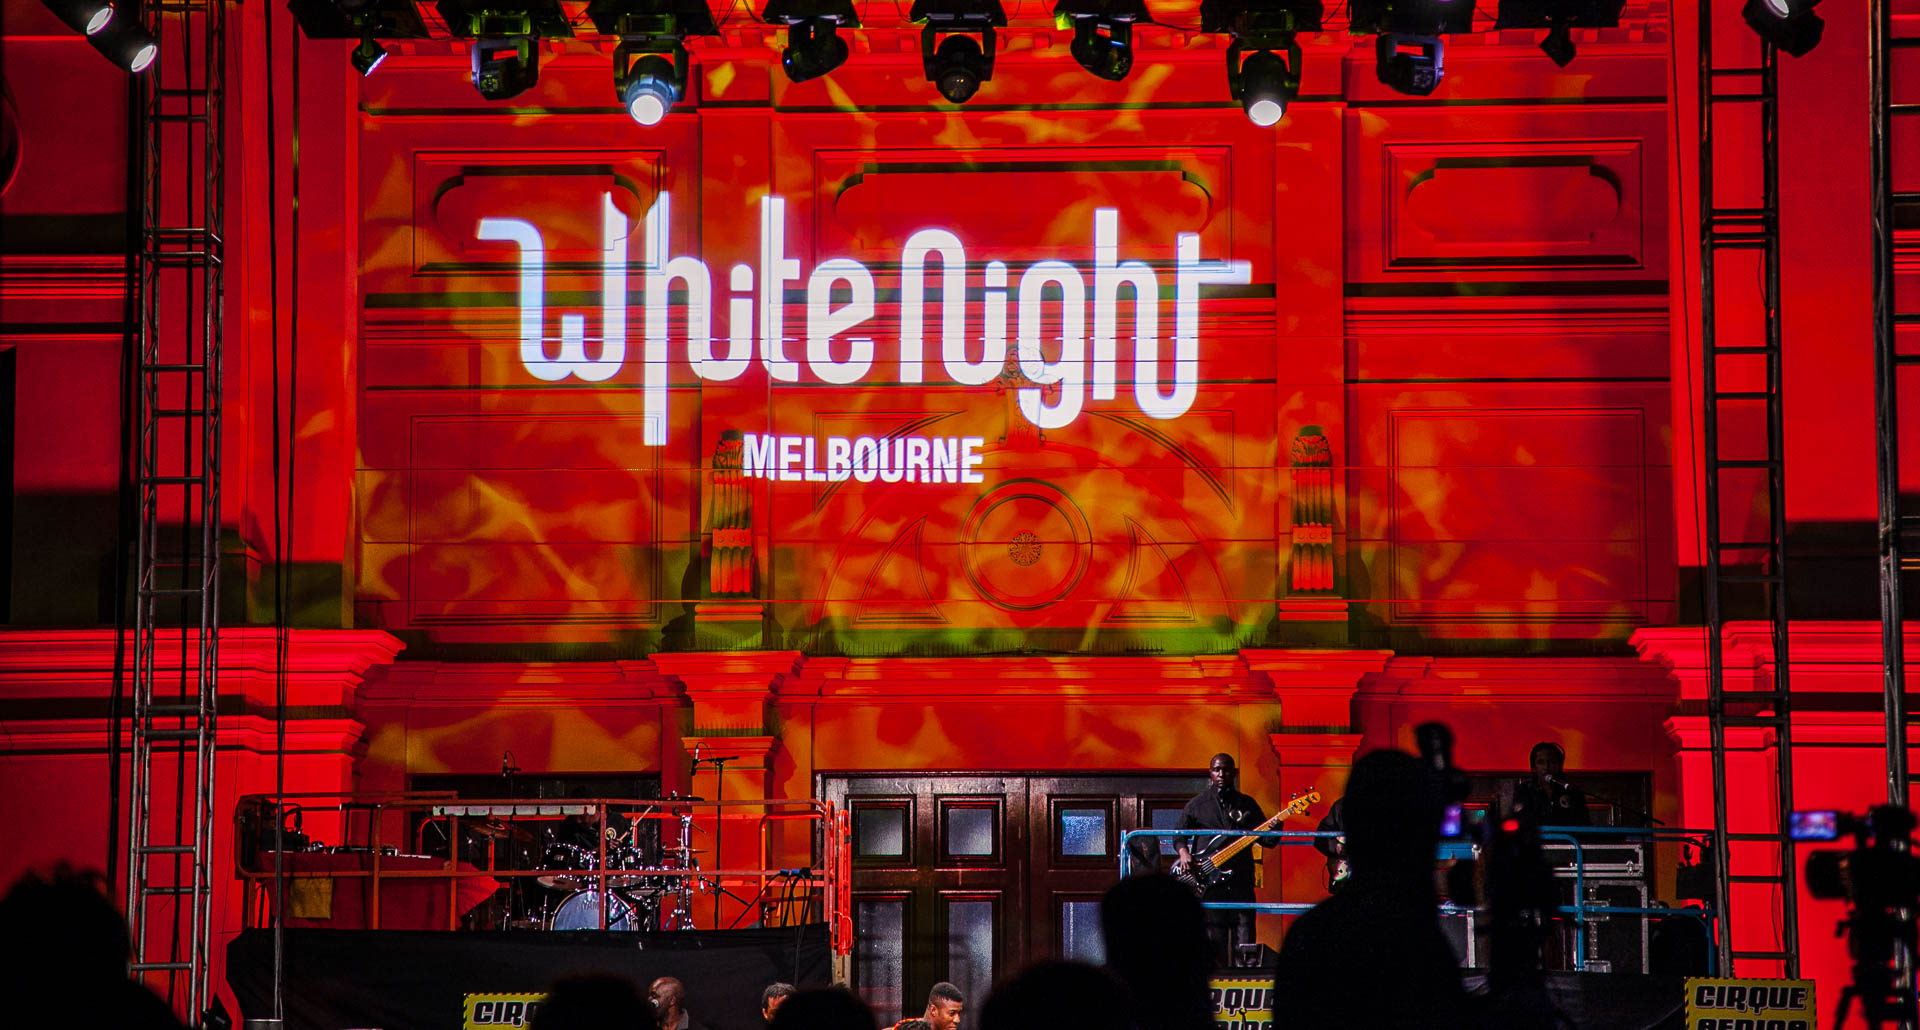
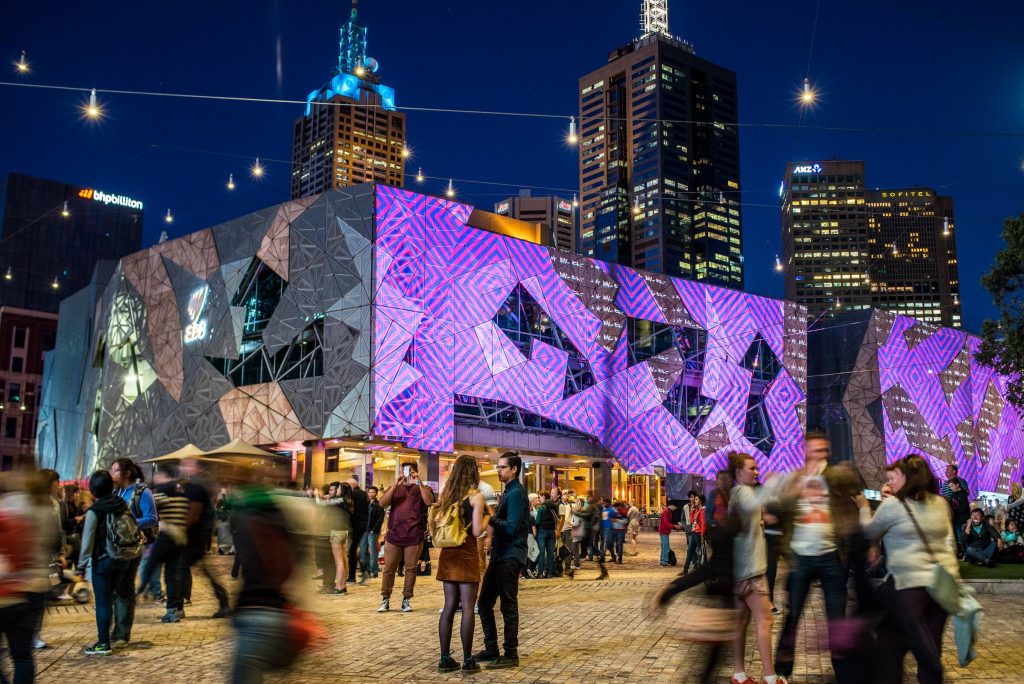
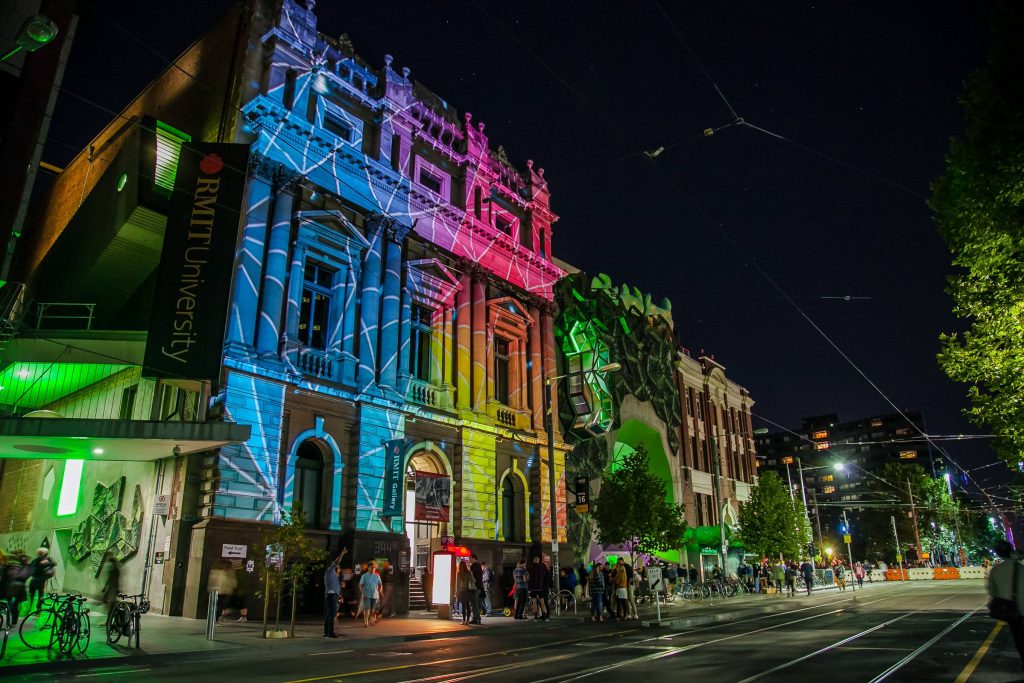
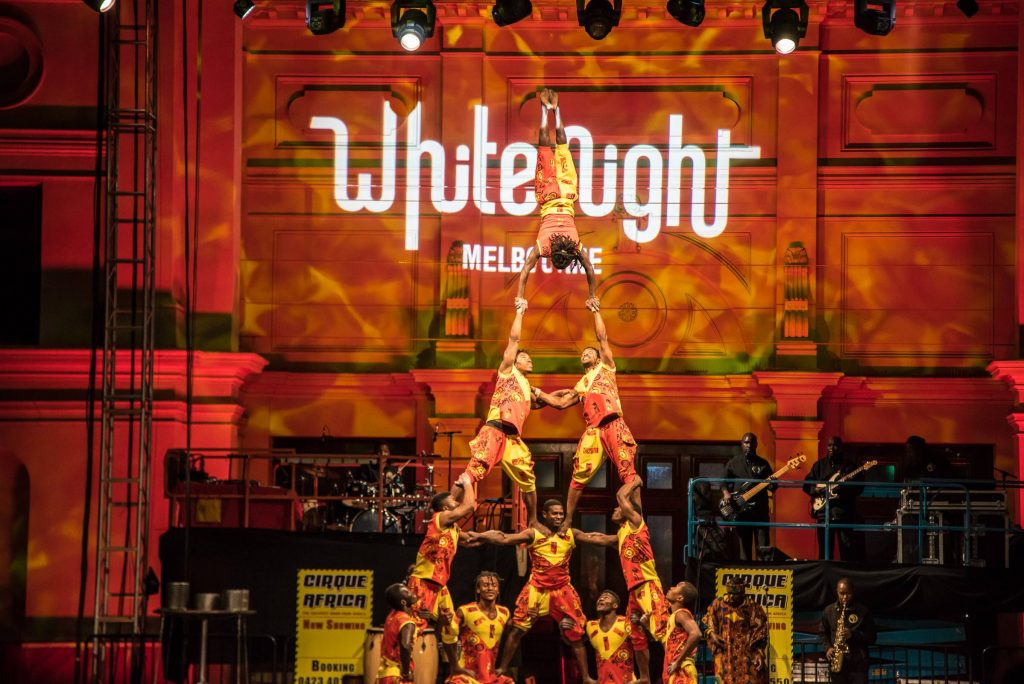
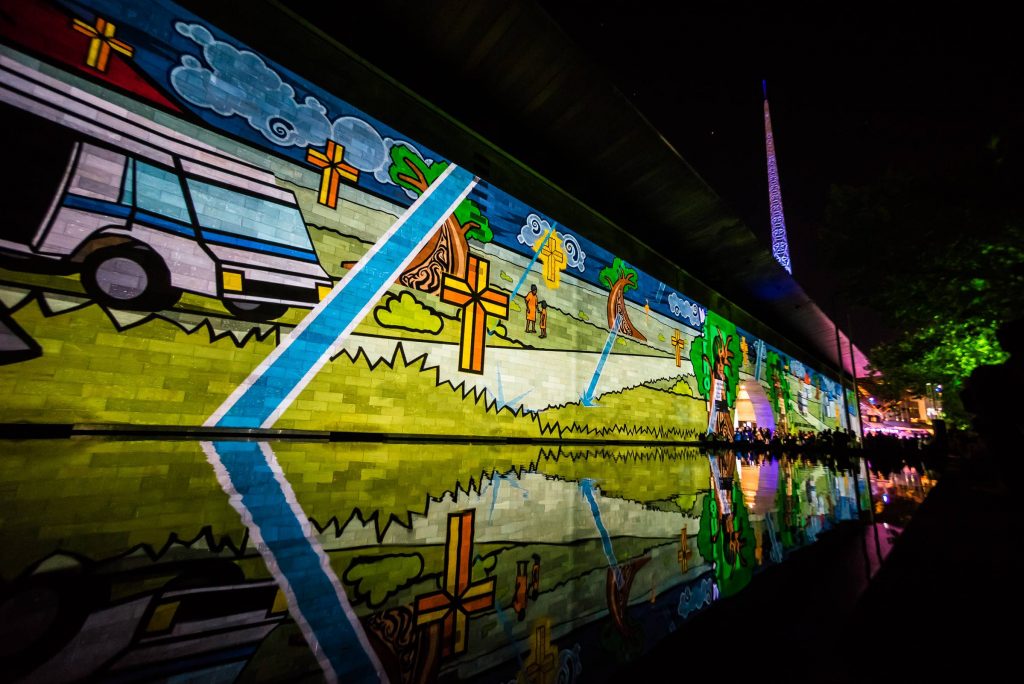
White Night 2016 has happened and it’s been huge. I’ve been to a number of them, but this was the second time that I headed along with the sole goal of documenting it via time-lapse. The only downside to all this is there are some parts that I just can’t get access to. Looking online, there’s some great shots of the Melbourne Baths and the La Trobe Reading Room at the State Library, but for what this is worth, I hope it gives some idea. So here we go, Melbourne on February 20, 2016, like you rarely see it.
Watch the Night in 2 minutes
I’m up on Facebook, too…
I’ve also got a video up on Facebook – check out the direct link to watch it on Facebook.
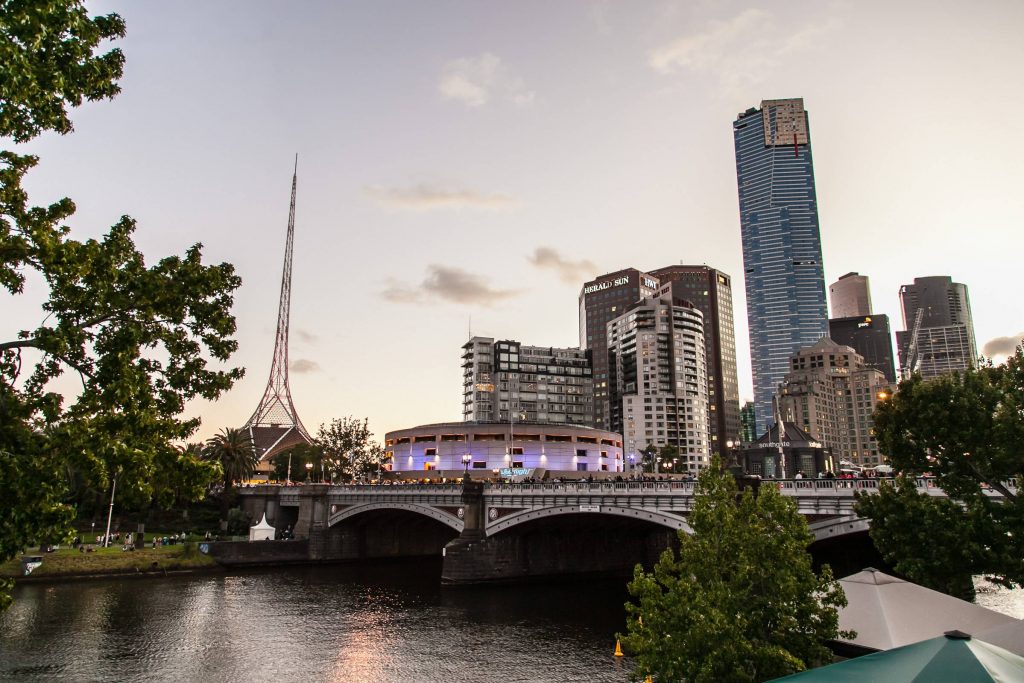
Looking over at Eureka Tower and the Arts Center
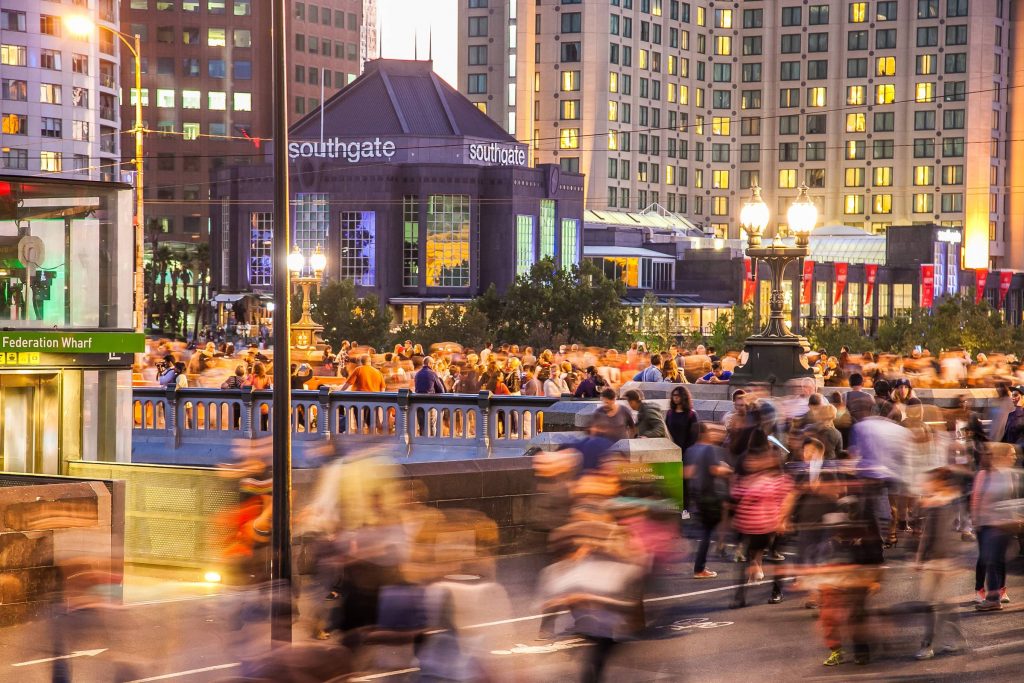
People moving around Melbourne
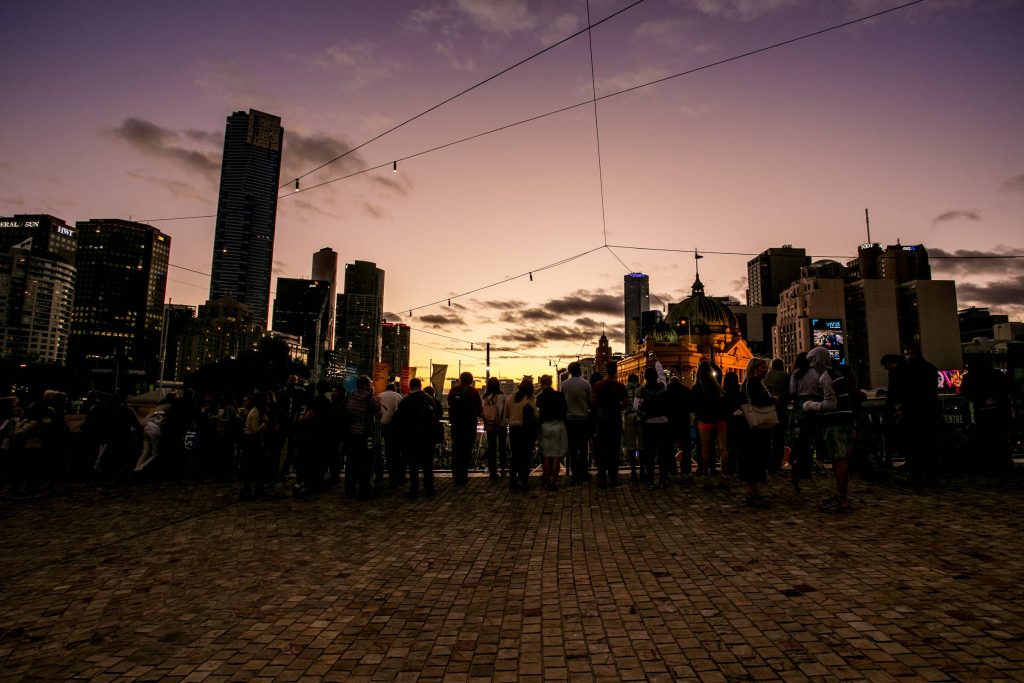
Looking at the sunset from Federation Square
Federation Square
Iconic location for White Night views
Up the top end of Swanston Street
Highlight of the festival. These guys were awesome 2am entertainment.
I’ve decided to ramp up my photography in 2016, so I’ve kicked off with a bold plan. I want to take a photo a day and share it that same day on facebook.com/regularsteven. Sounds pretty simple, if quality isn’t a goal, but I’m really hoping that I can snap and share something that I’m actually happy with. I’m a bit fussy with my shots; In the past you might see a picture that is cherry picked from 50 (sometimes more, sometimes less). So this project is hopefully going to push me to sharpen up what I shoot and put me under pressure to show what works, and perhaps what doesn’t.
This week has kicked off and I’ve hit every day with something I’m happy with. Some of the days I’ve captured a few shot that I’m pretty chuffed with, and one day (Jan 6 ) where I needed to give it a second crack.
I’m also hoping to get it up on Facebook pretty quickly. So while I might snap something in the morning, I’ll hopefully get it live that morning. Wont always be possible, but that’s the goal.
I hope you enjoy the effort that I’m putting in. It’s gonna have some misses – I know that. But fingers crossed it lets me find another gear and allows me to get some diversity in to my work.
So here we are; Week 1. Some of these were selected for my Facebook page, some have yet to be seen. Feel free to use for your own personal use in a digital sense, such as a wallpaper / screensaver. If you’d like to obtain higher resolution, please hit me up via facebook.com/regularsteven.
In East Melbourne
Overcast Melbourne Sunset
Looking over Southbank just after sunset
Longing for a long exposure
Looking up at the city above
Out the front of Section 8
Under H&M
Little Bourke Street
Looking down at the little people
Leaves covering the walkway
Out of place and in order
Looking East and up the hill
Seriously racing… Getting sideways, all that crap.
Beautiful sky on a Sunday night
Under a crazy sunset sky
And a big cheers to the rowers
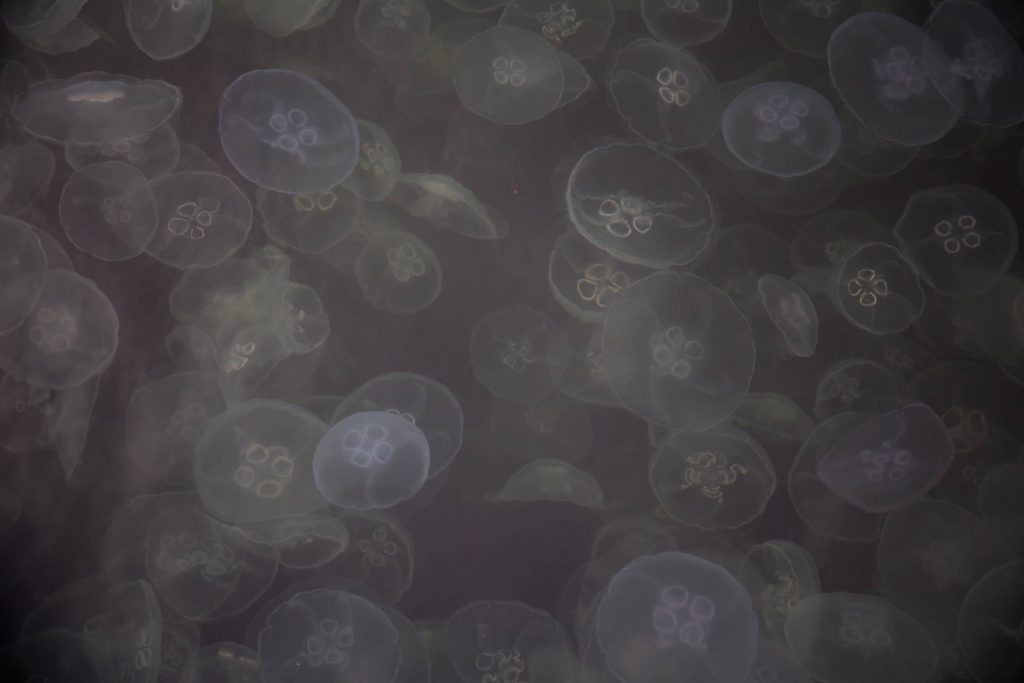
Jellyfish in Docklands
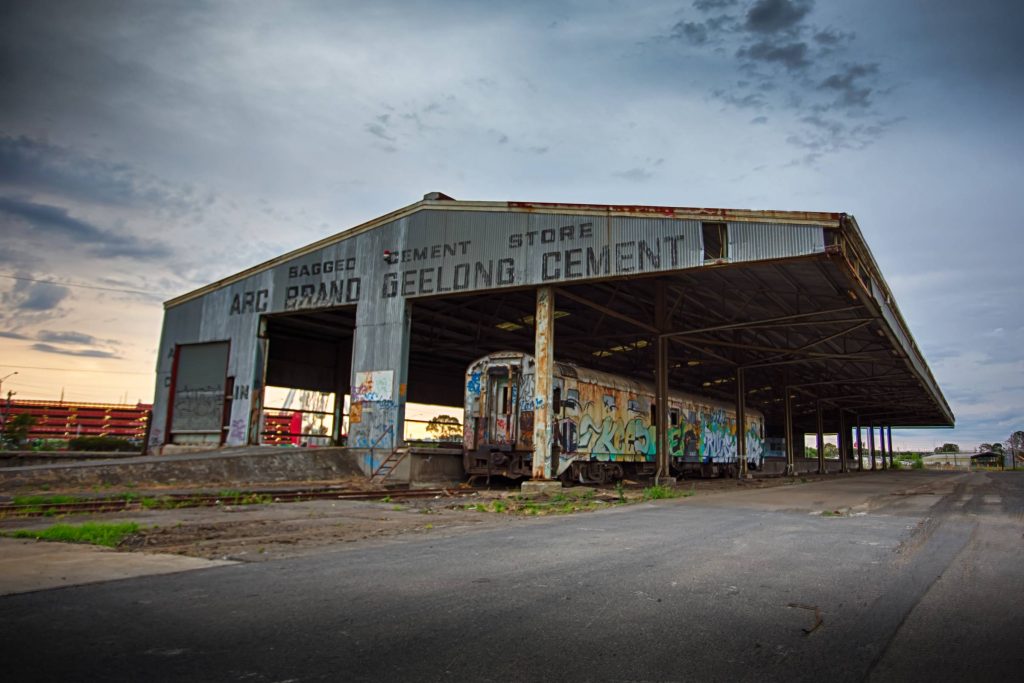
Departure time TBC
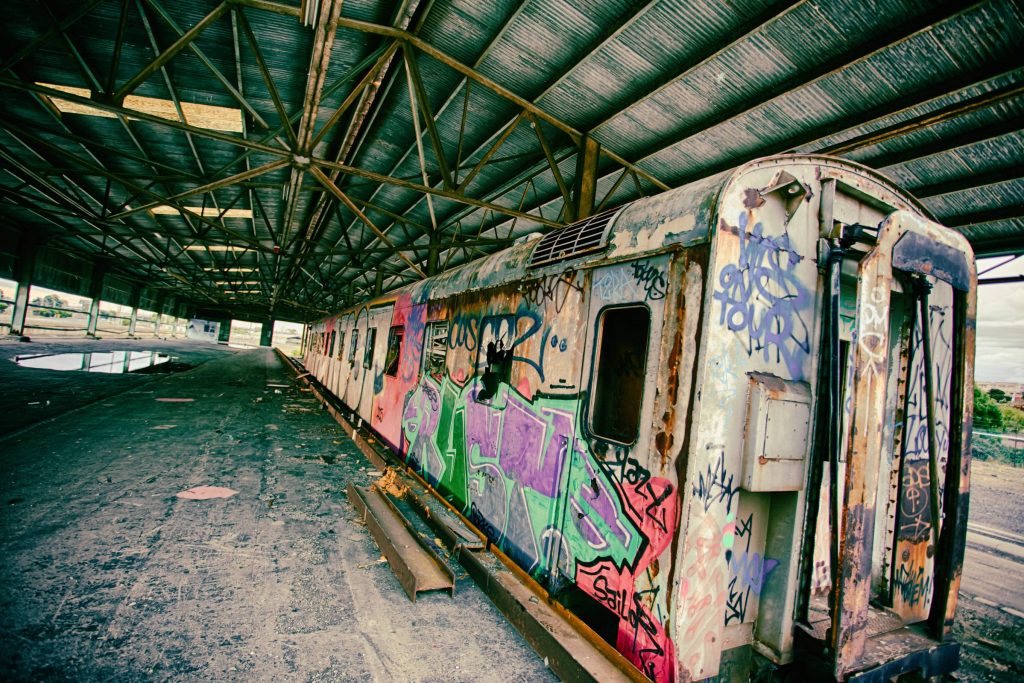
Old and tired
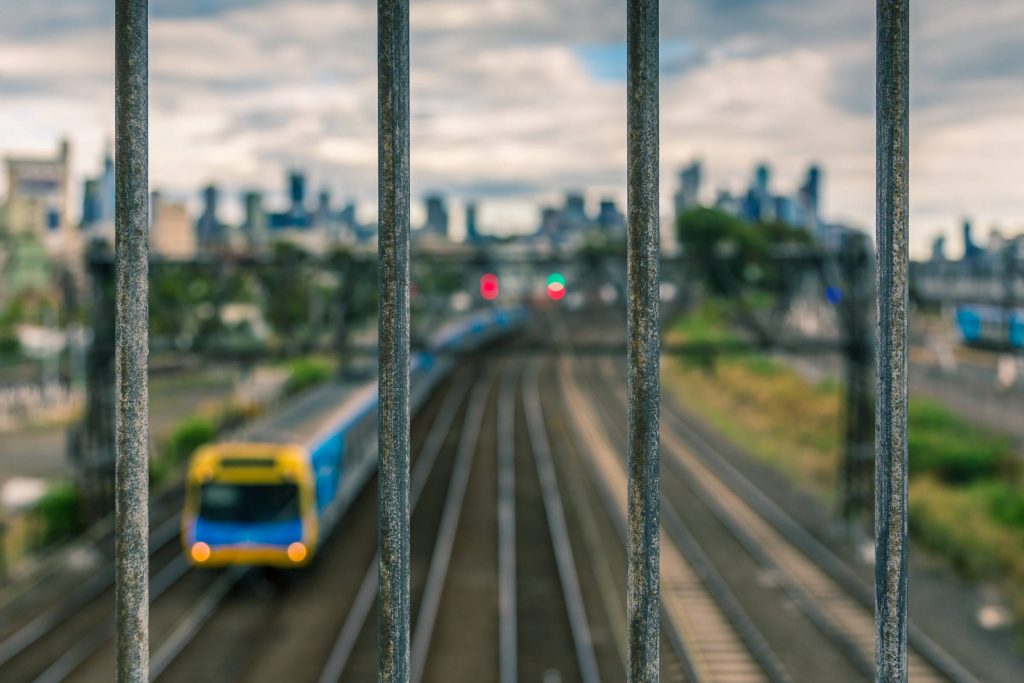
Couldn’t catch a train…
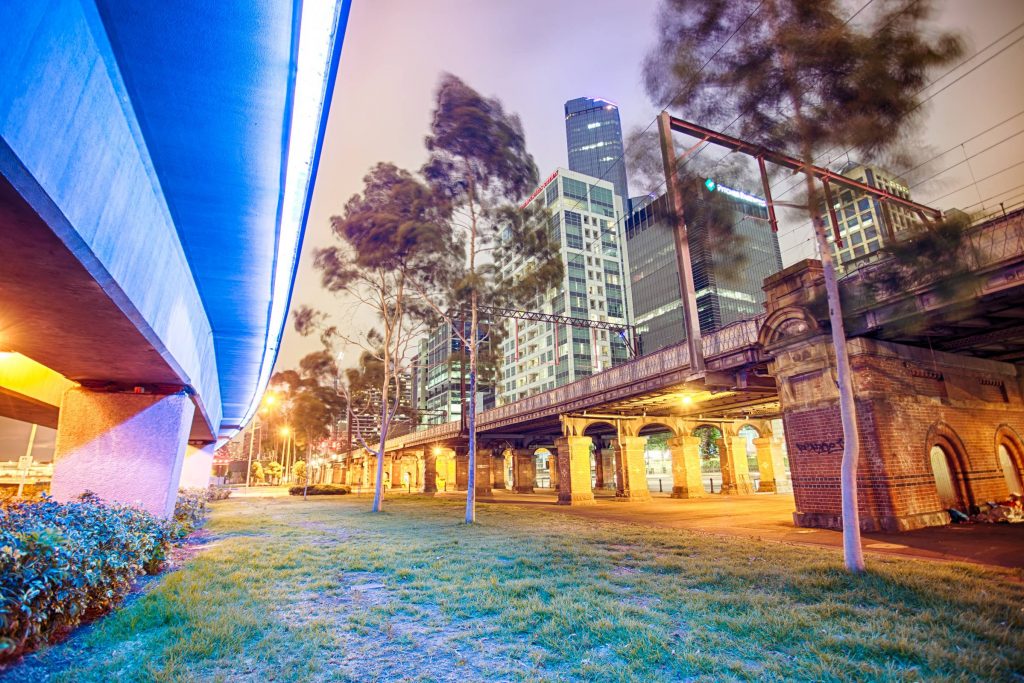
Under the Bolte Bridge
Kensington way
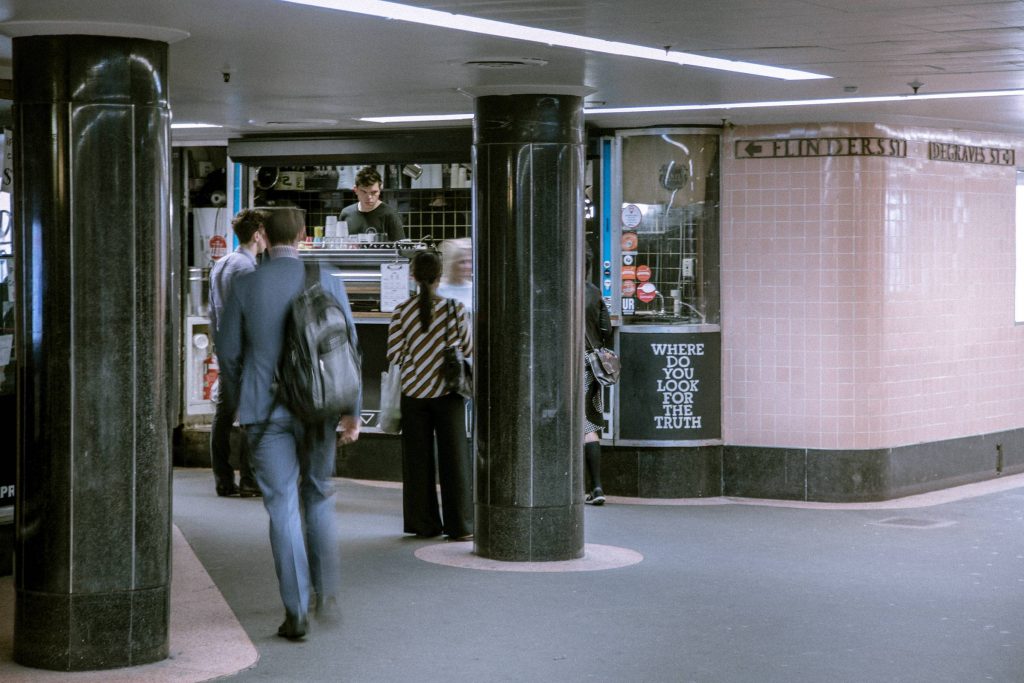
From the subway
Black and white crossing, black and white treatment
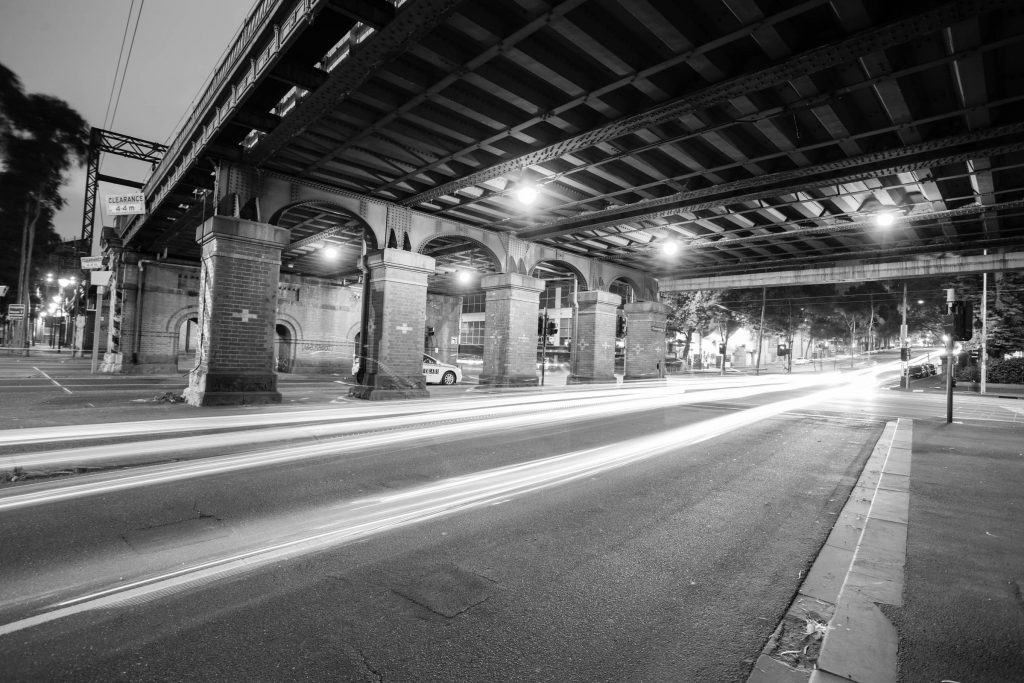
Under Flinders Street Station
Clouds at the top of La Trobe Street
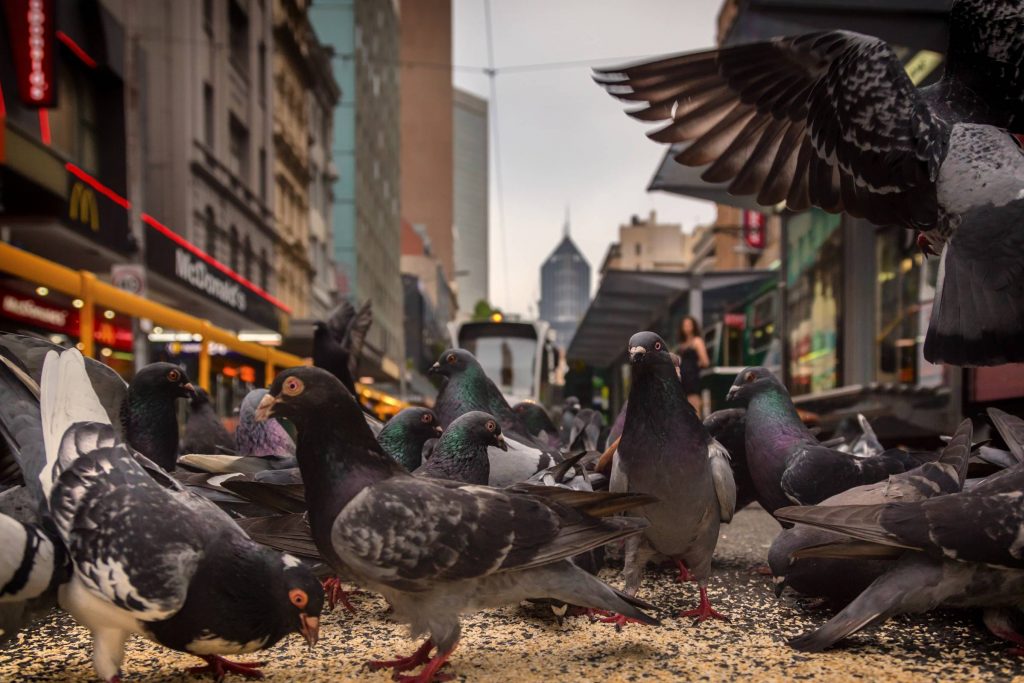
Feeding time at Flinders
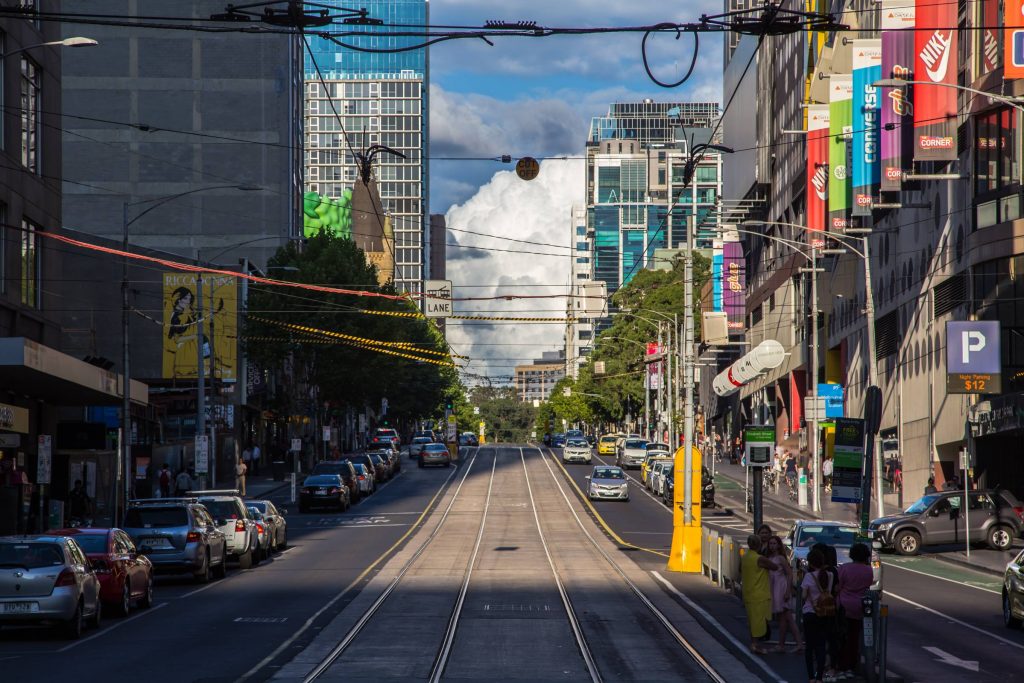
Back streets of Melbourne
Flinders Street Clocks
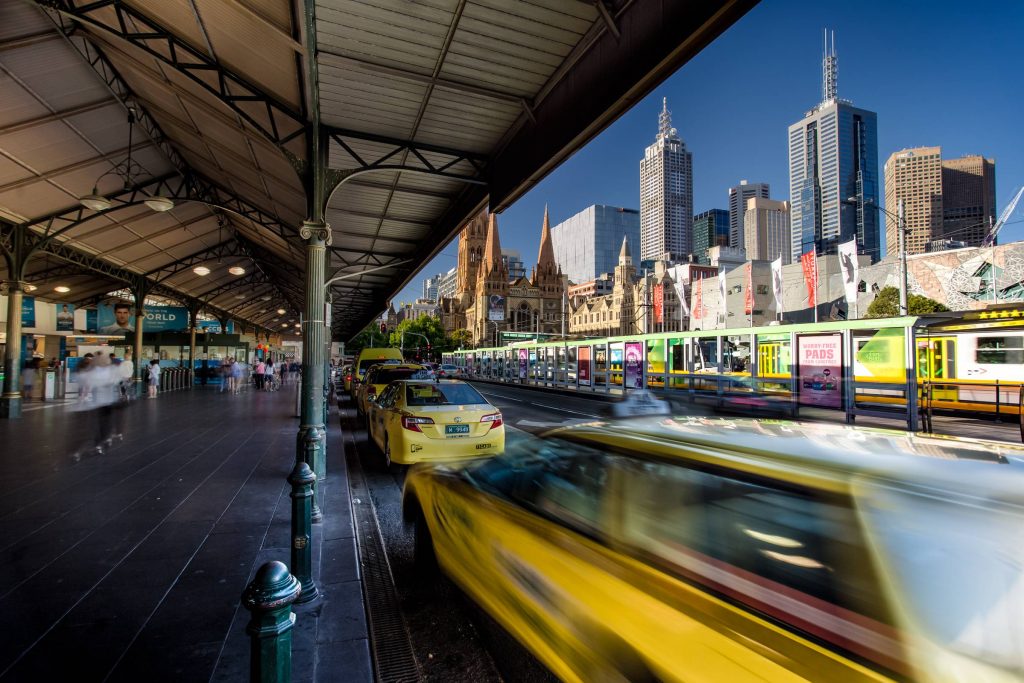
Taking their position at the Flinders Street Taxi Rank
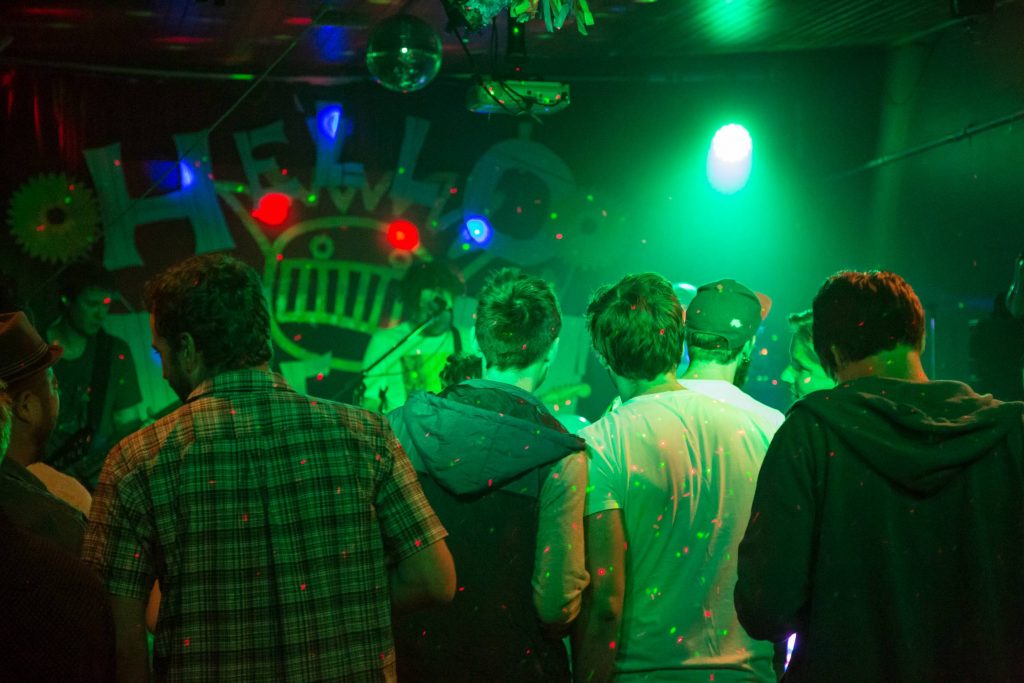
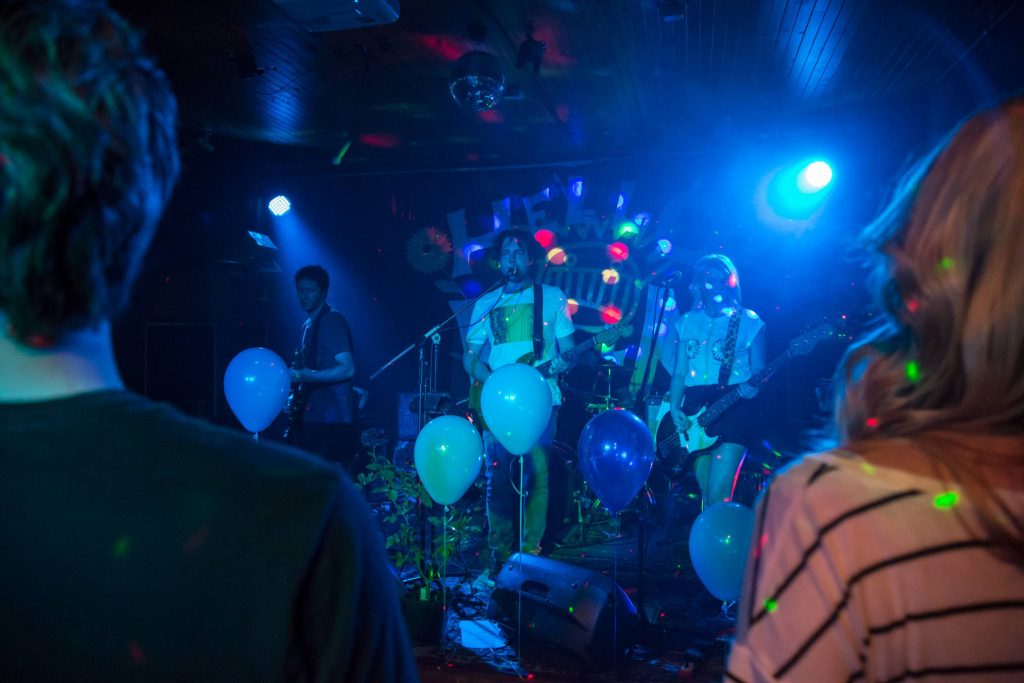
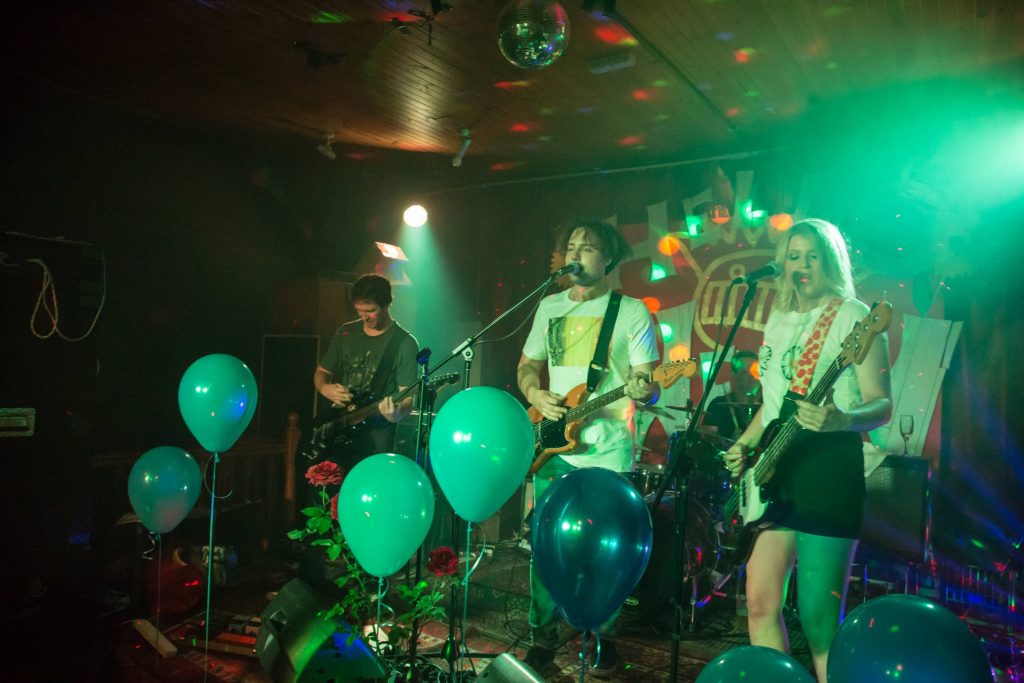
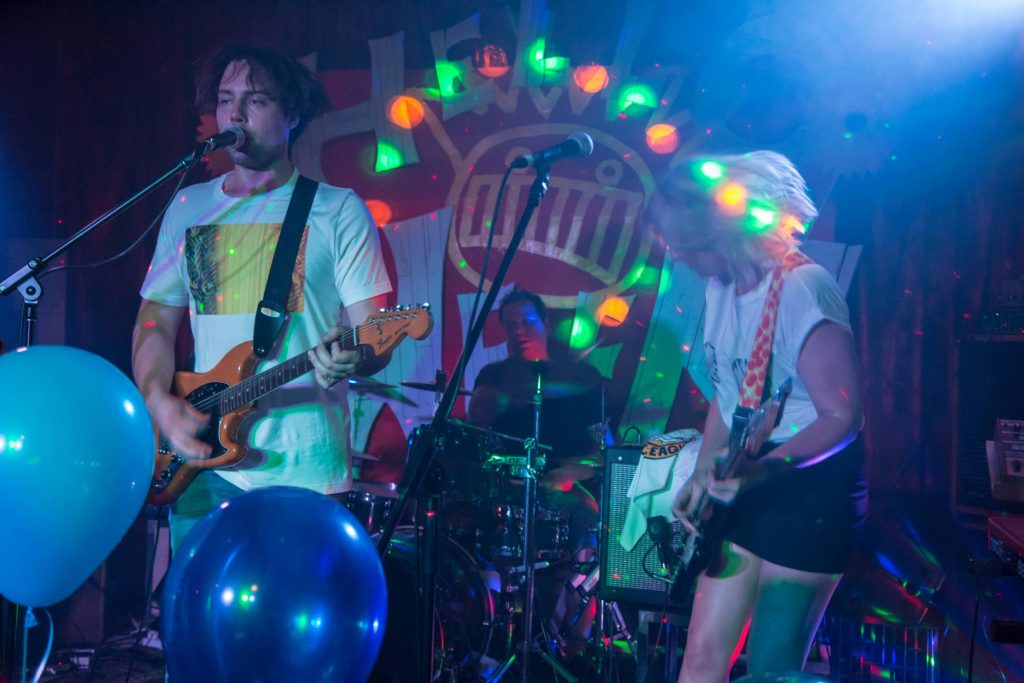
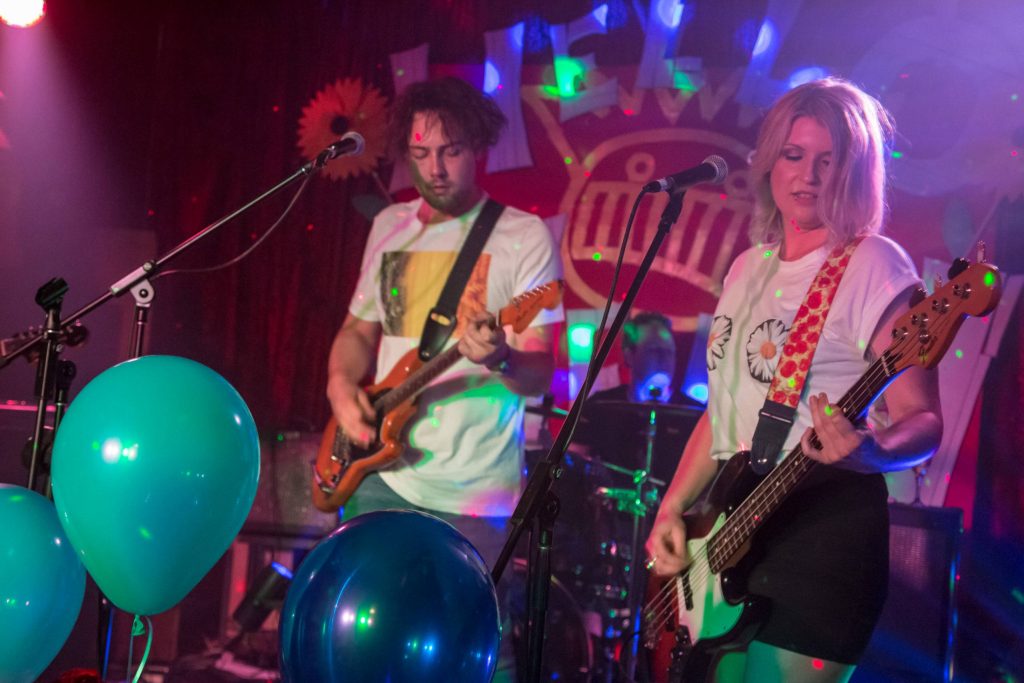
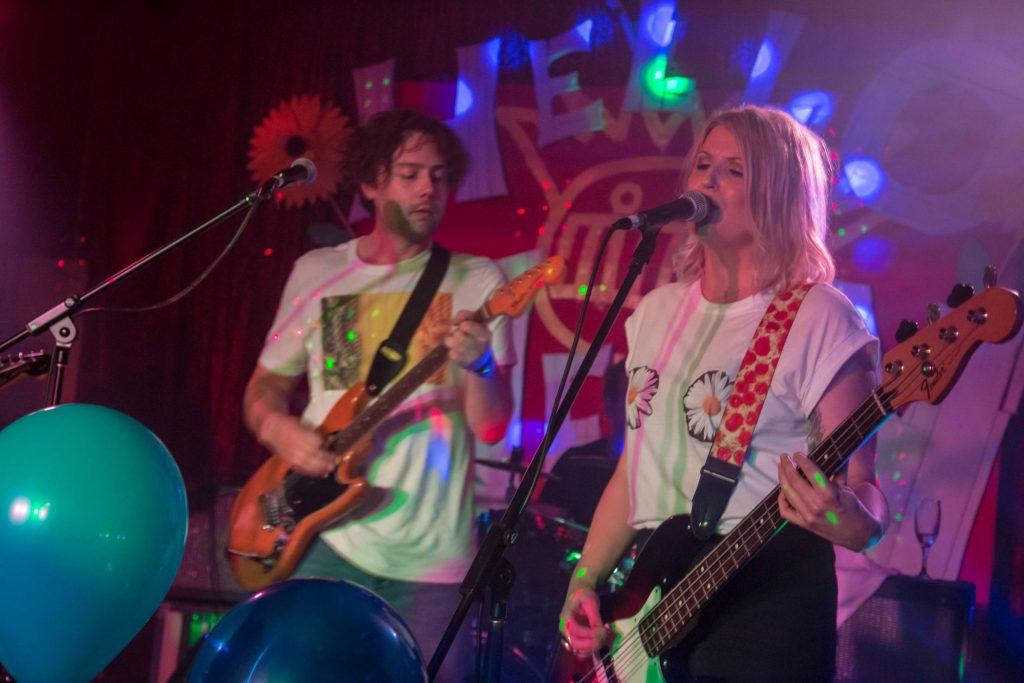
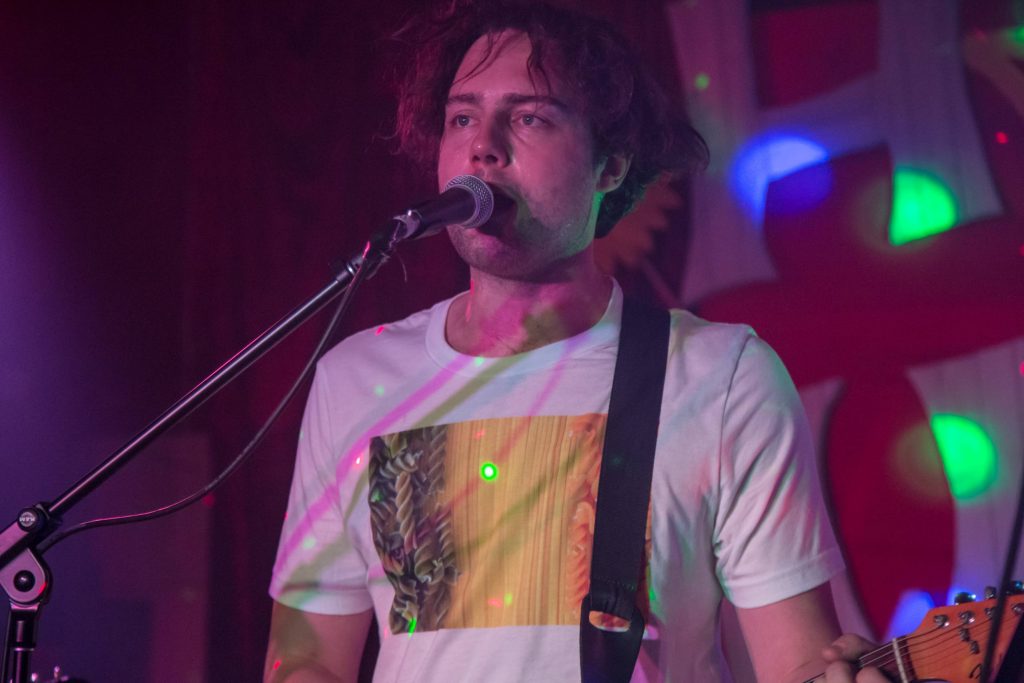
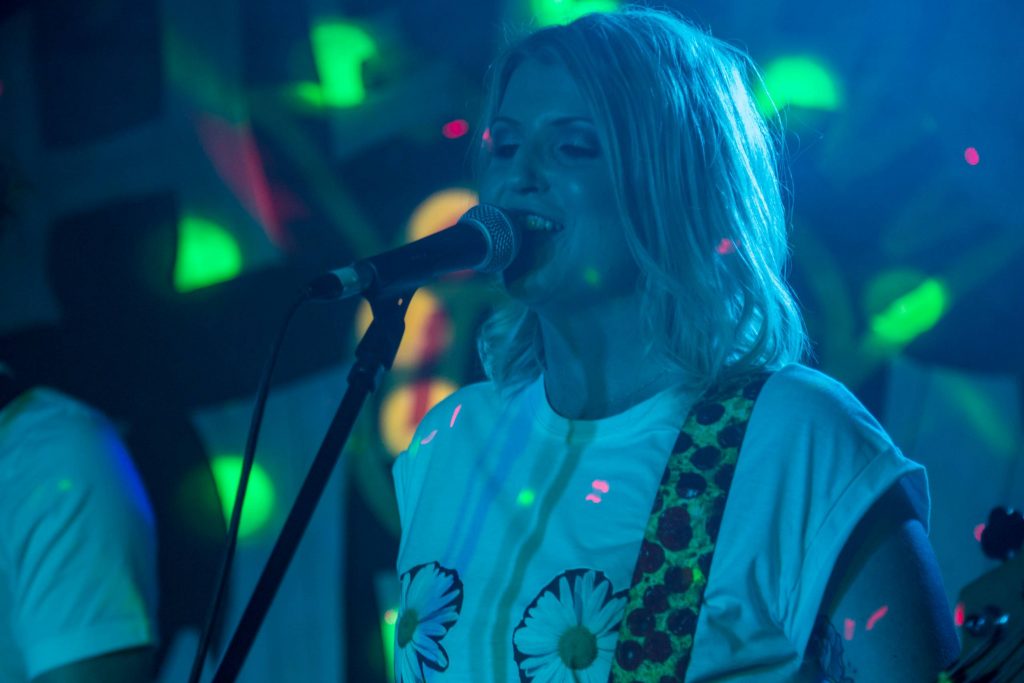
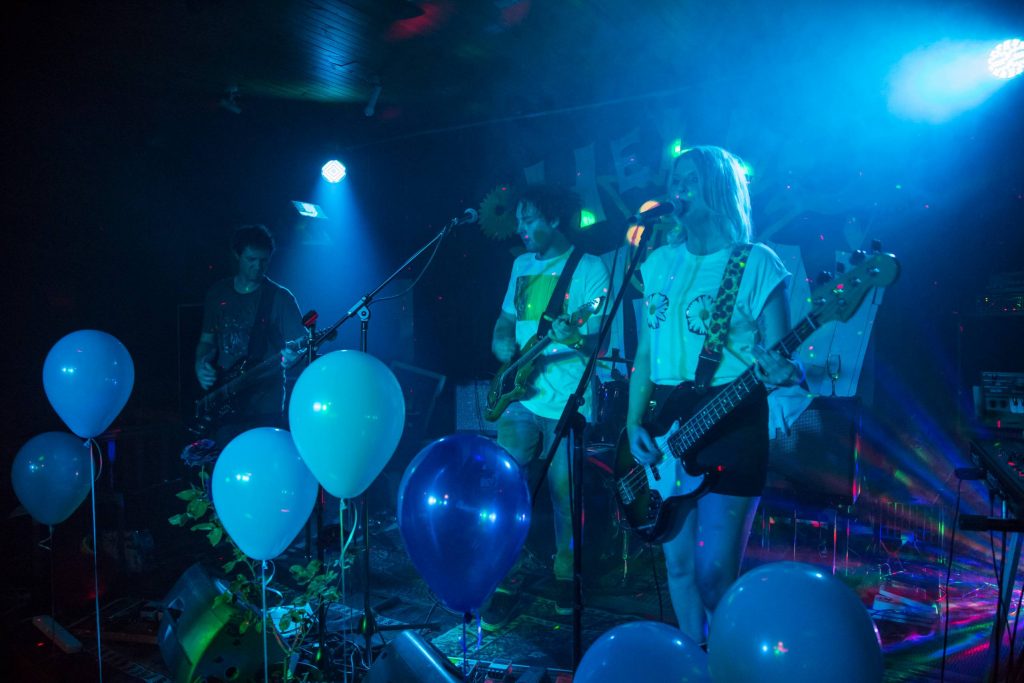
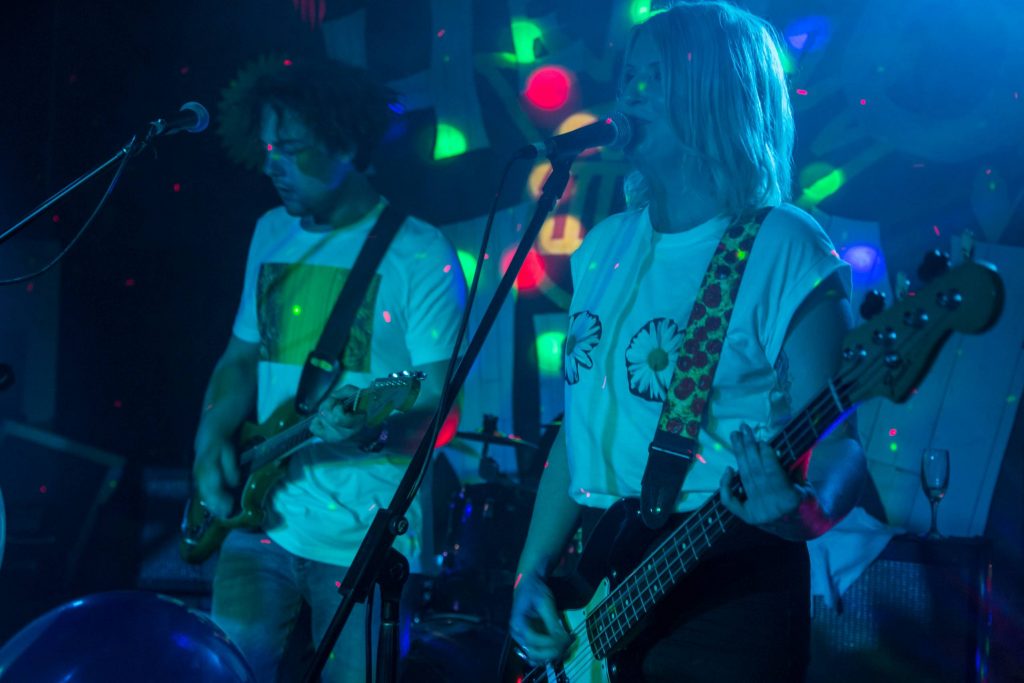
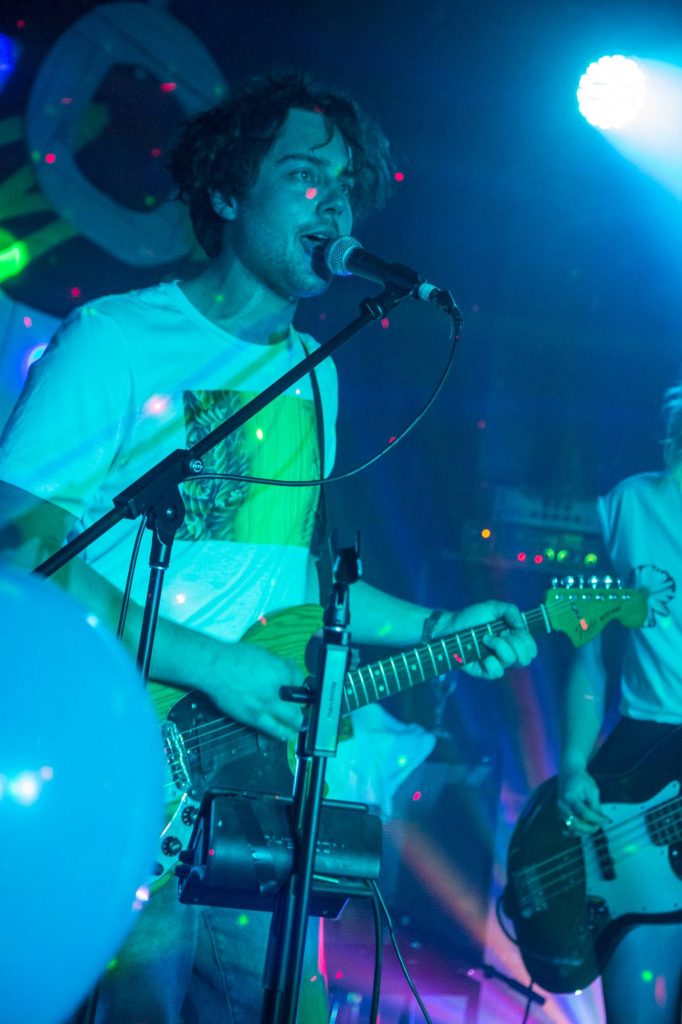
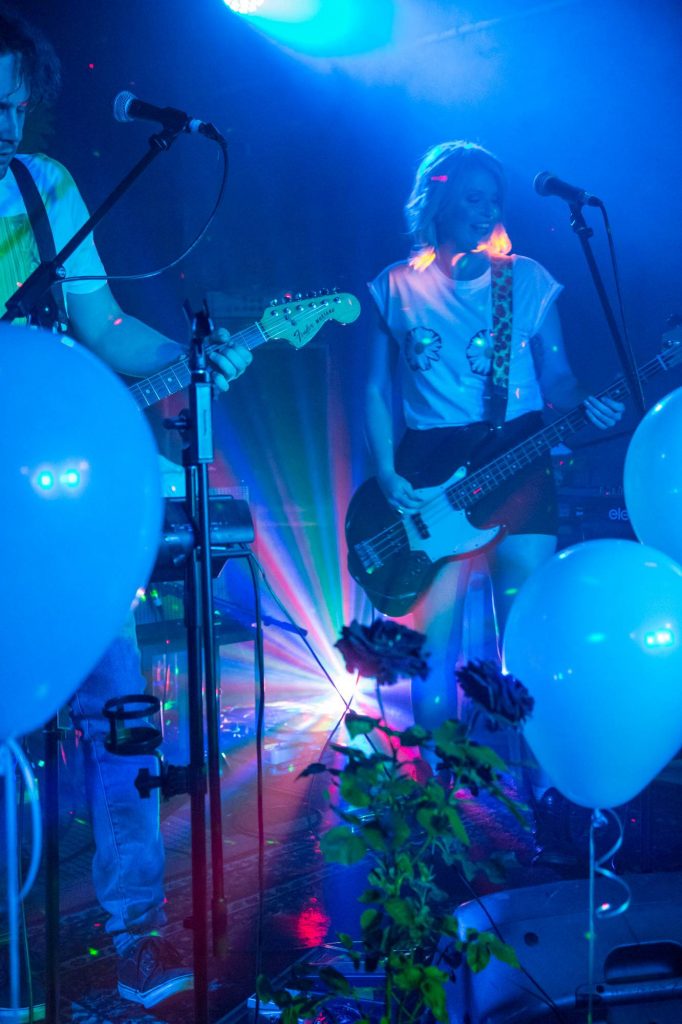
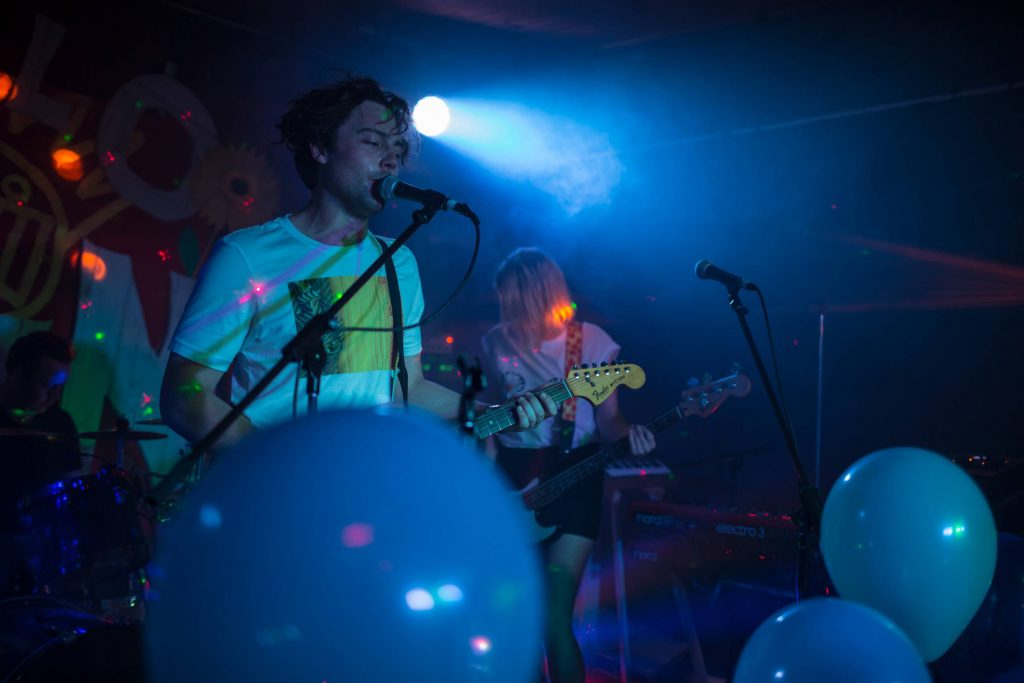
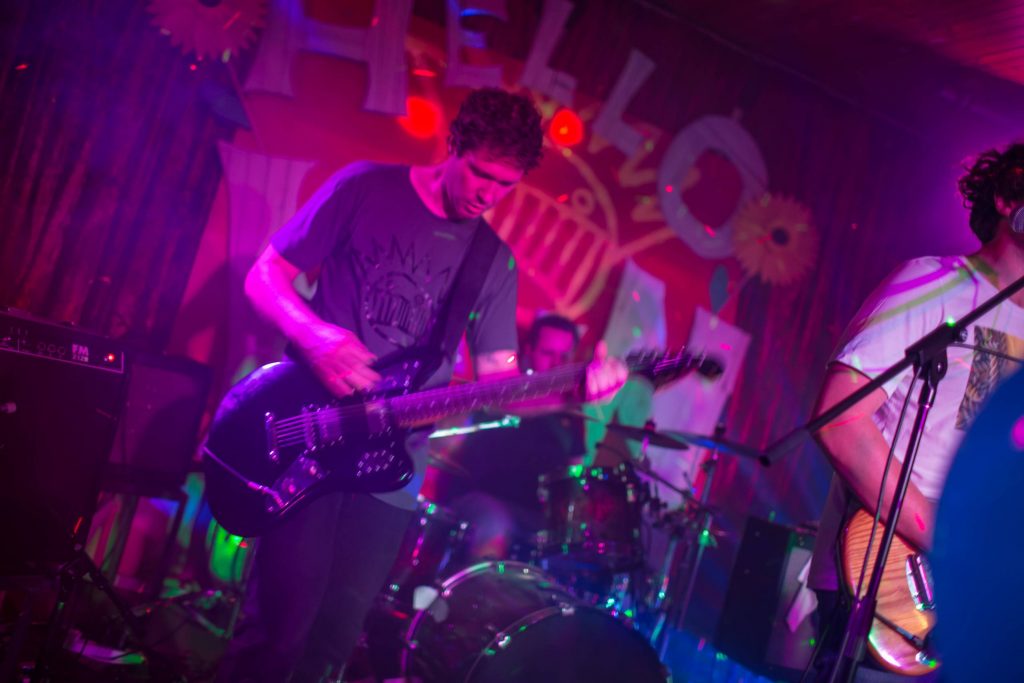
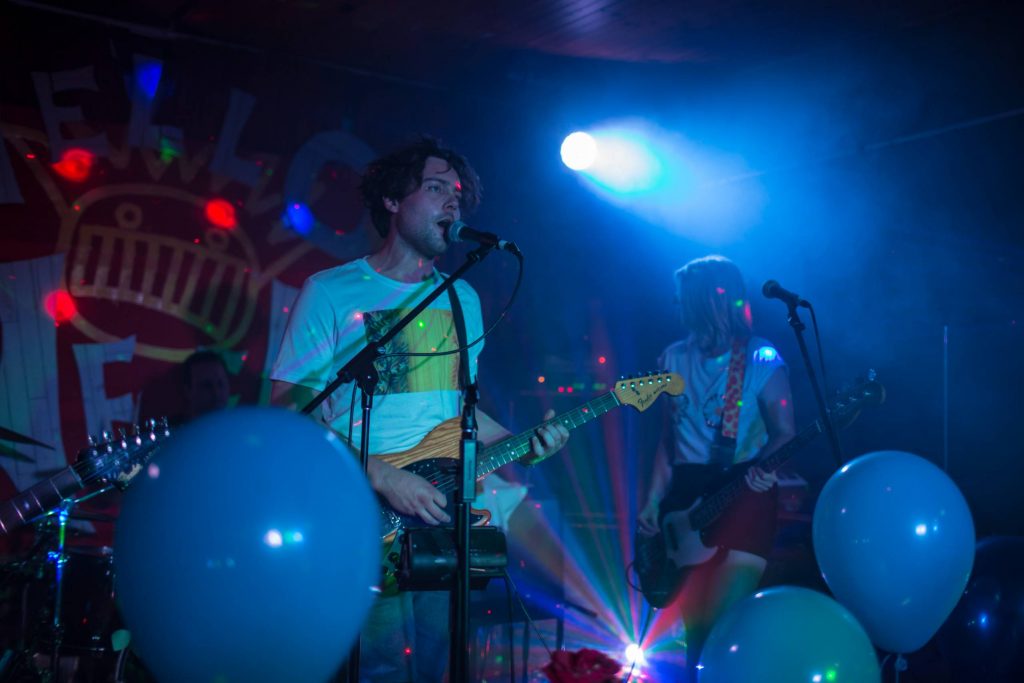
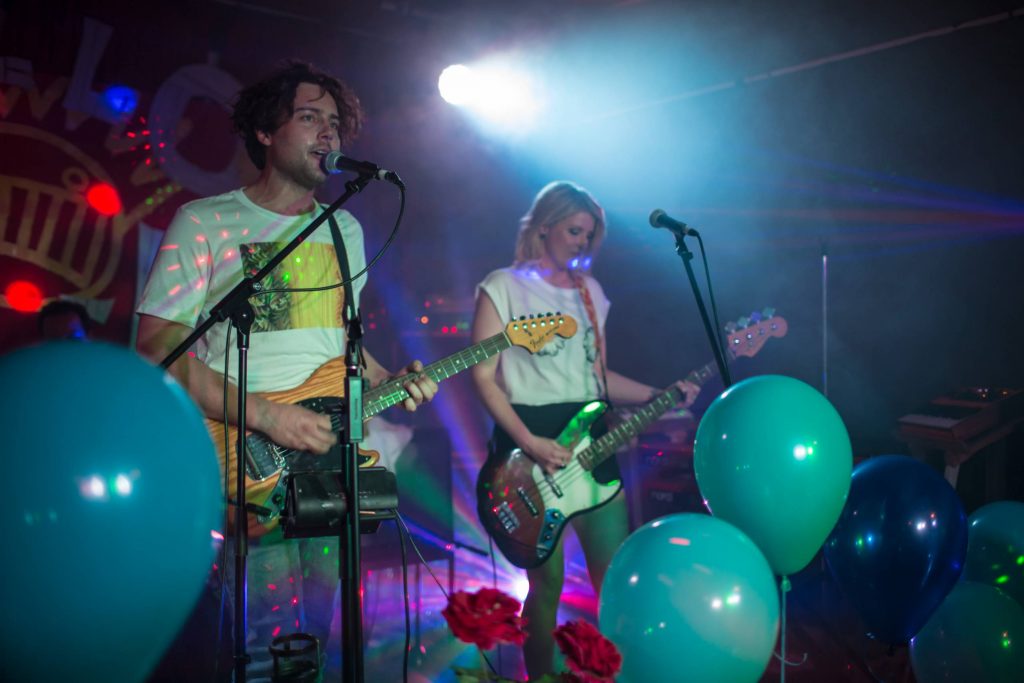
You know when you see friends on stage, and you’re just so happy for them? I’m not trying to be sucky or anything like that, but it’s always great to see people you love just doing what they love, while entertaining a bunch of friends and strangers alike. When I turned up, I knew I was a little late, but I didn’t know if Big Leage had started yet. I was queuing up, I heard music, but I thought “all good, that’s just the CD…” but it was Big League. They were great.
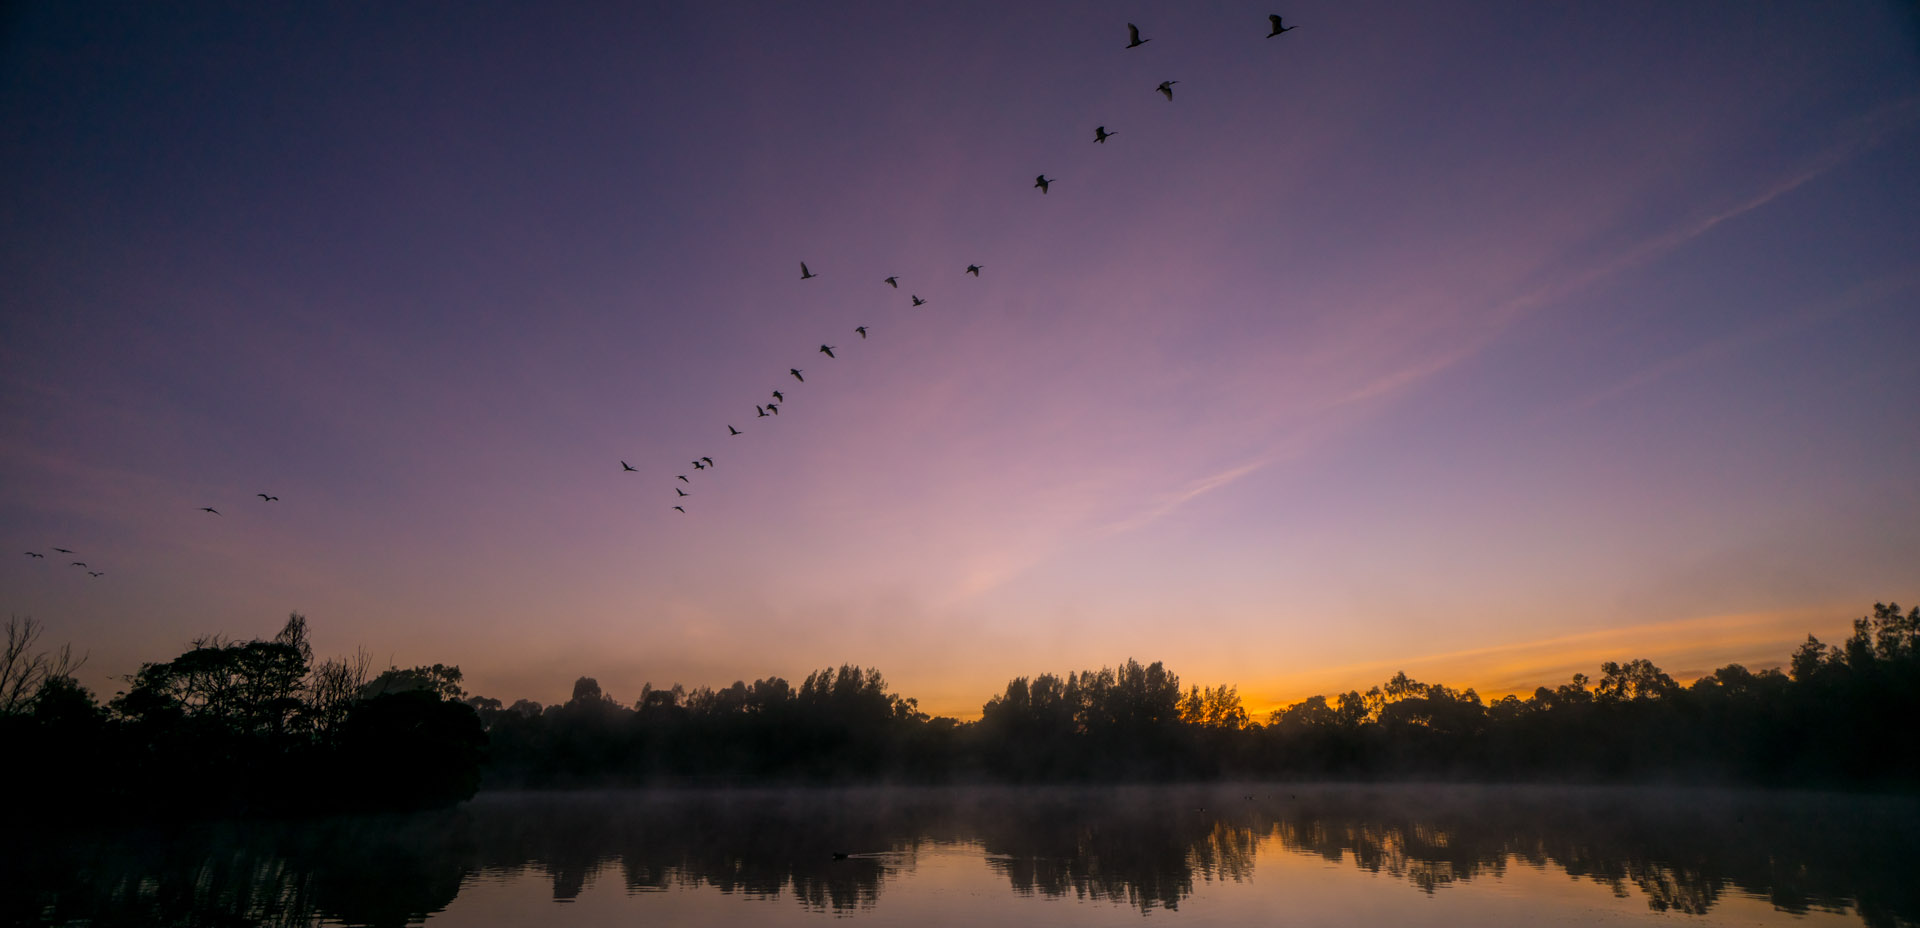
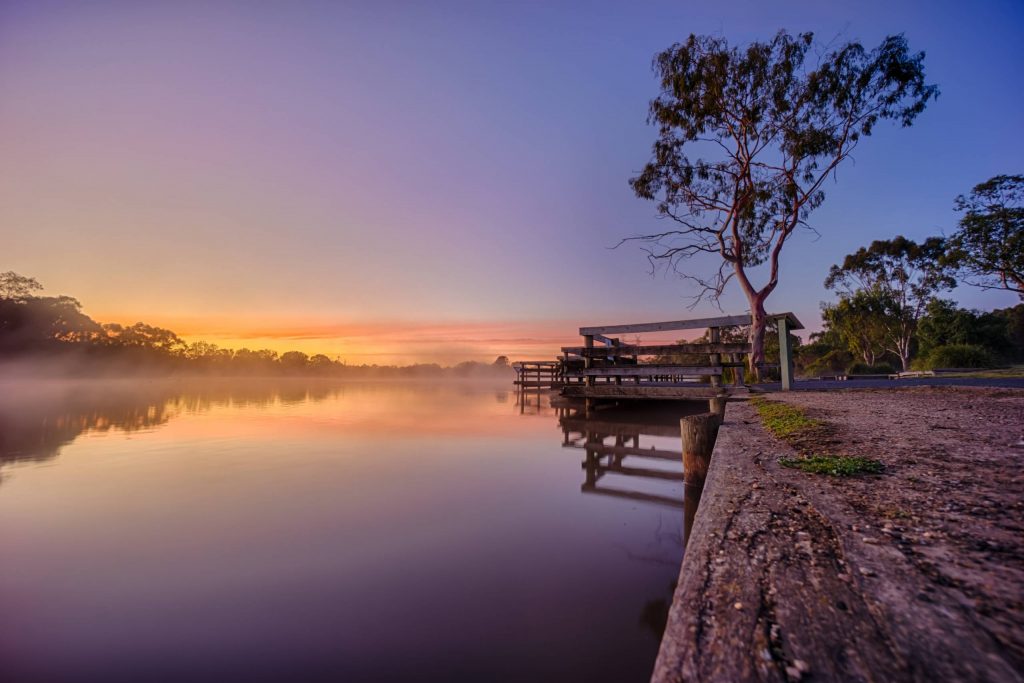
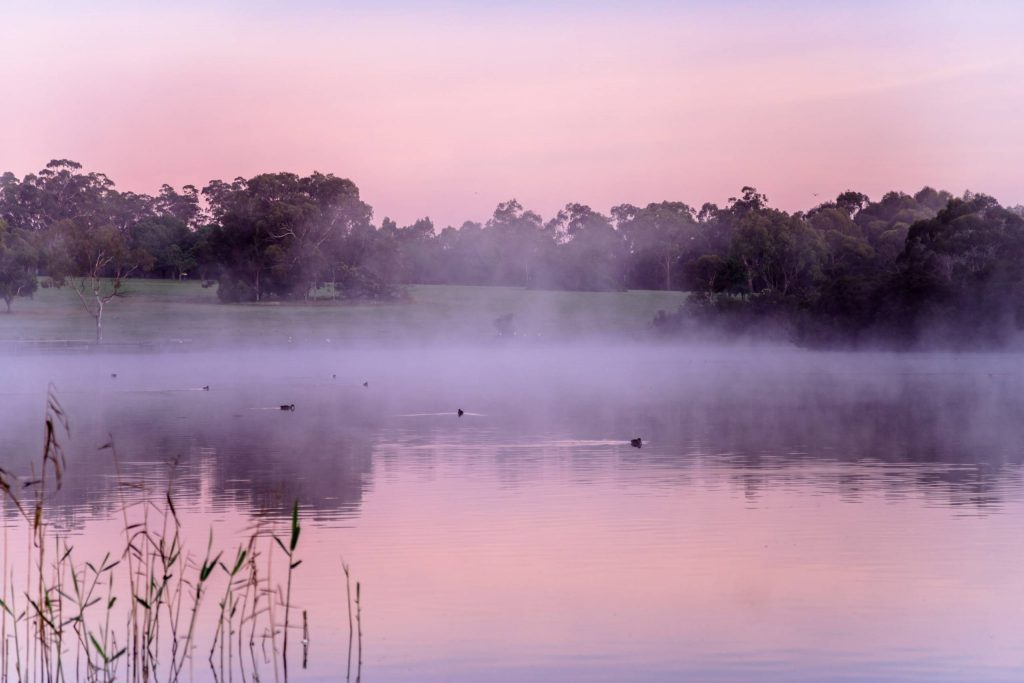
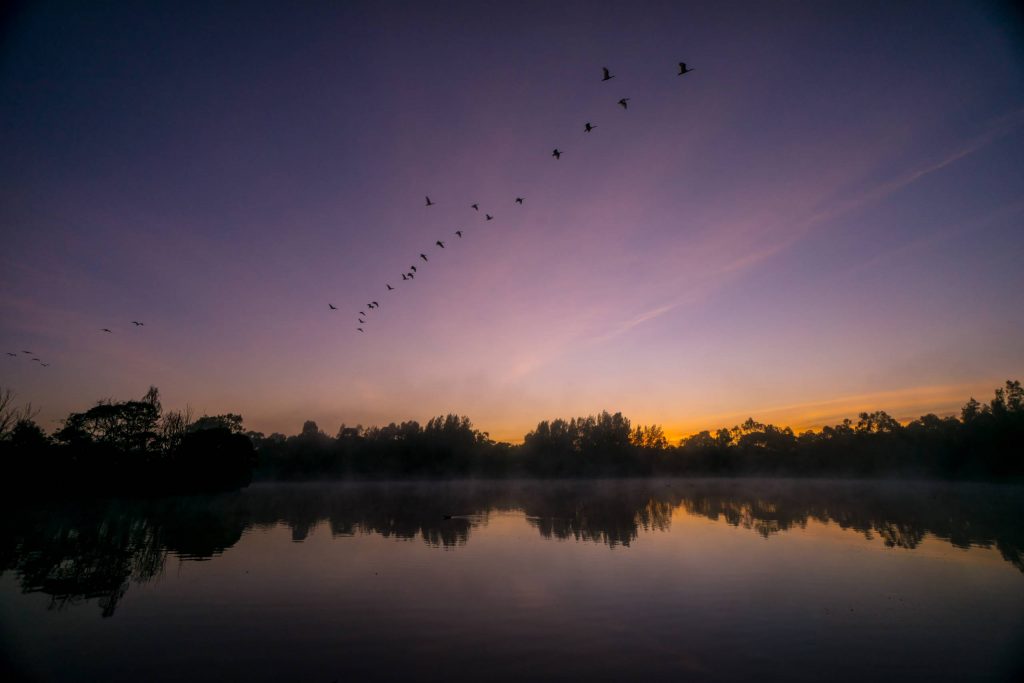
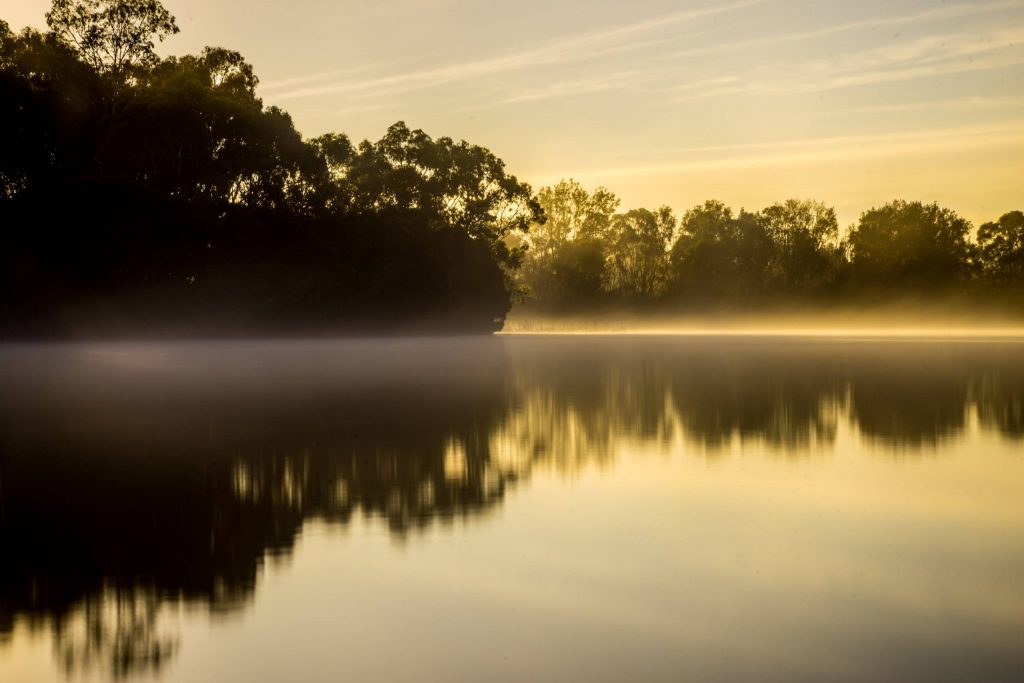
I’ve never been to Jells Lake at sunrise, let alone Jells Park at first light. I’ve had no real need, and to be honest, I didn’t really know much about it at all. But a local amateur photography competition(#SnapMonash) recently caught my interest, and the requirements are to capture a photograph in the City of Monash. So that led me to having a little explore. On to Google Maps I went, had a look in the region, and I thought ‘that might be nice’.
I used to live just around the corner, but I wasn’t really in to photography back then. And having never been, I had no idea what I’d find, but I’m really happy I got up at 5am on Wednesday morning to check it out . The fog on the water, all the wild life, beautiful colour in the sky – the morning was really rad.
As for the competition, it’s being run from the Monash Gallery of Art and The Glen Shopping Centre. There aren’t too many entries yet on Instagram (check out the #snapmonash hashtag), but this kind of stuff really needs grass-roots support. I’m not a professional photographer, but it really is a massive passion of mine. And the only way these competitions run and encourage people with their passions, is if they get the entries. For all the details, check out the #SnapMonash Competition page
Anyways, here are my photos – I hope you like what I’ve found, and equally, get down there yourself. I just hope I submitted the right one. They say you can enter multiple times, but I don’t wanna be ‘that guy’…
Tree on the Edge. Just before the sun pops up.
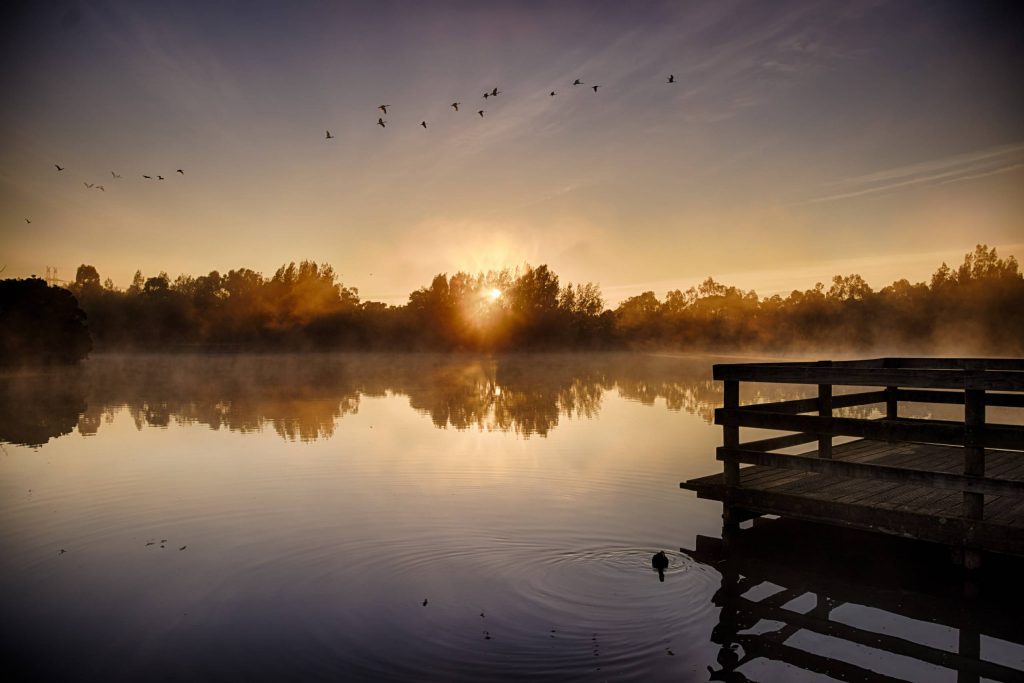
Those Legs Are Working. Ducking across the lake
Flying in Straight Lines. Crossing the river at first light.
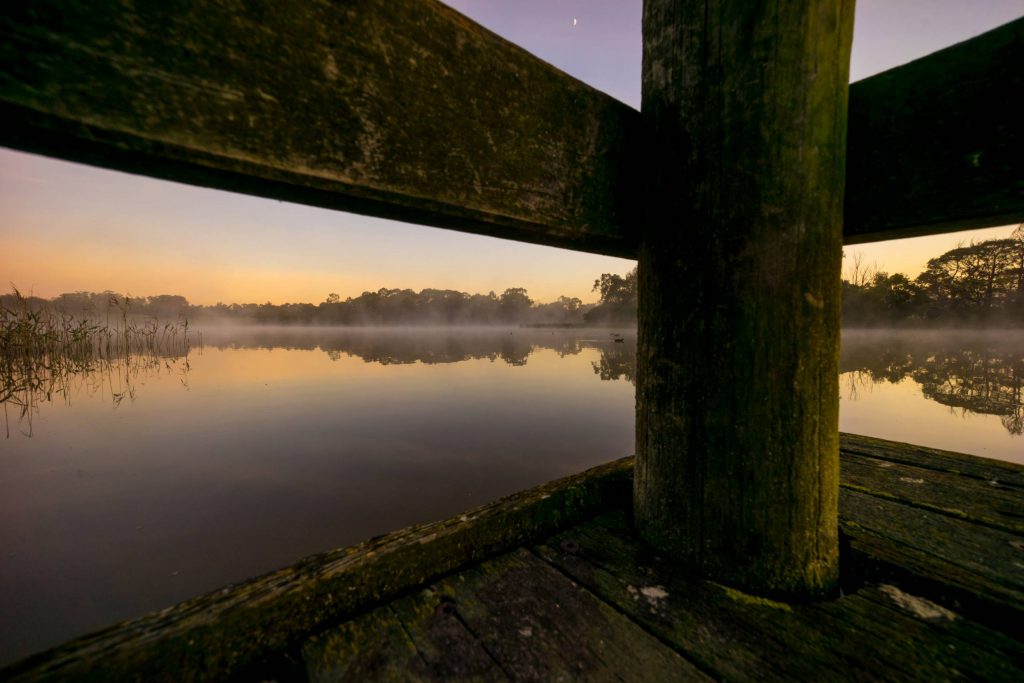
Fog’s Up, Moon’s up, Sun’s Down. Jells Lake Jetty, just before Sunrise.
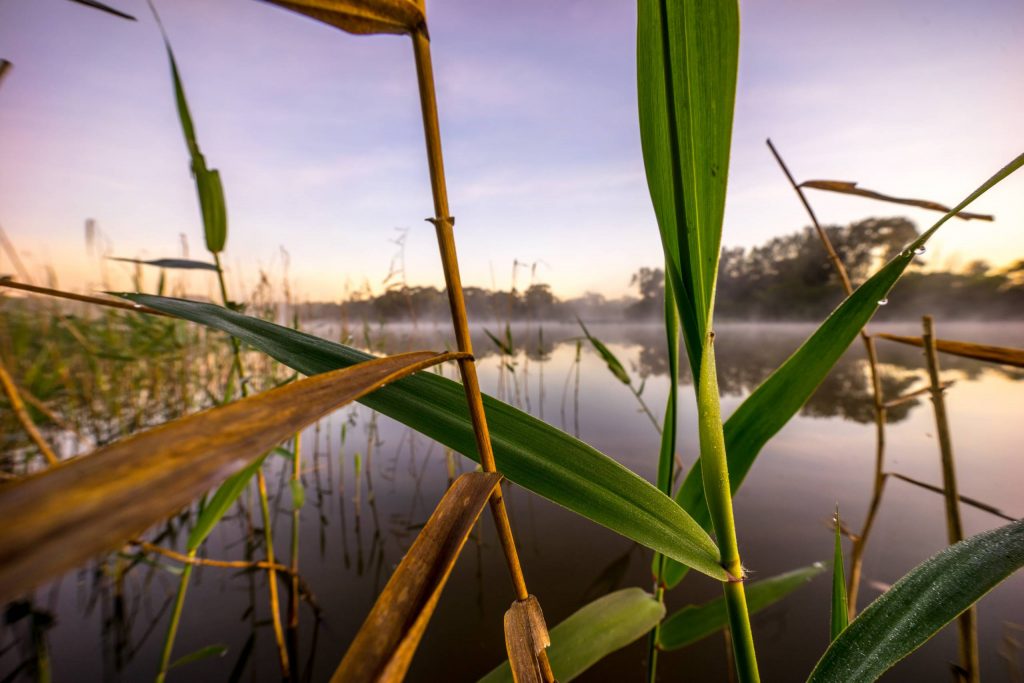
Grass on the glass lake. Beautiful light at Jells Lake.
Birds of a feather… Flying over Jells Lake at Sunrise
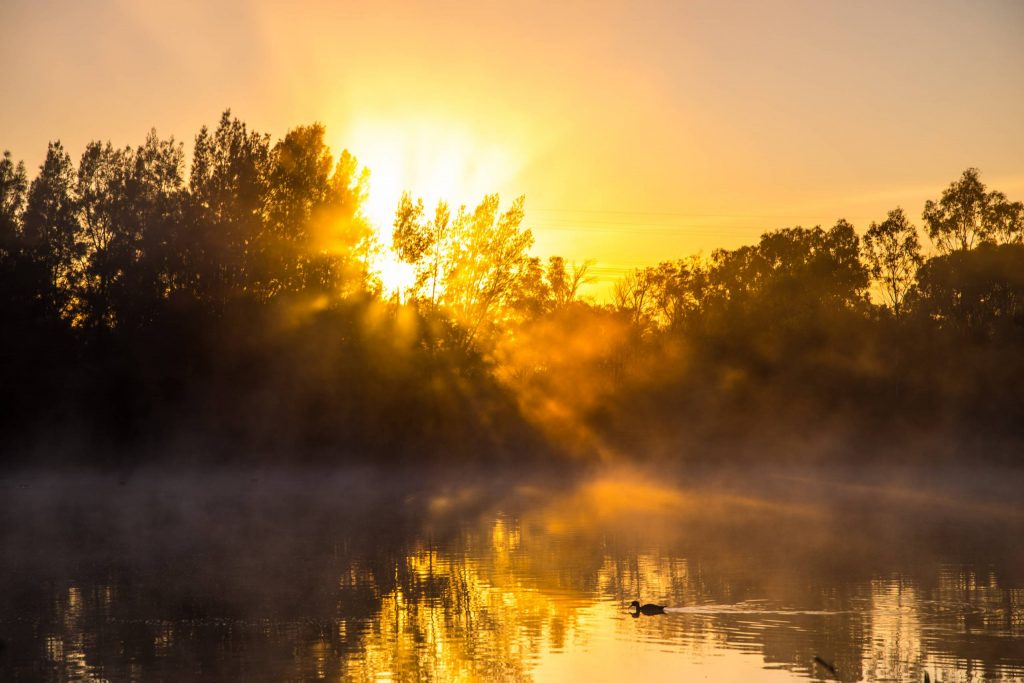
Sun Punching Through. And ready to burn off the fog.
Smoke on the Water. Long exposure with fog floating on the surface.
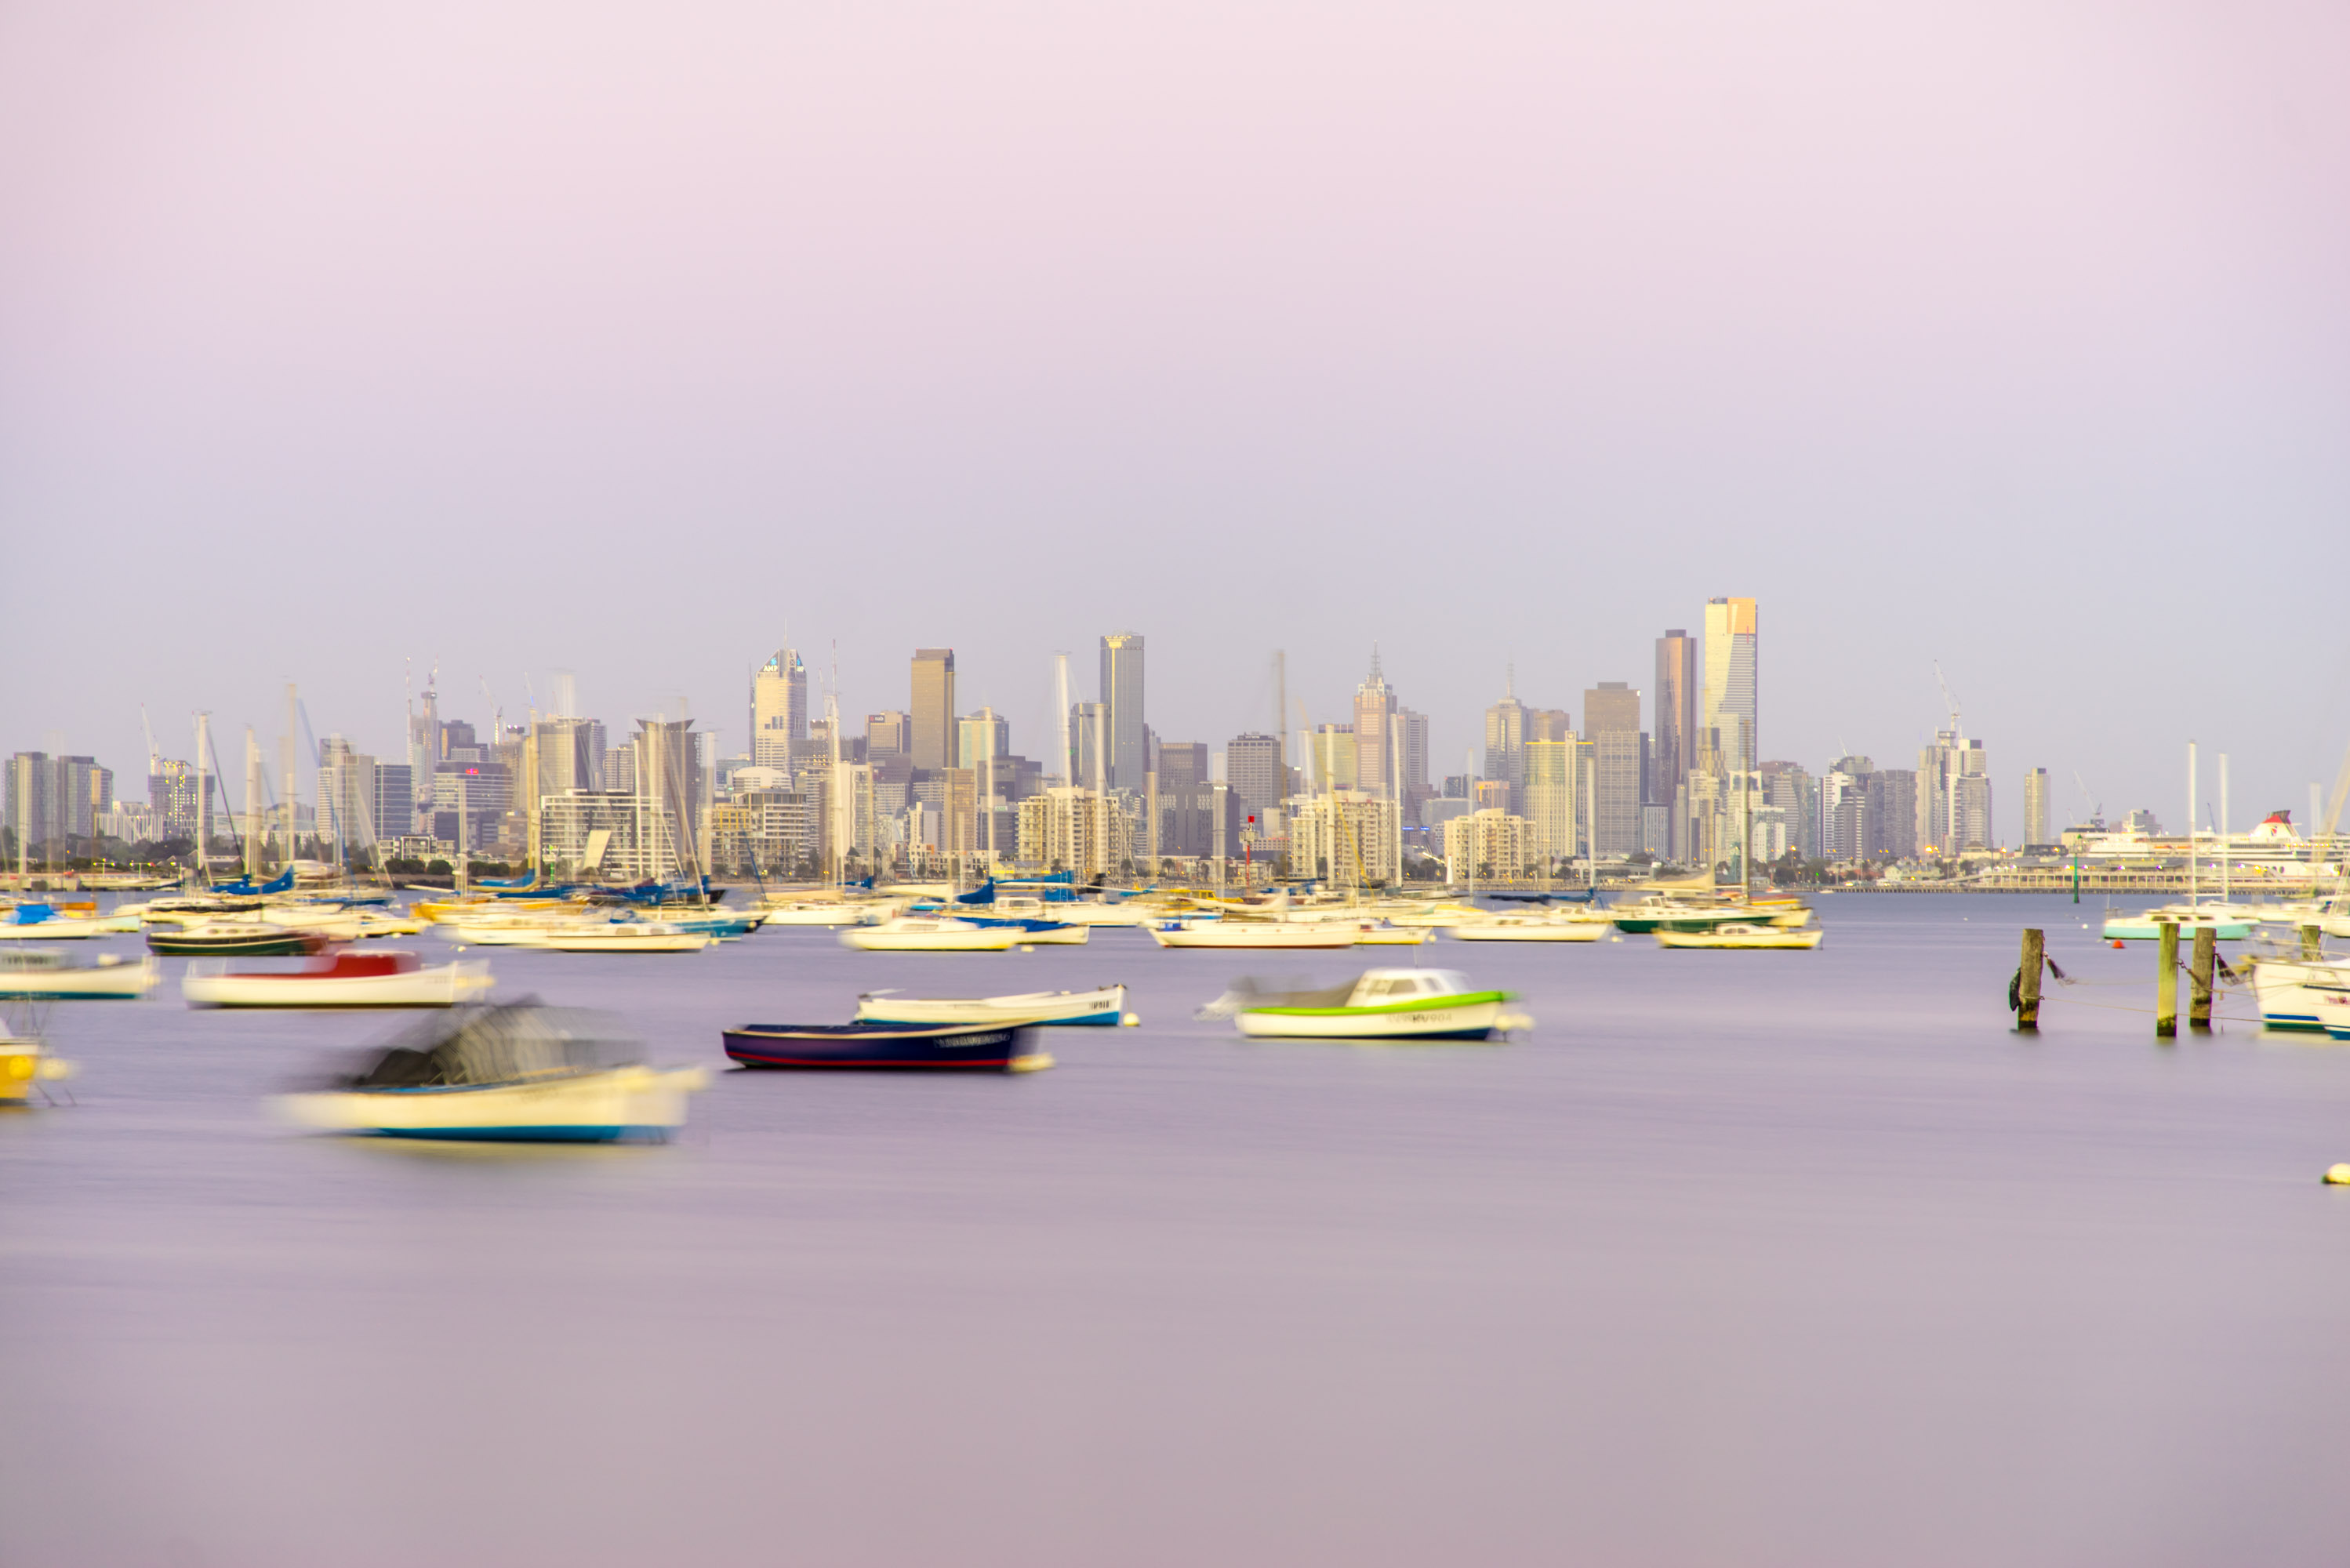
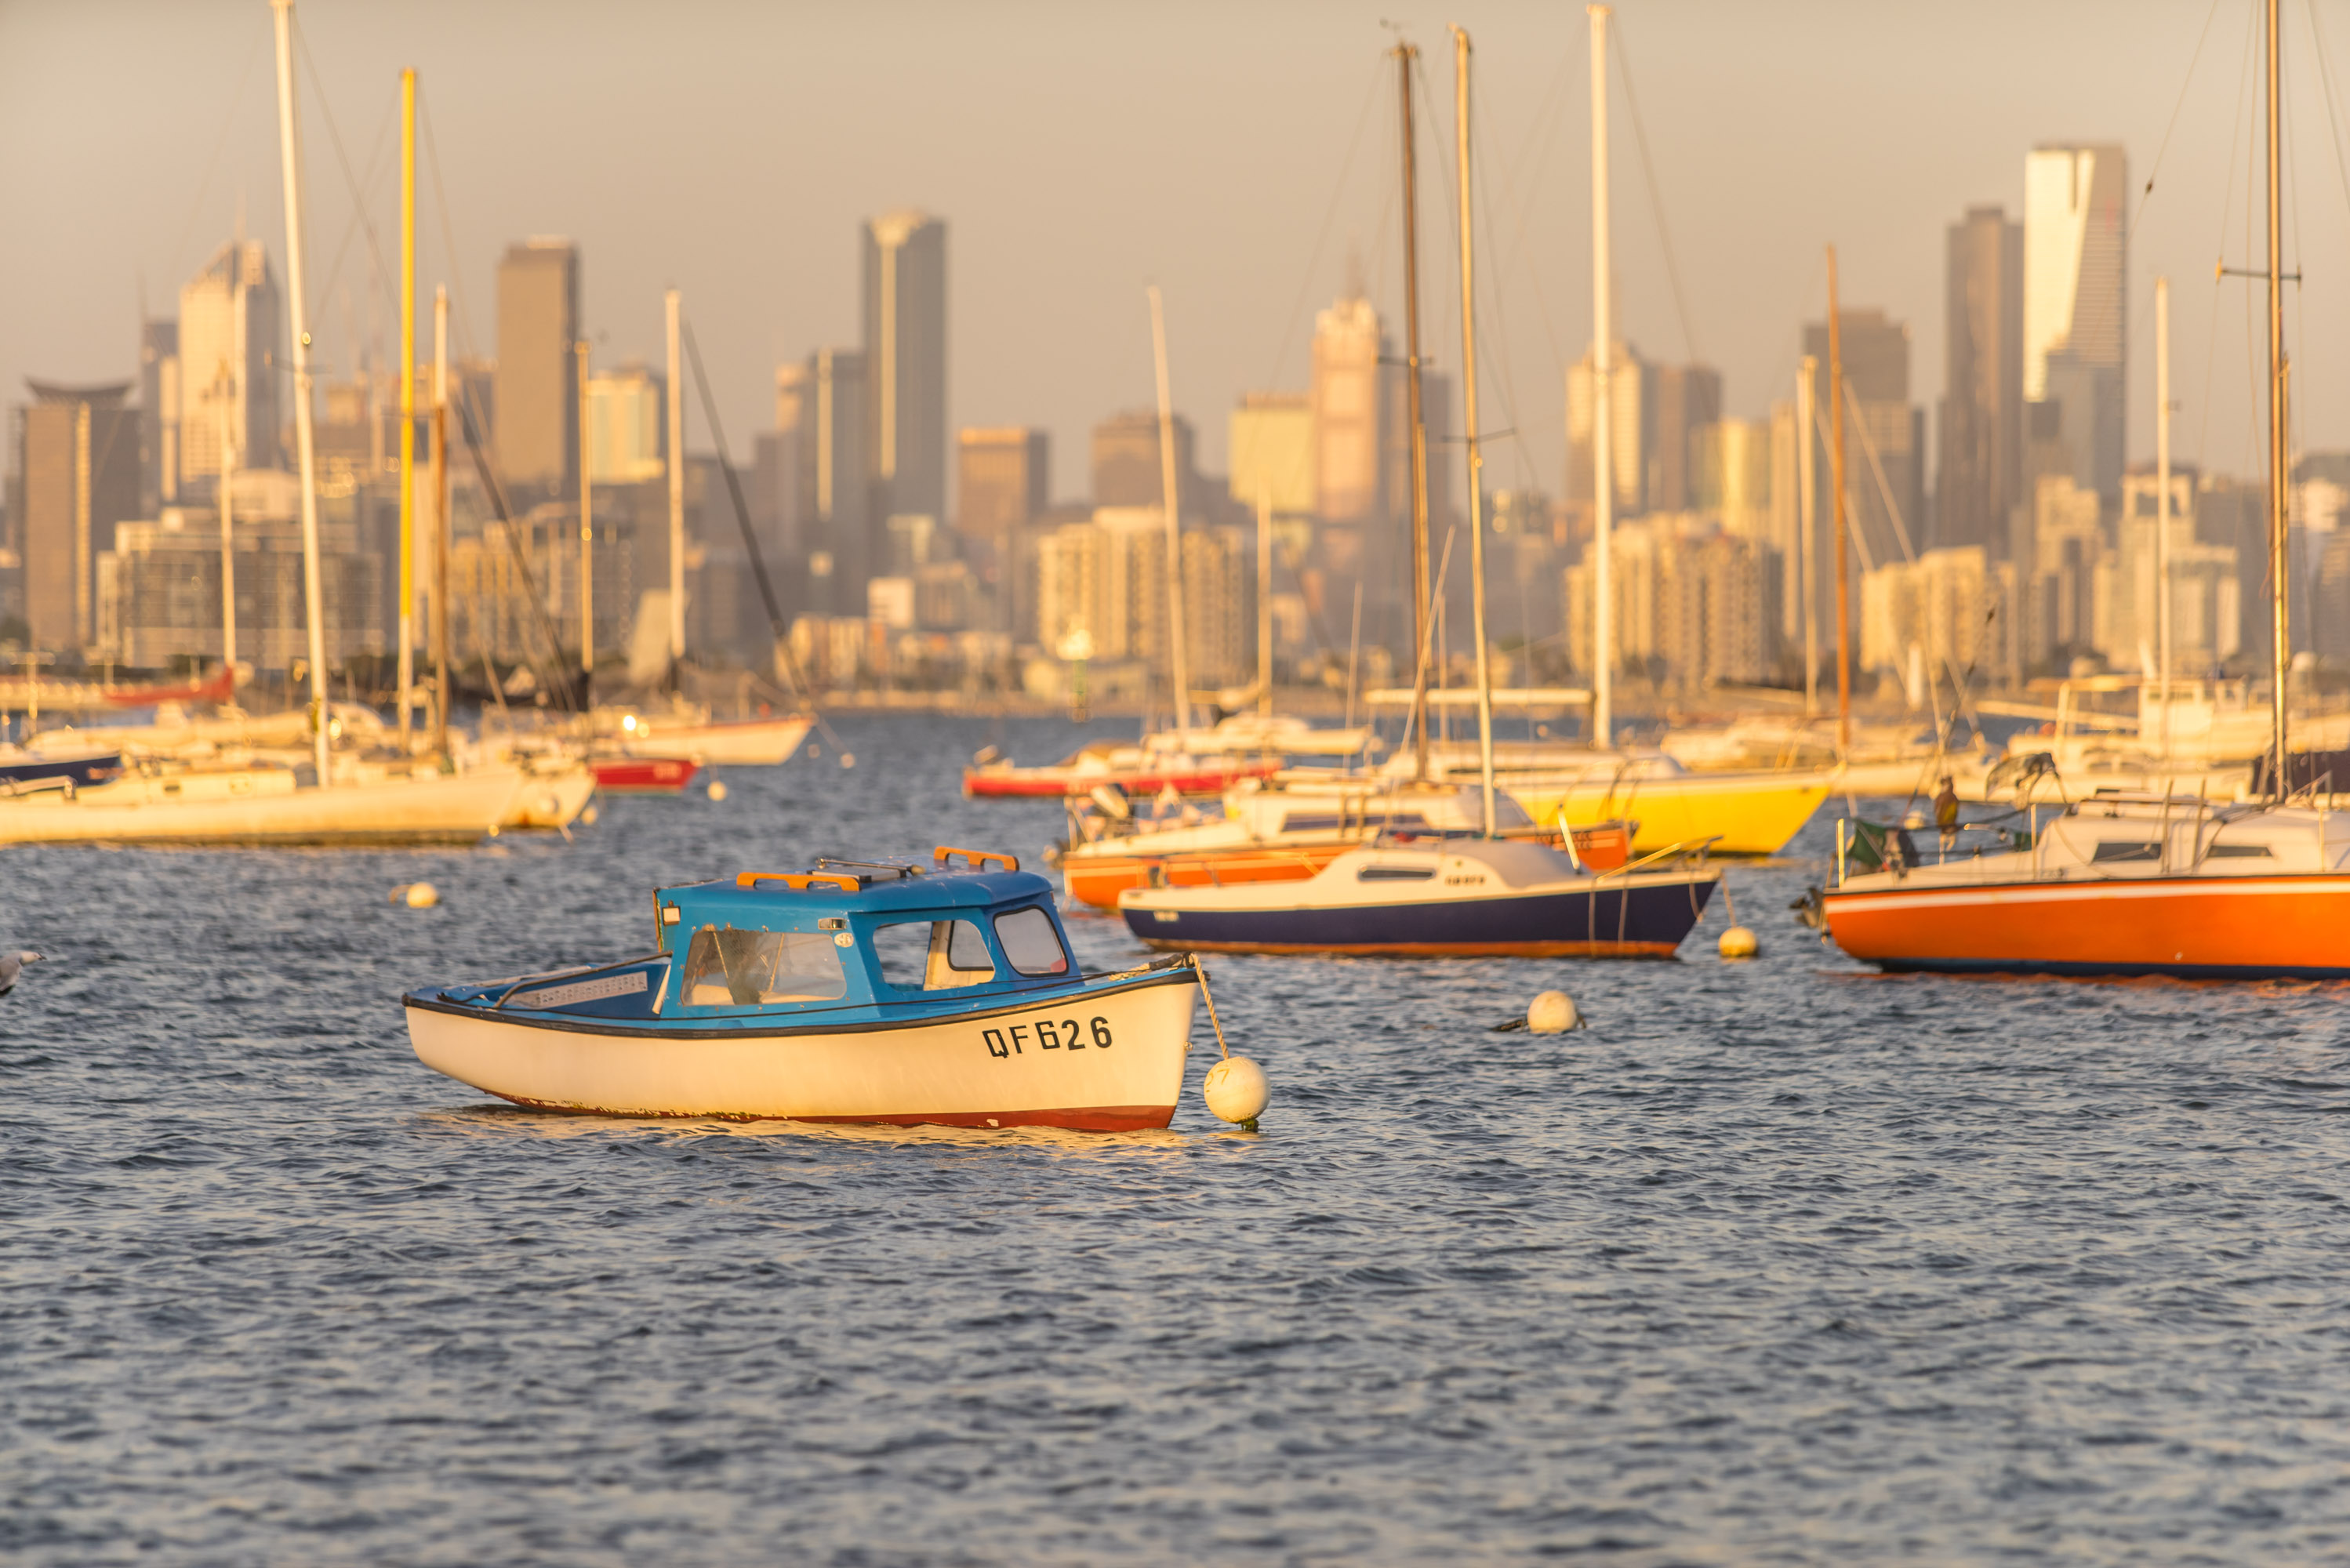
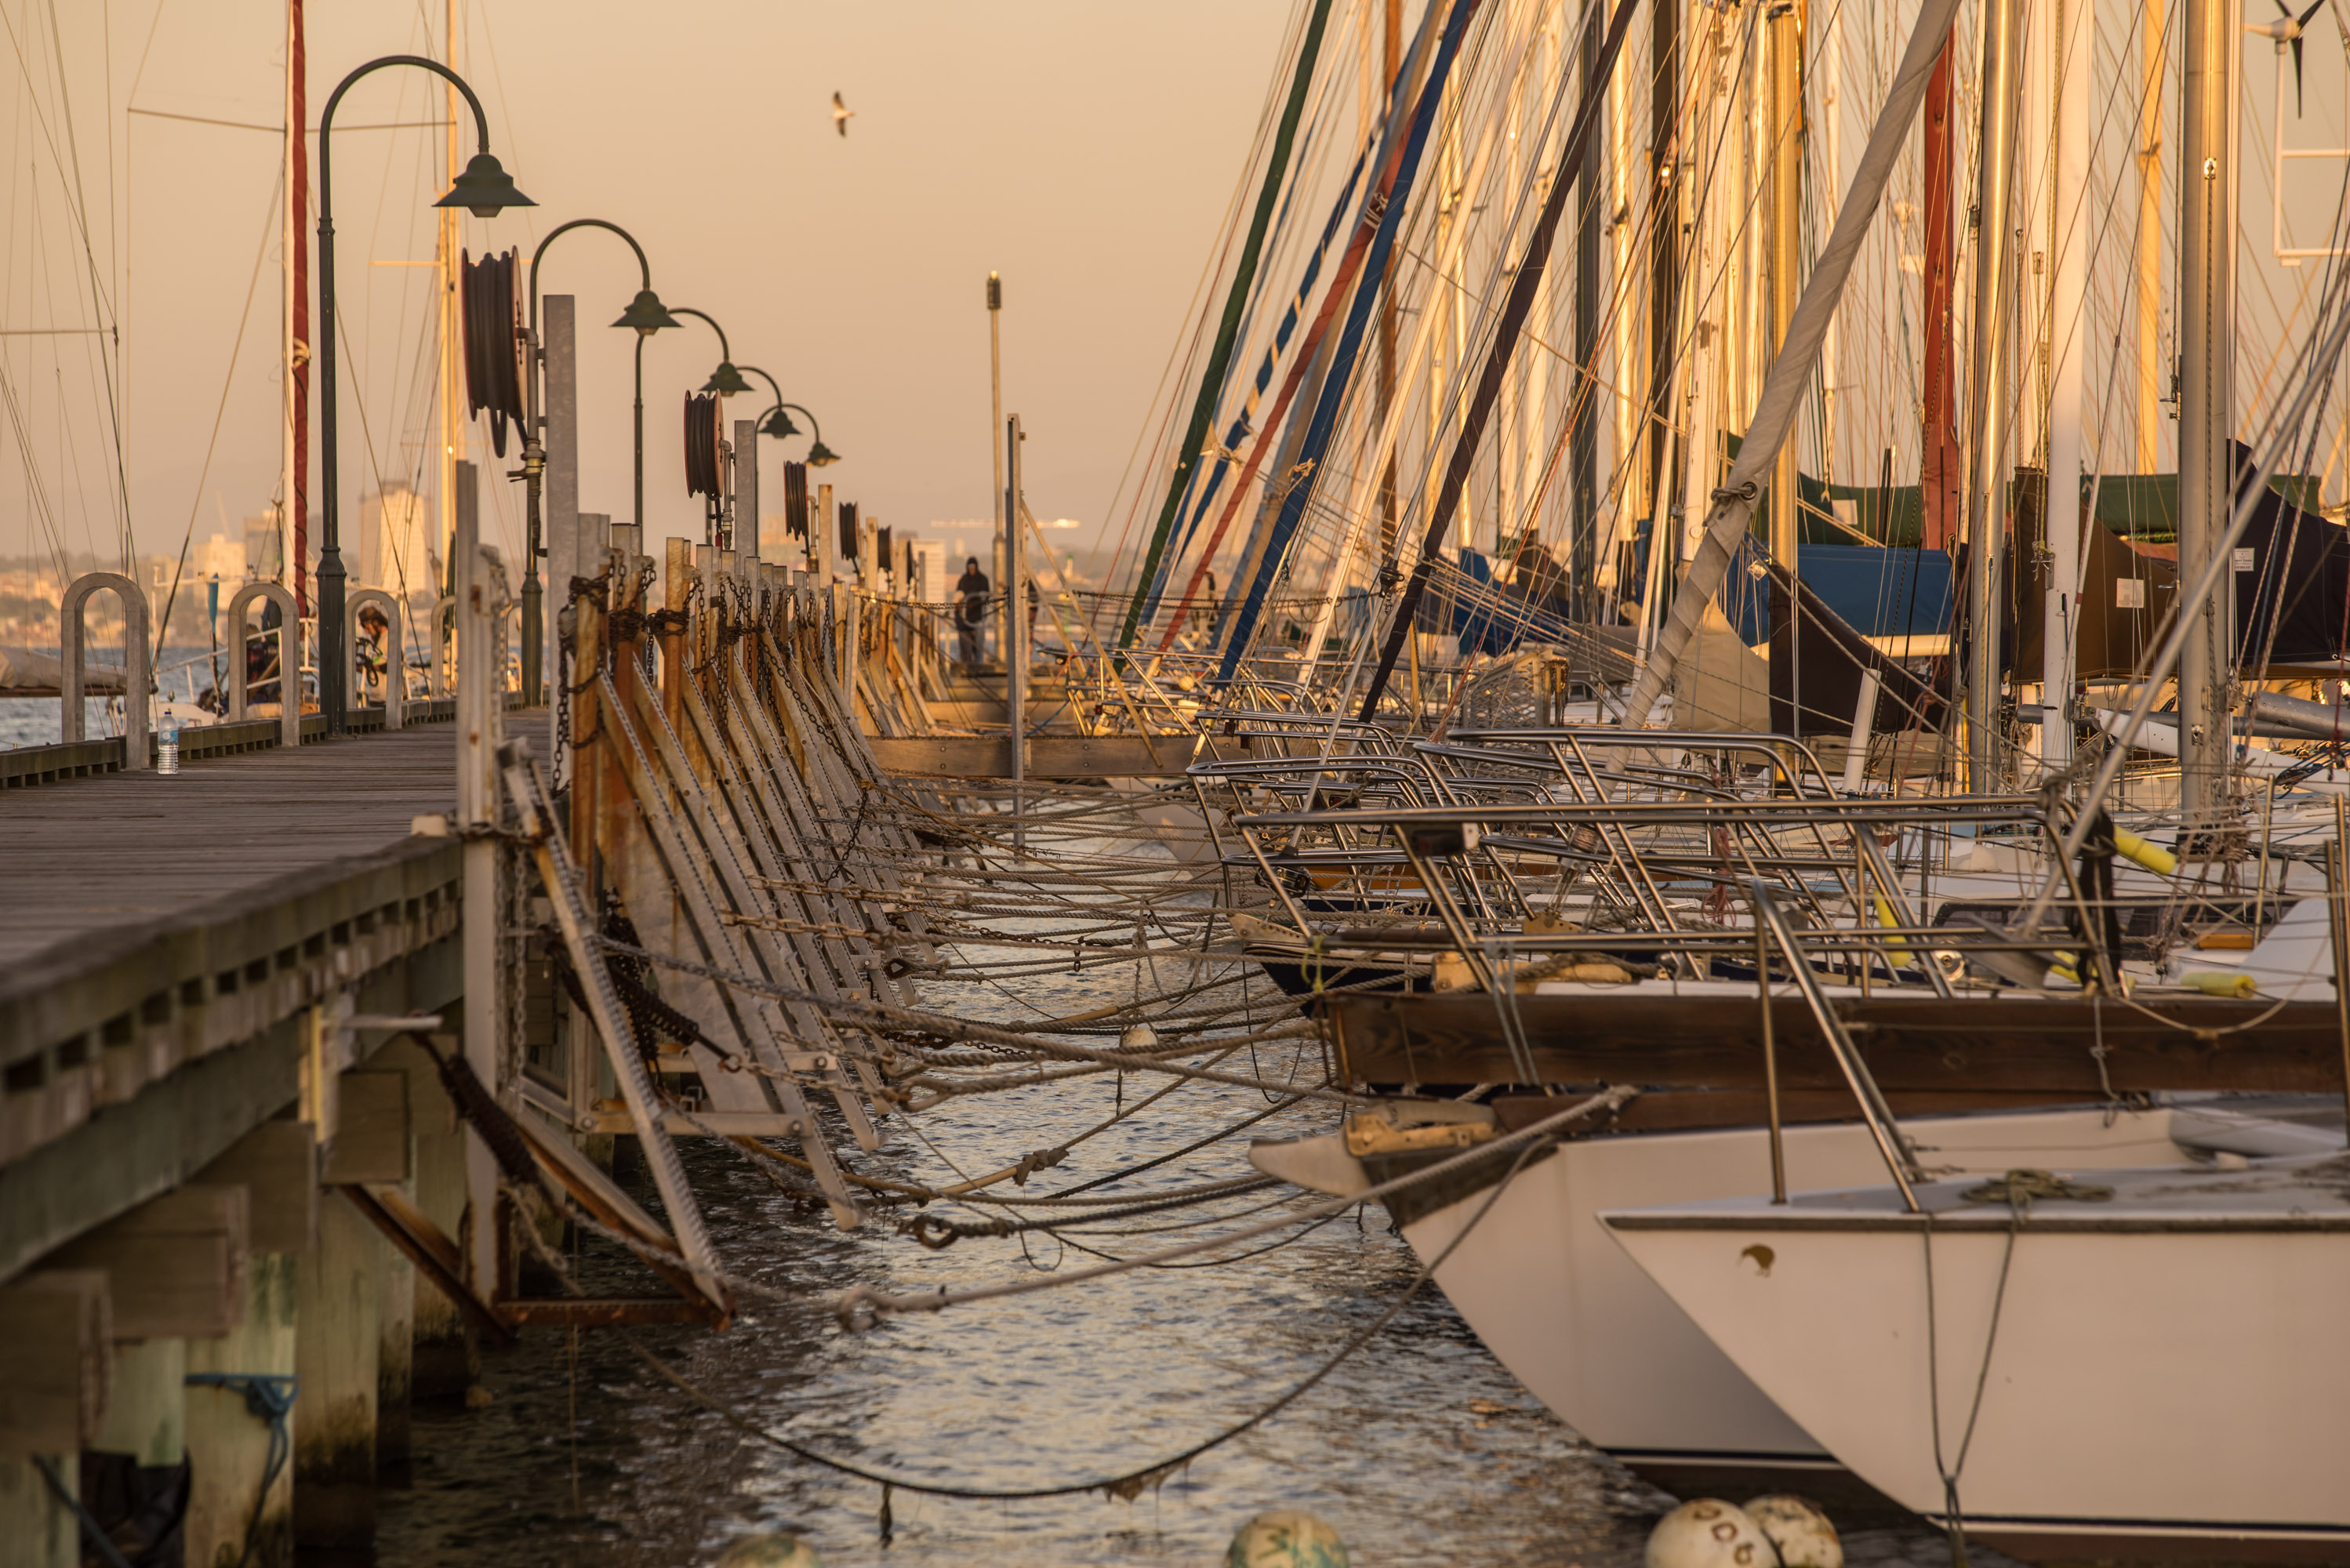
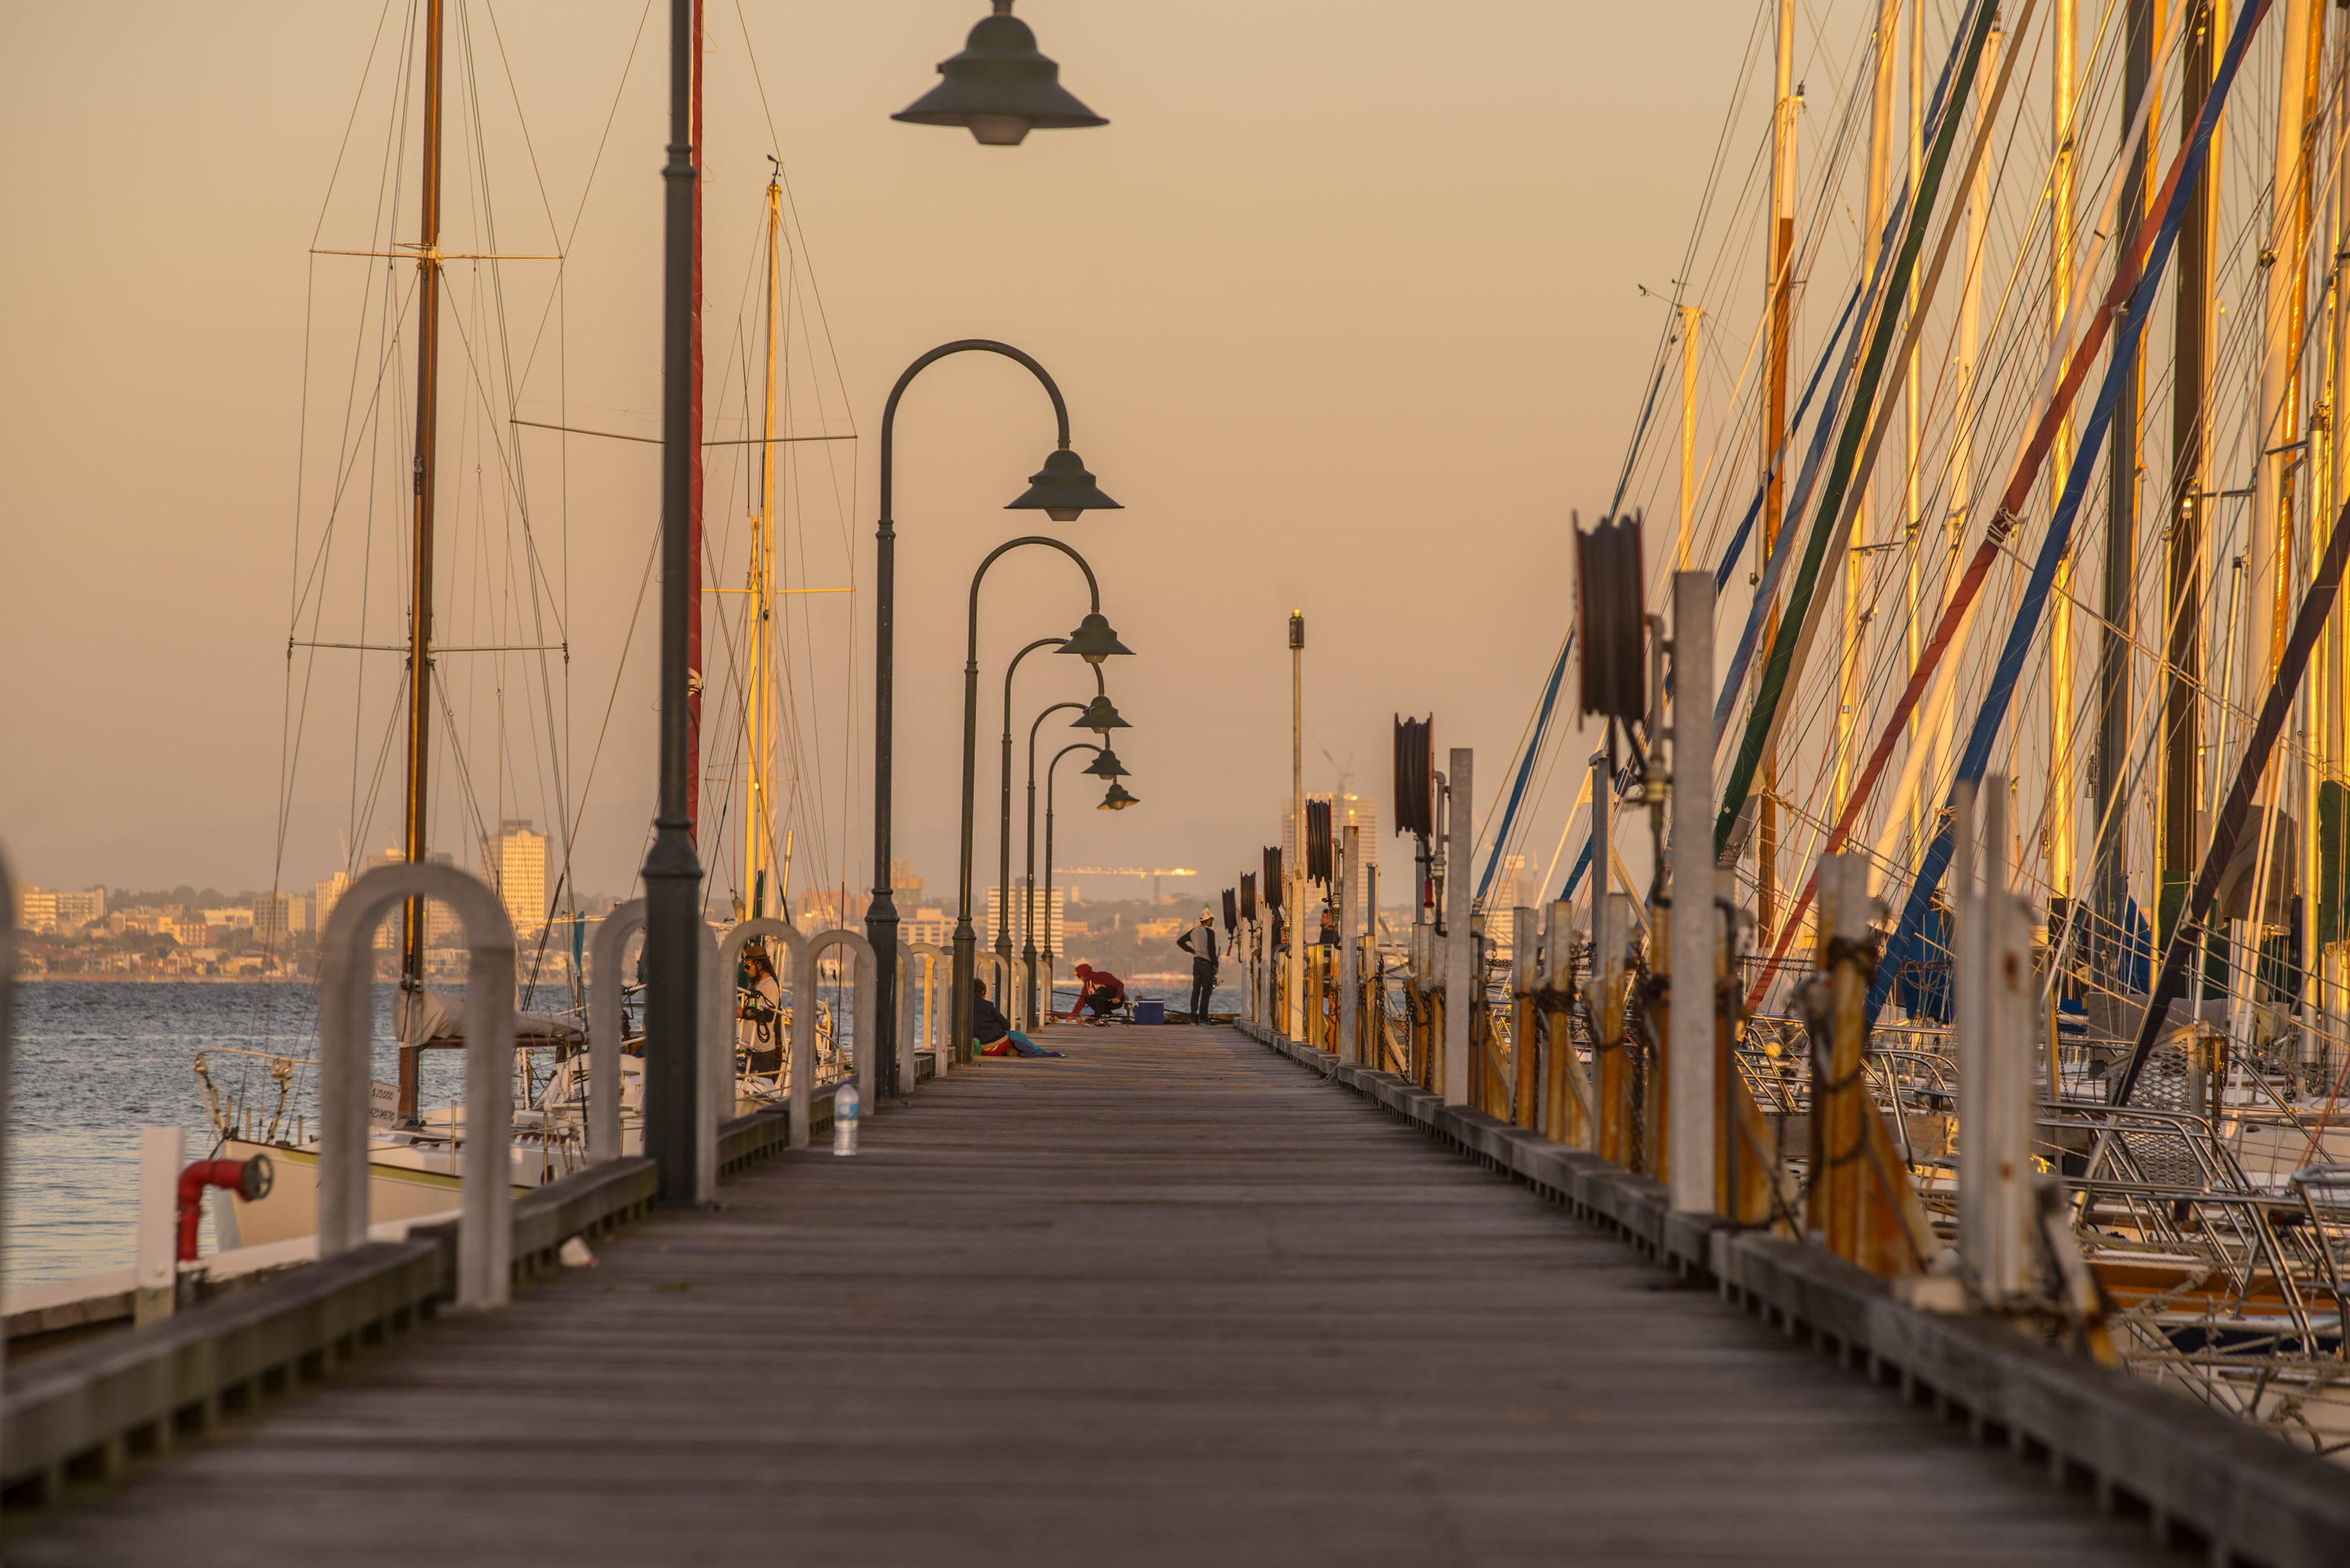
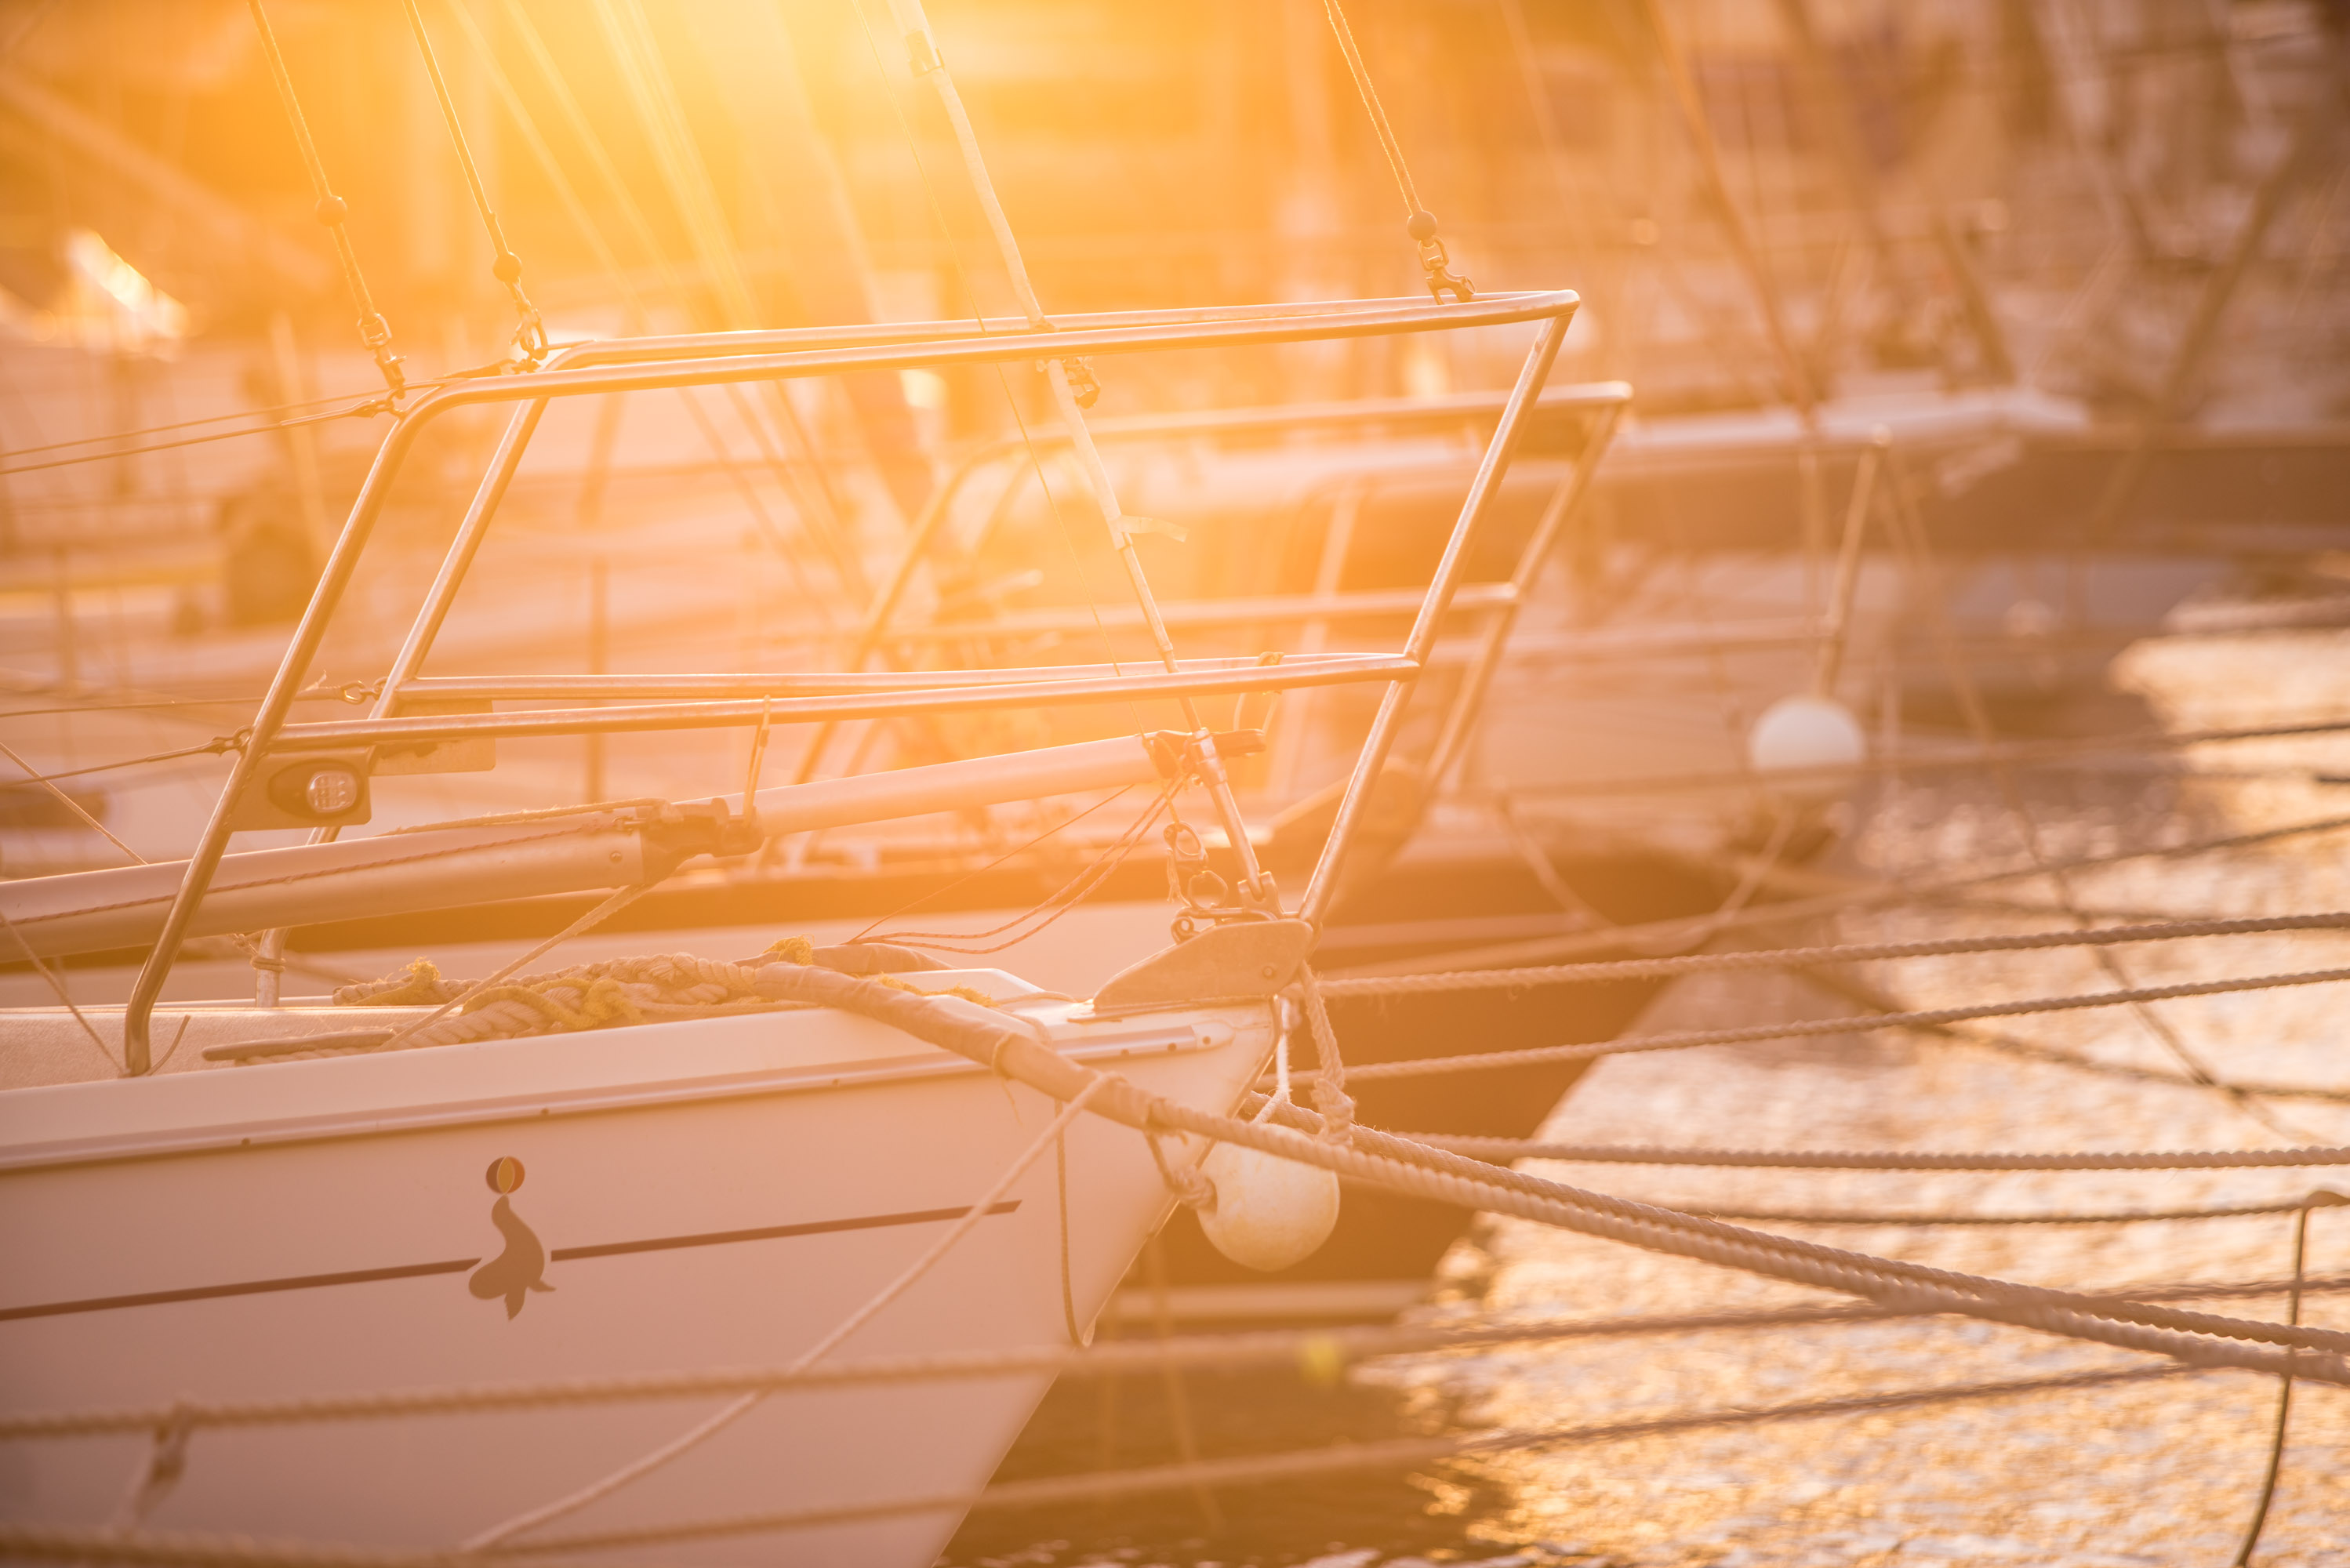
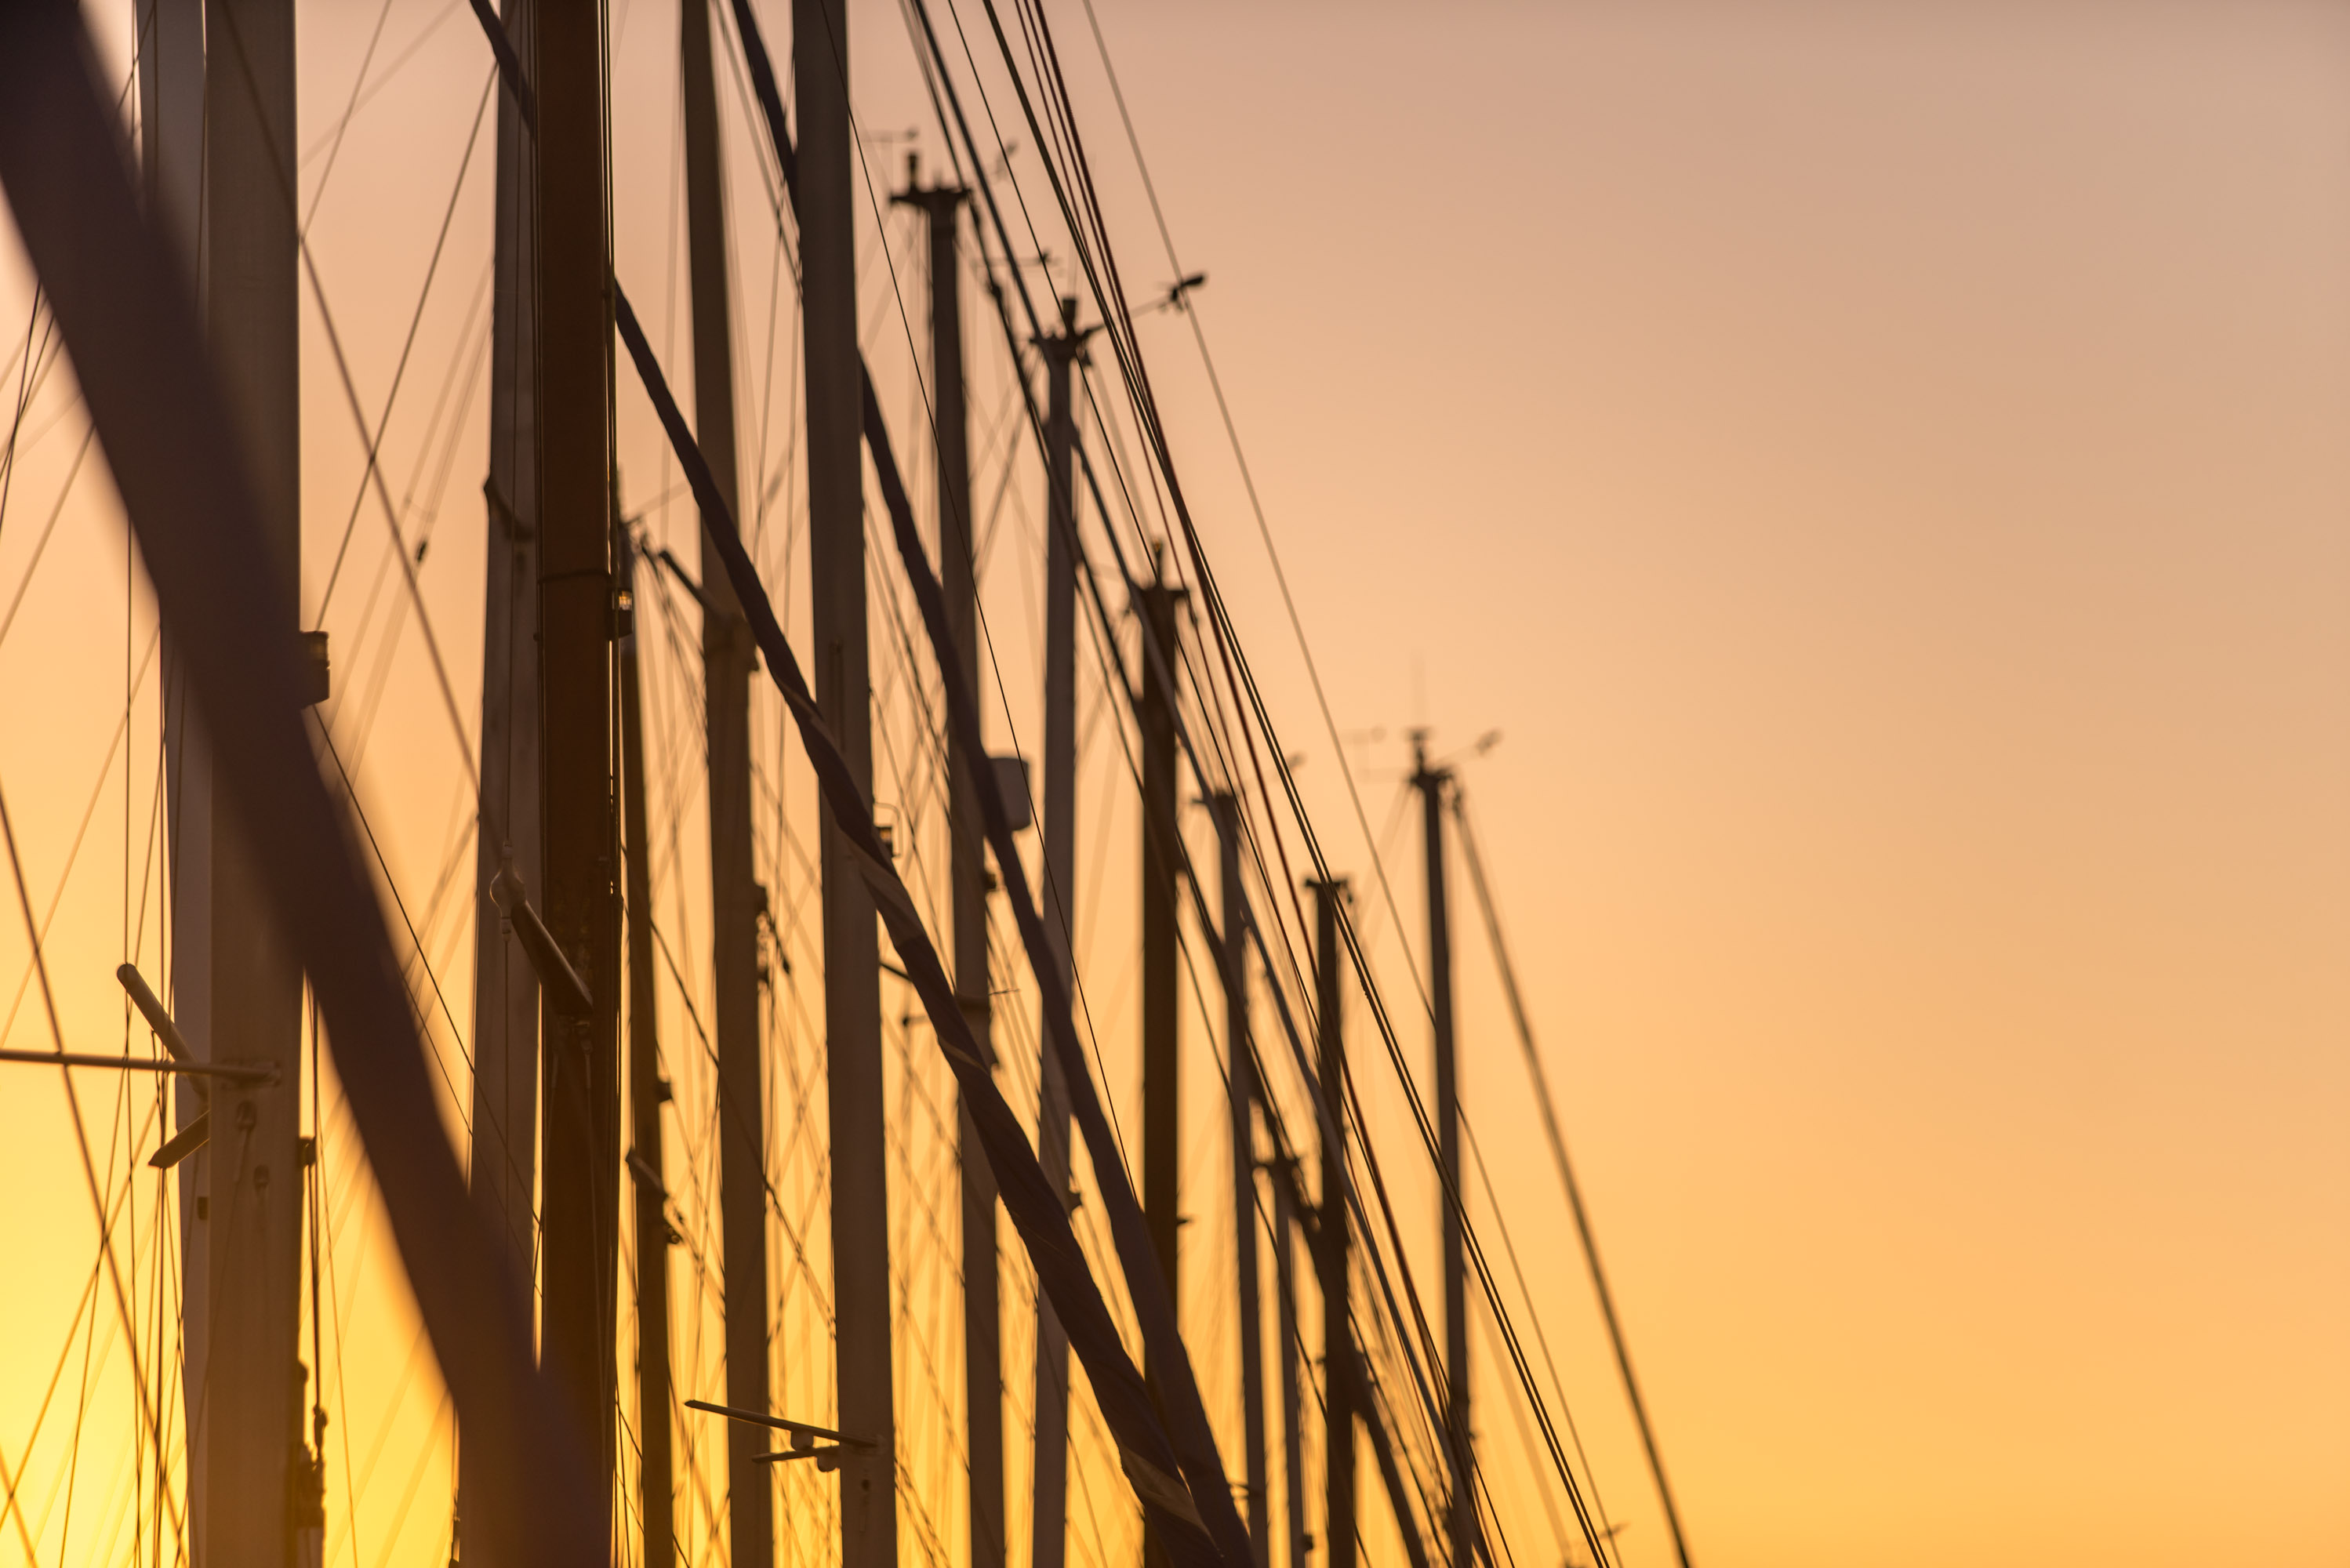
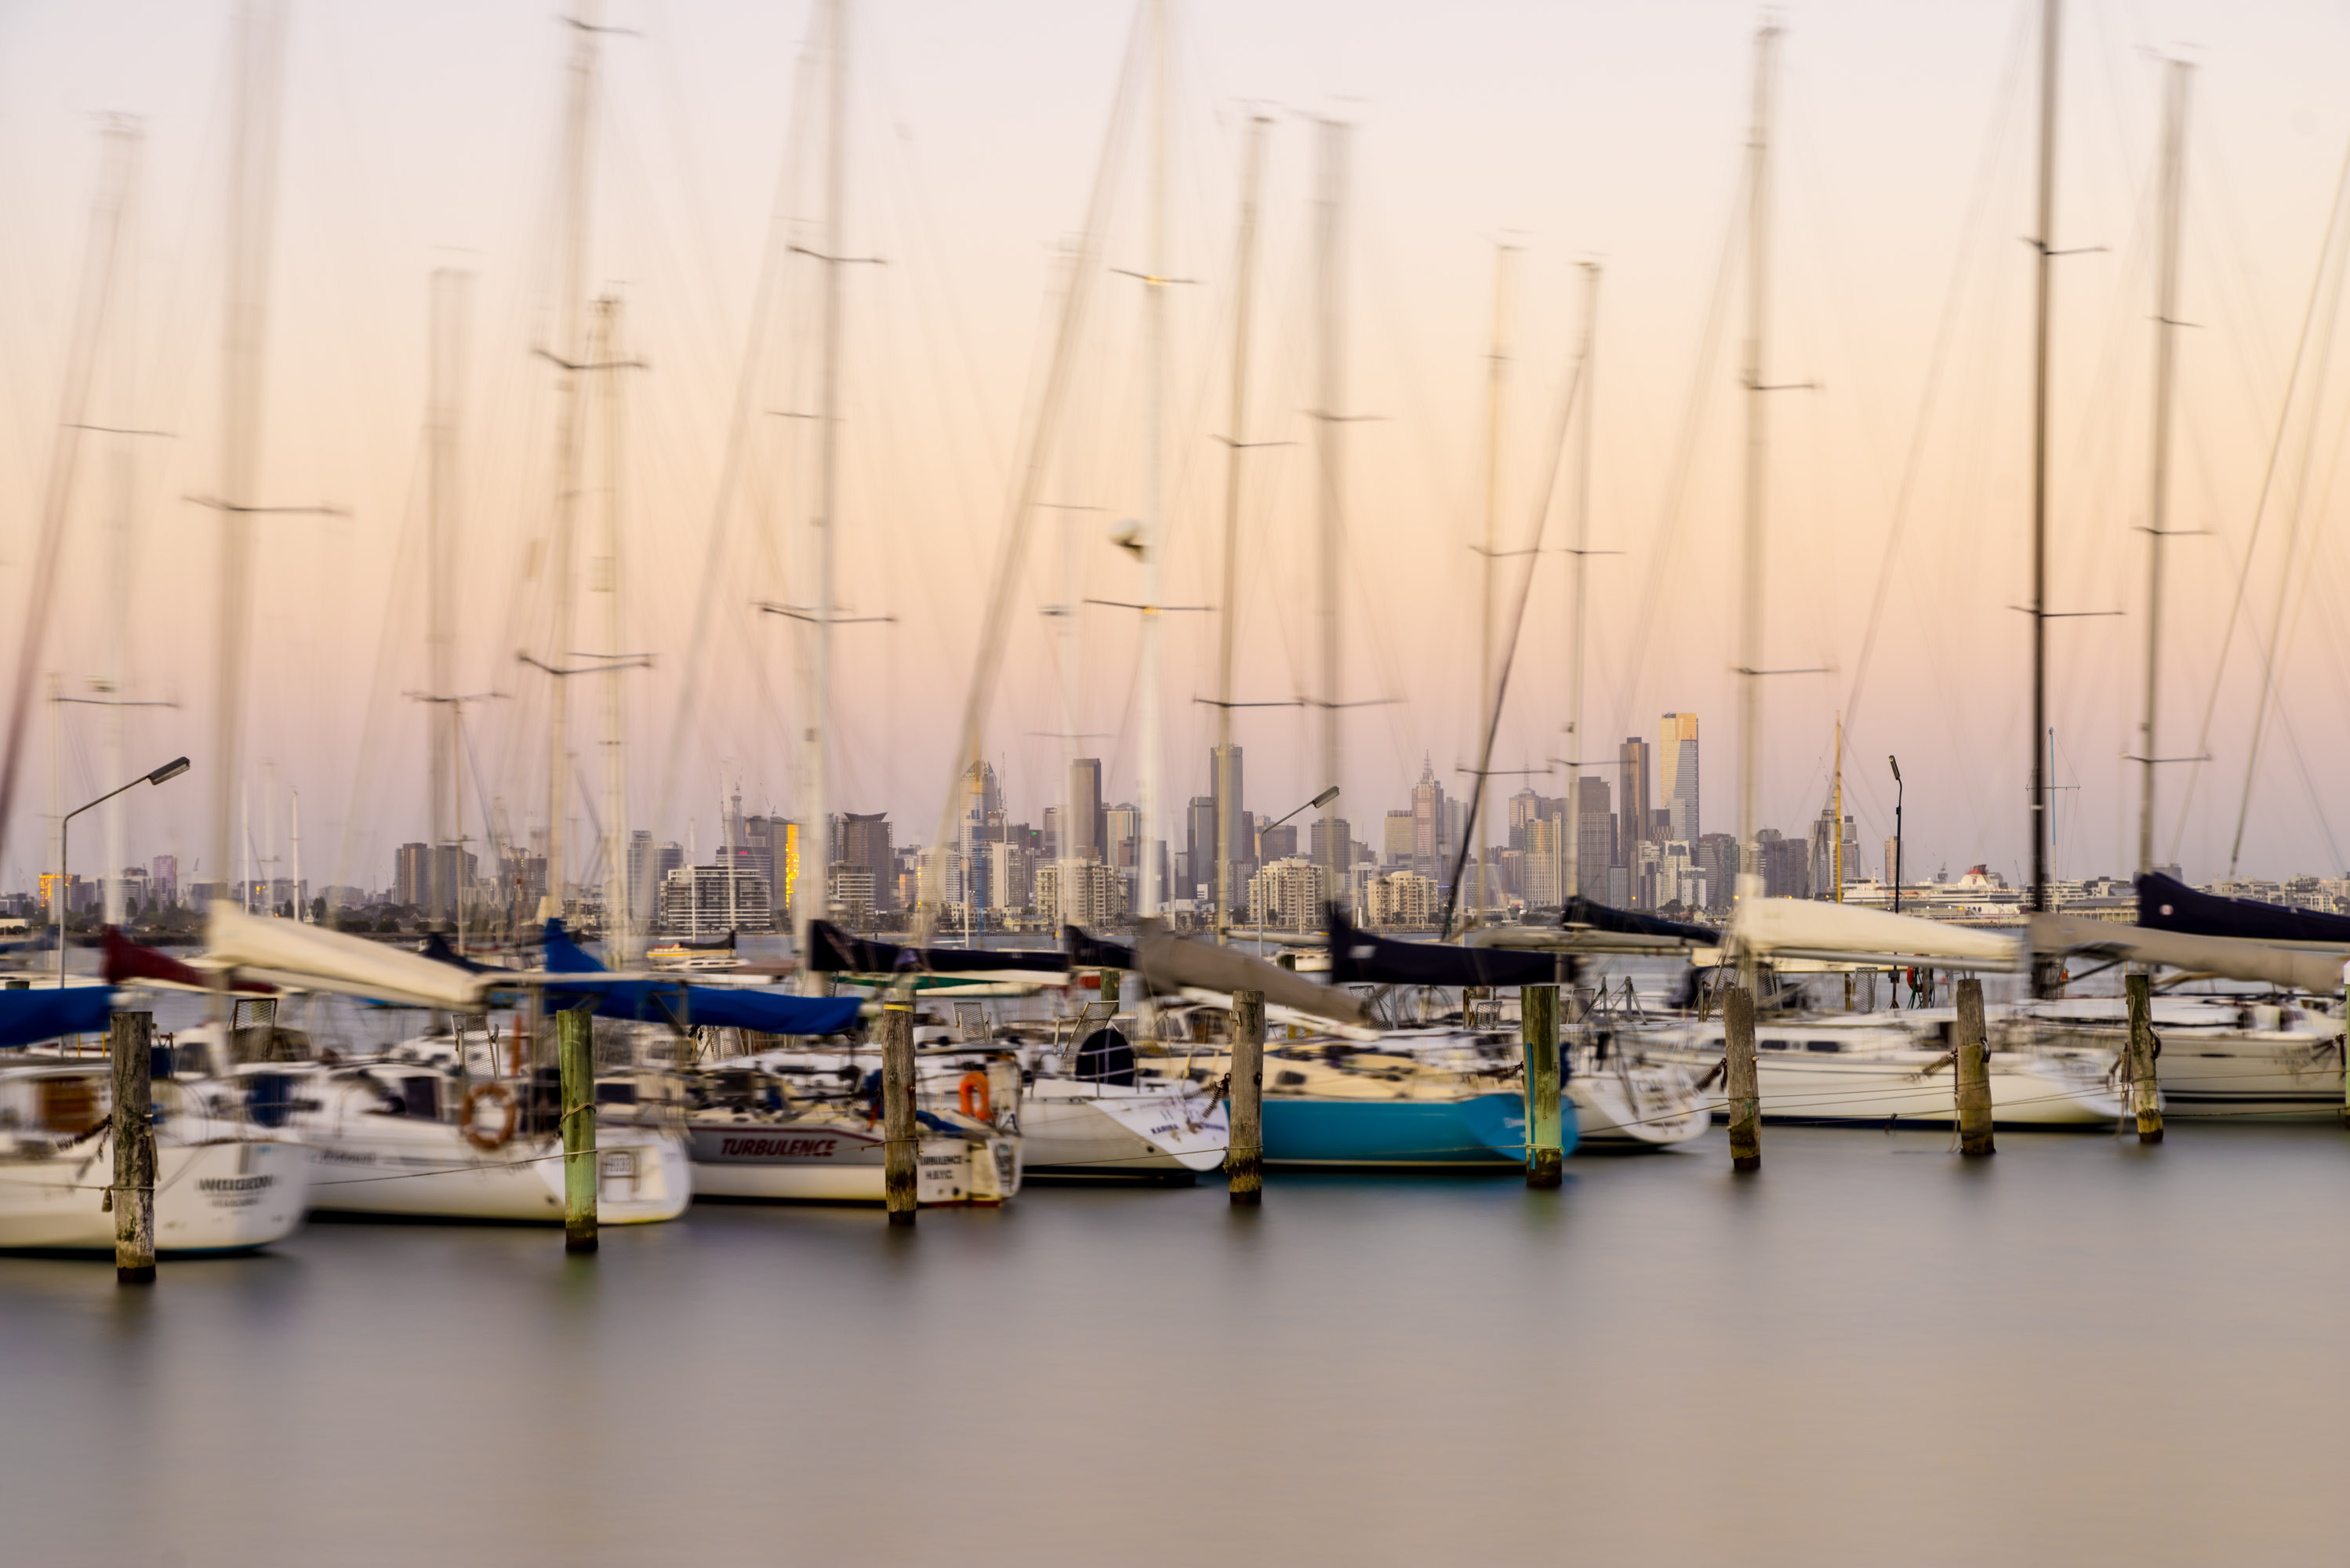
To be honest, I wanted to run with a title of ‘Beautiful Billville’, but that would just be confusing… I mean, William gets shortened to Bill in some instances, but not this one. In any case, I think Williamstown is alright. It’s so close to the city, but it’s just so calm and peaceful. There’s always little boats bobbing around, and when the weather is nice, it’s just a killer view Melbourne over Port Phillip Bay & Hobsons Bay.
These here were shot on Sunday October 18. Mix of short and long exposures; that misty look on the water is a result of a 30 second exposure, if you’re wondering.
With Melbourne in the background, looking over Port Phillip Bay from Williamstown
Seemingly a mess, yet all very ordered
Long shot looking down the pier
Shooting at 200mm 2.8 with the sun glowing the air
Lines and lines
Looking over the bay to the city at dusk
Looking down the pier with a 30sec exposure
Melbourne at the end of the day, looking on from Williamstown
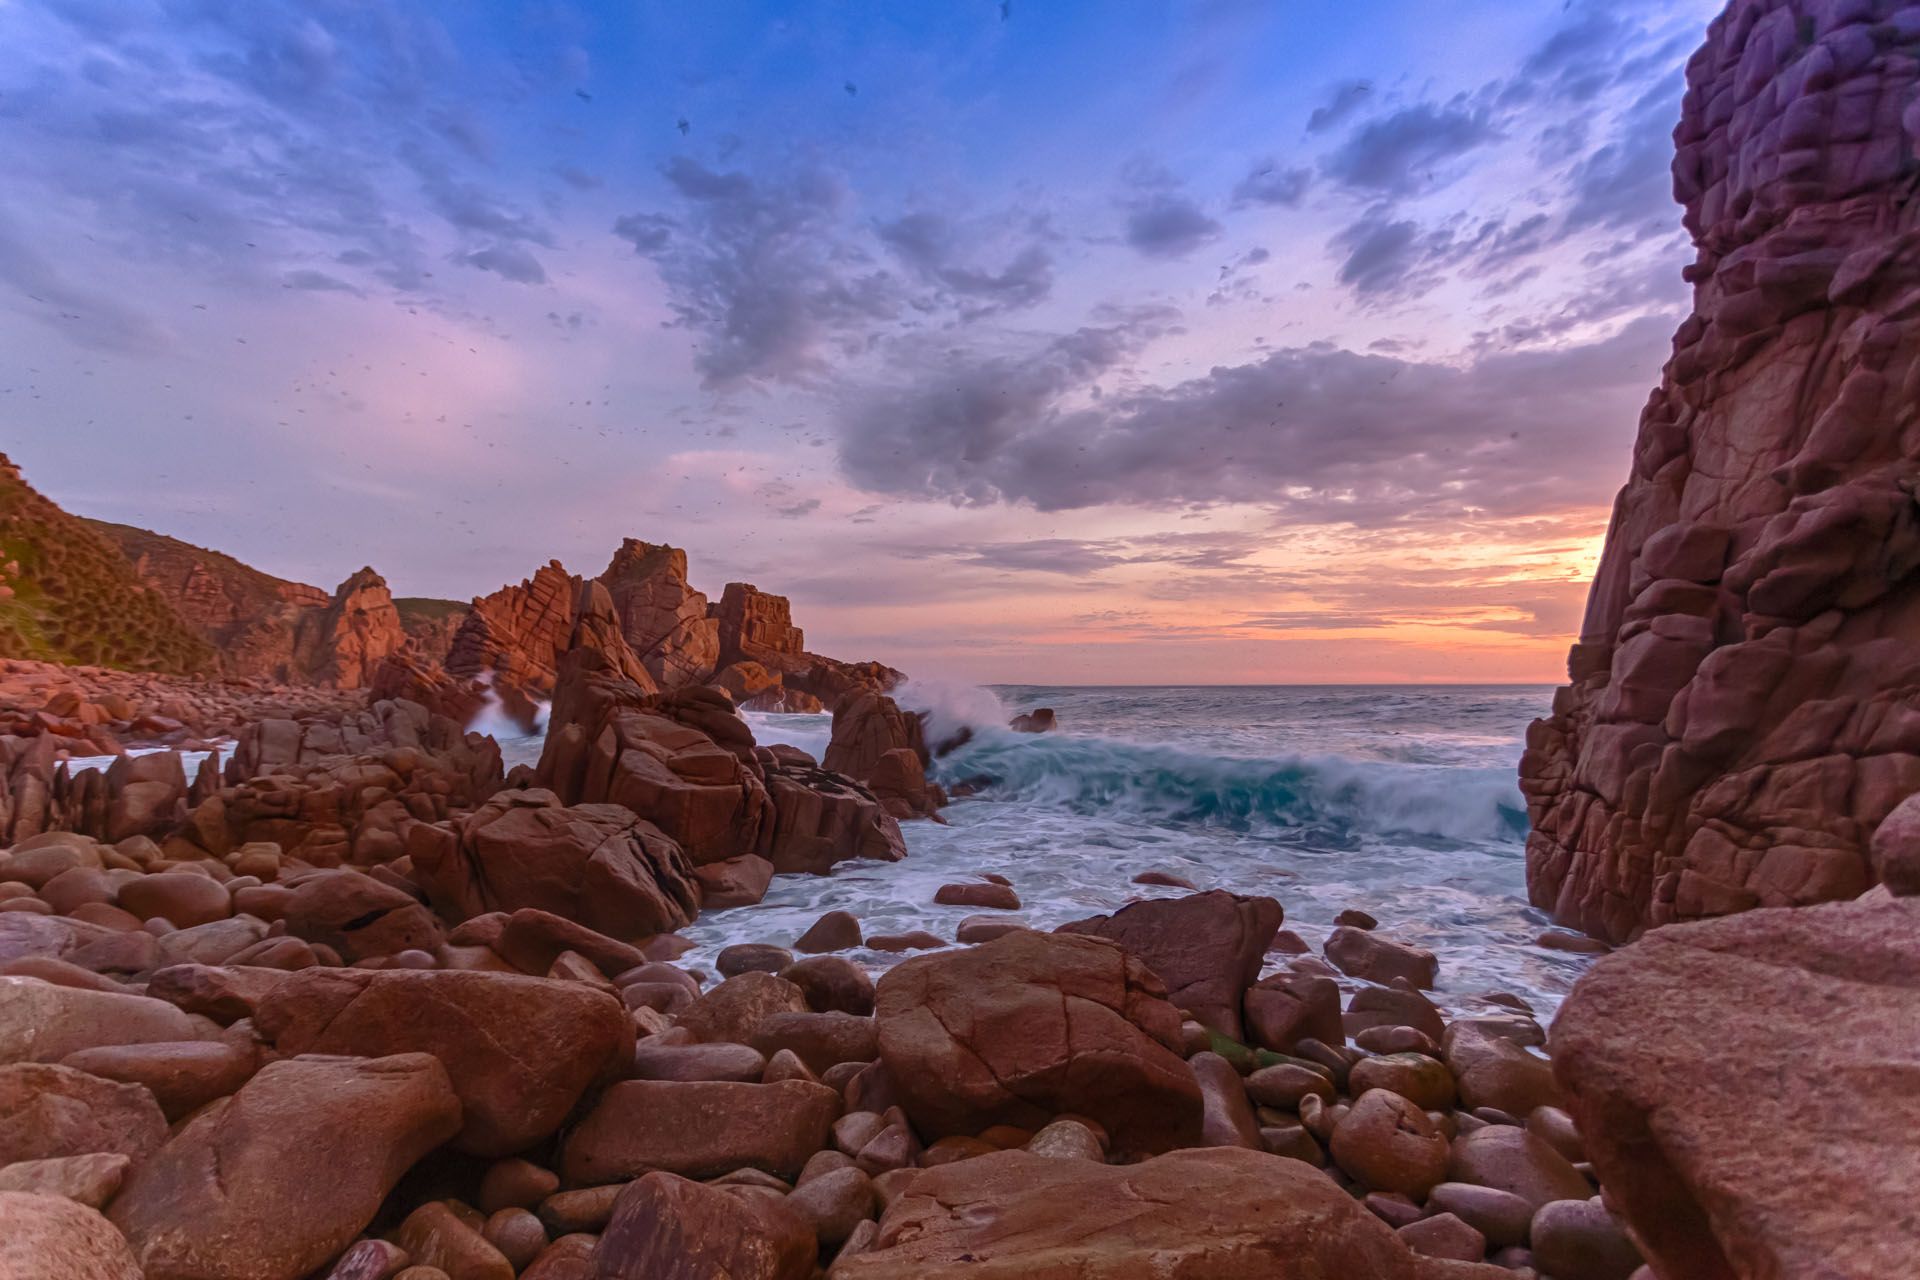
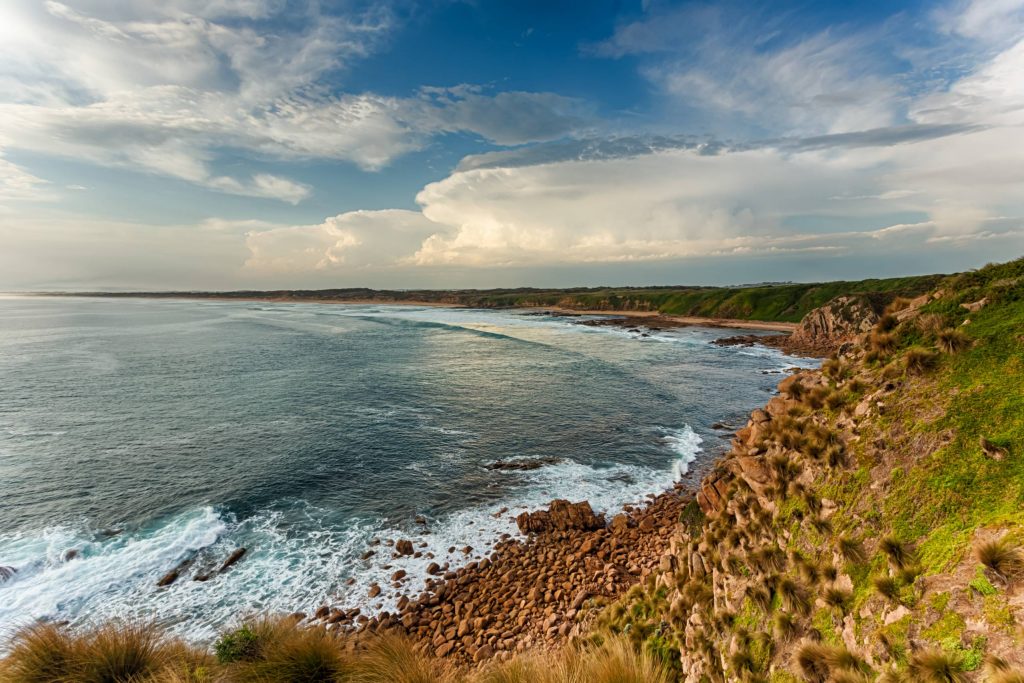
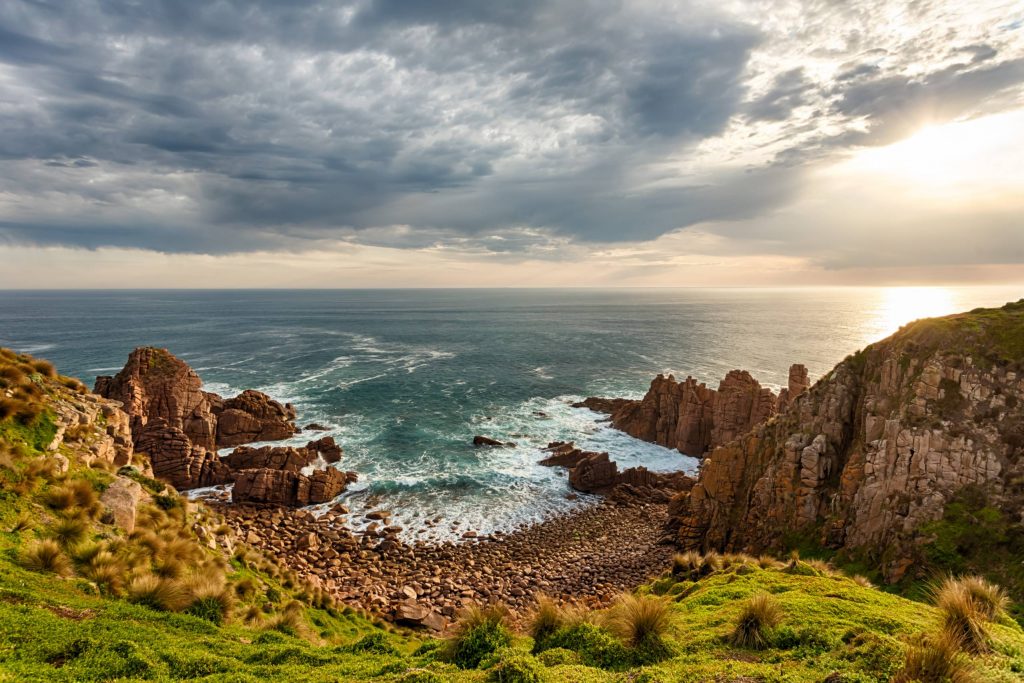
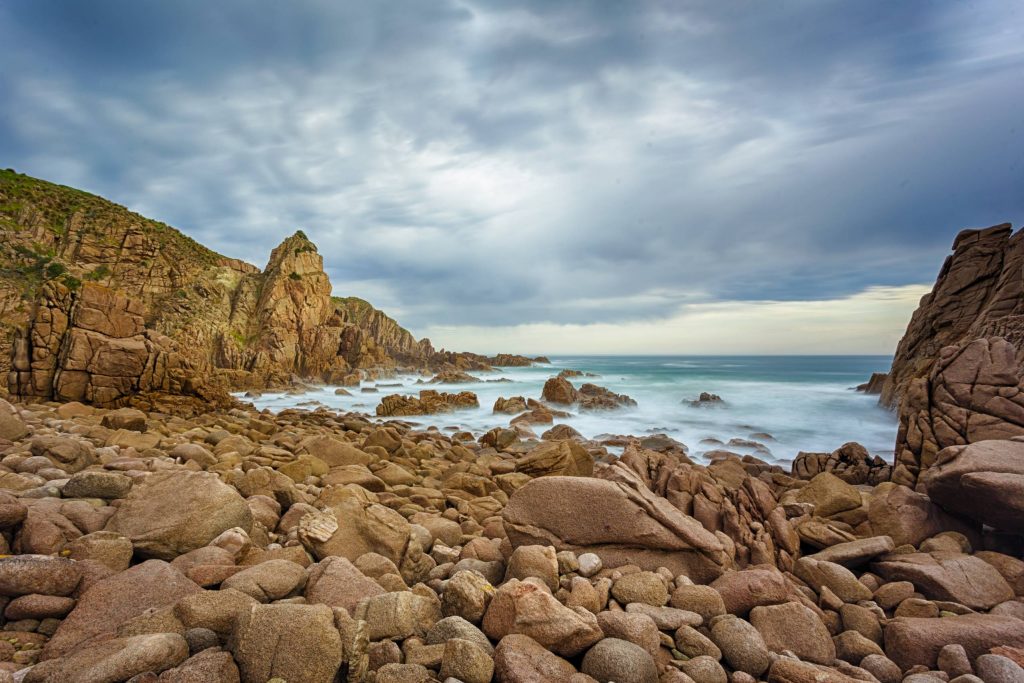
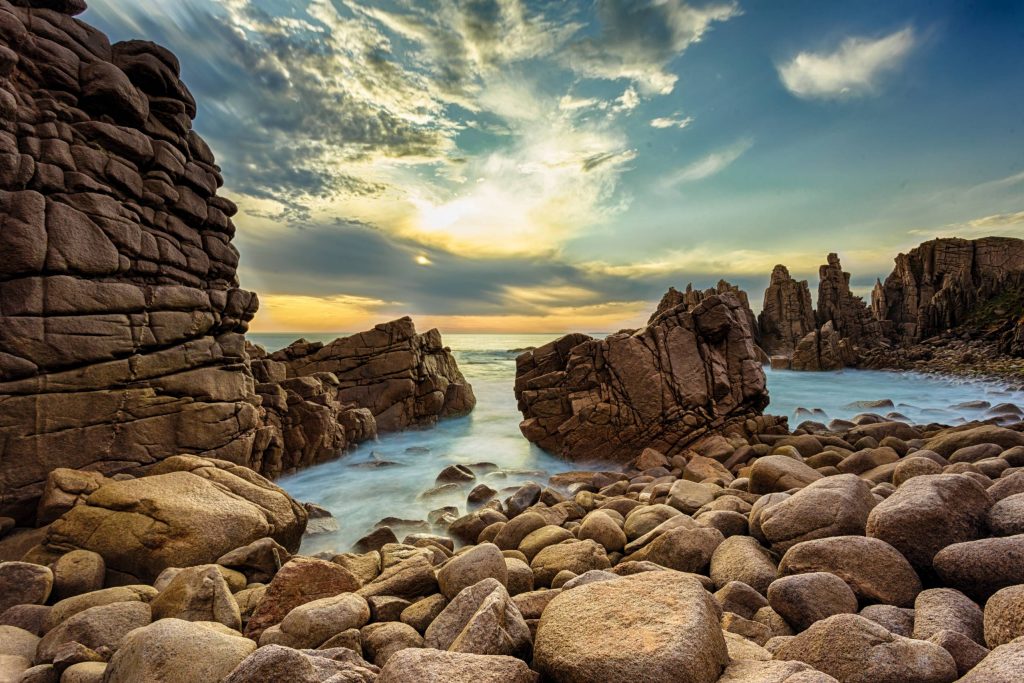
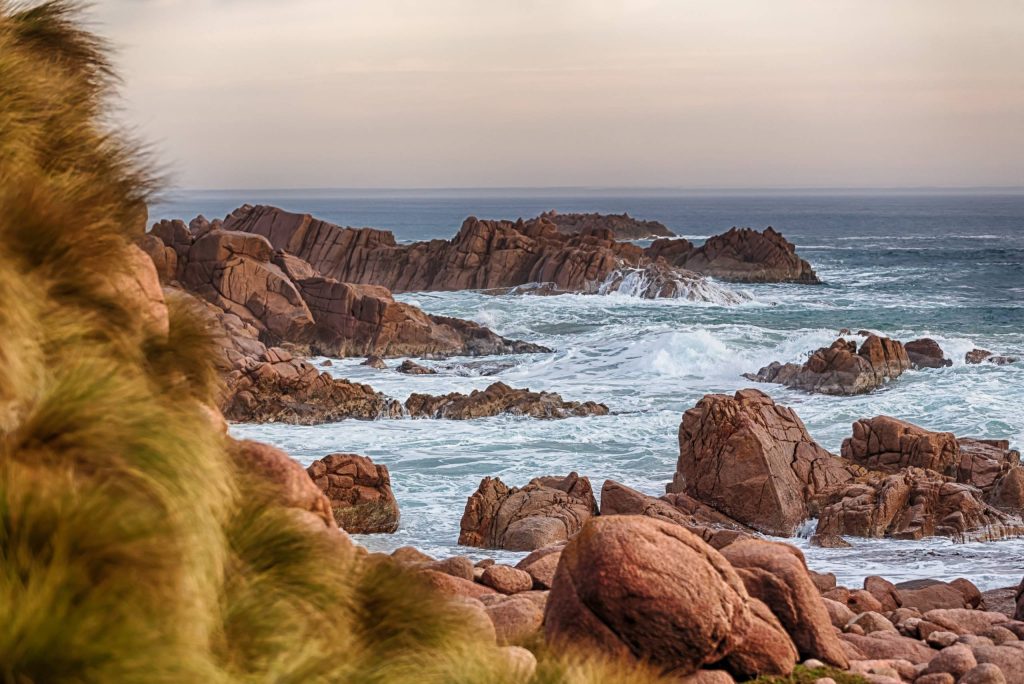
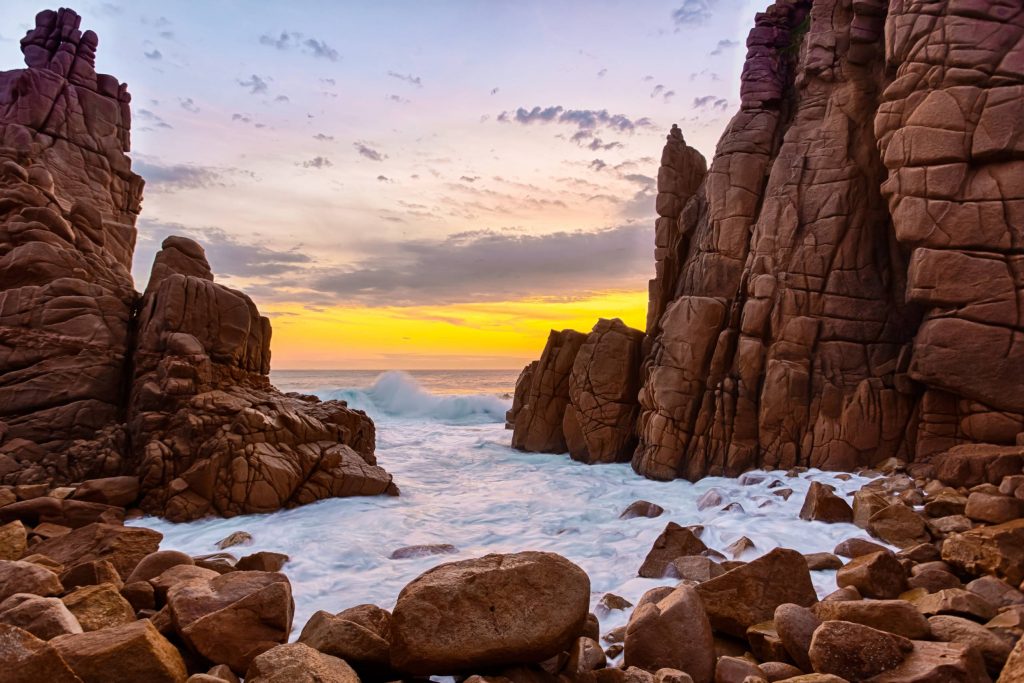
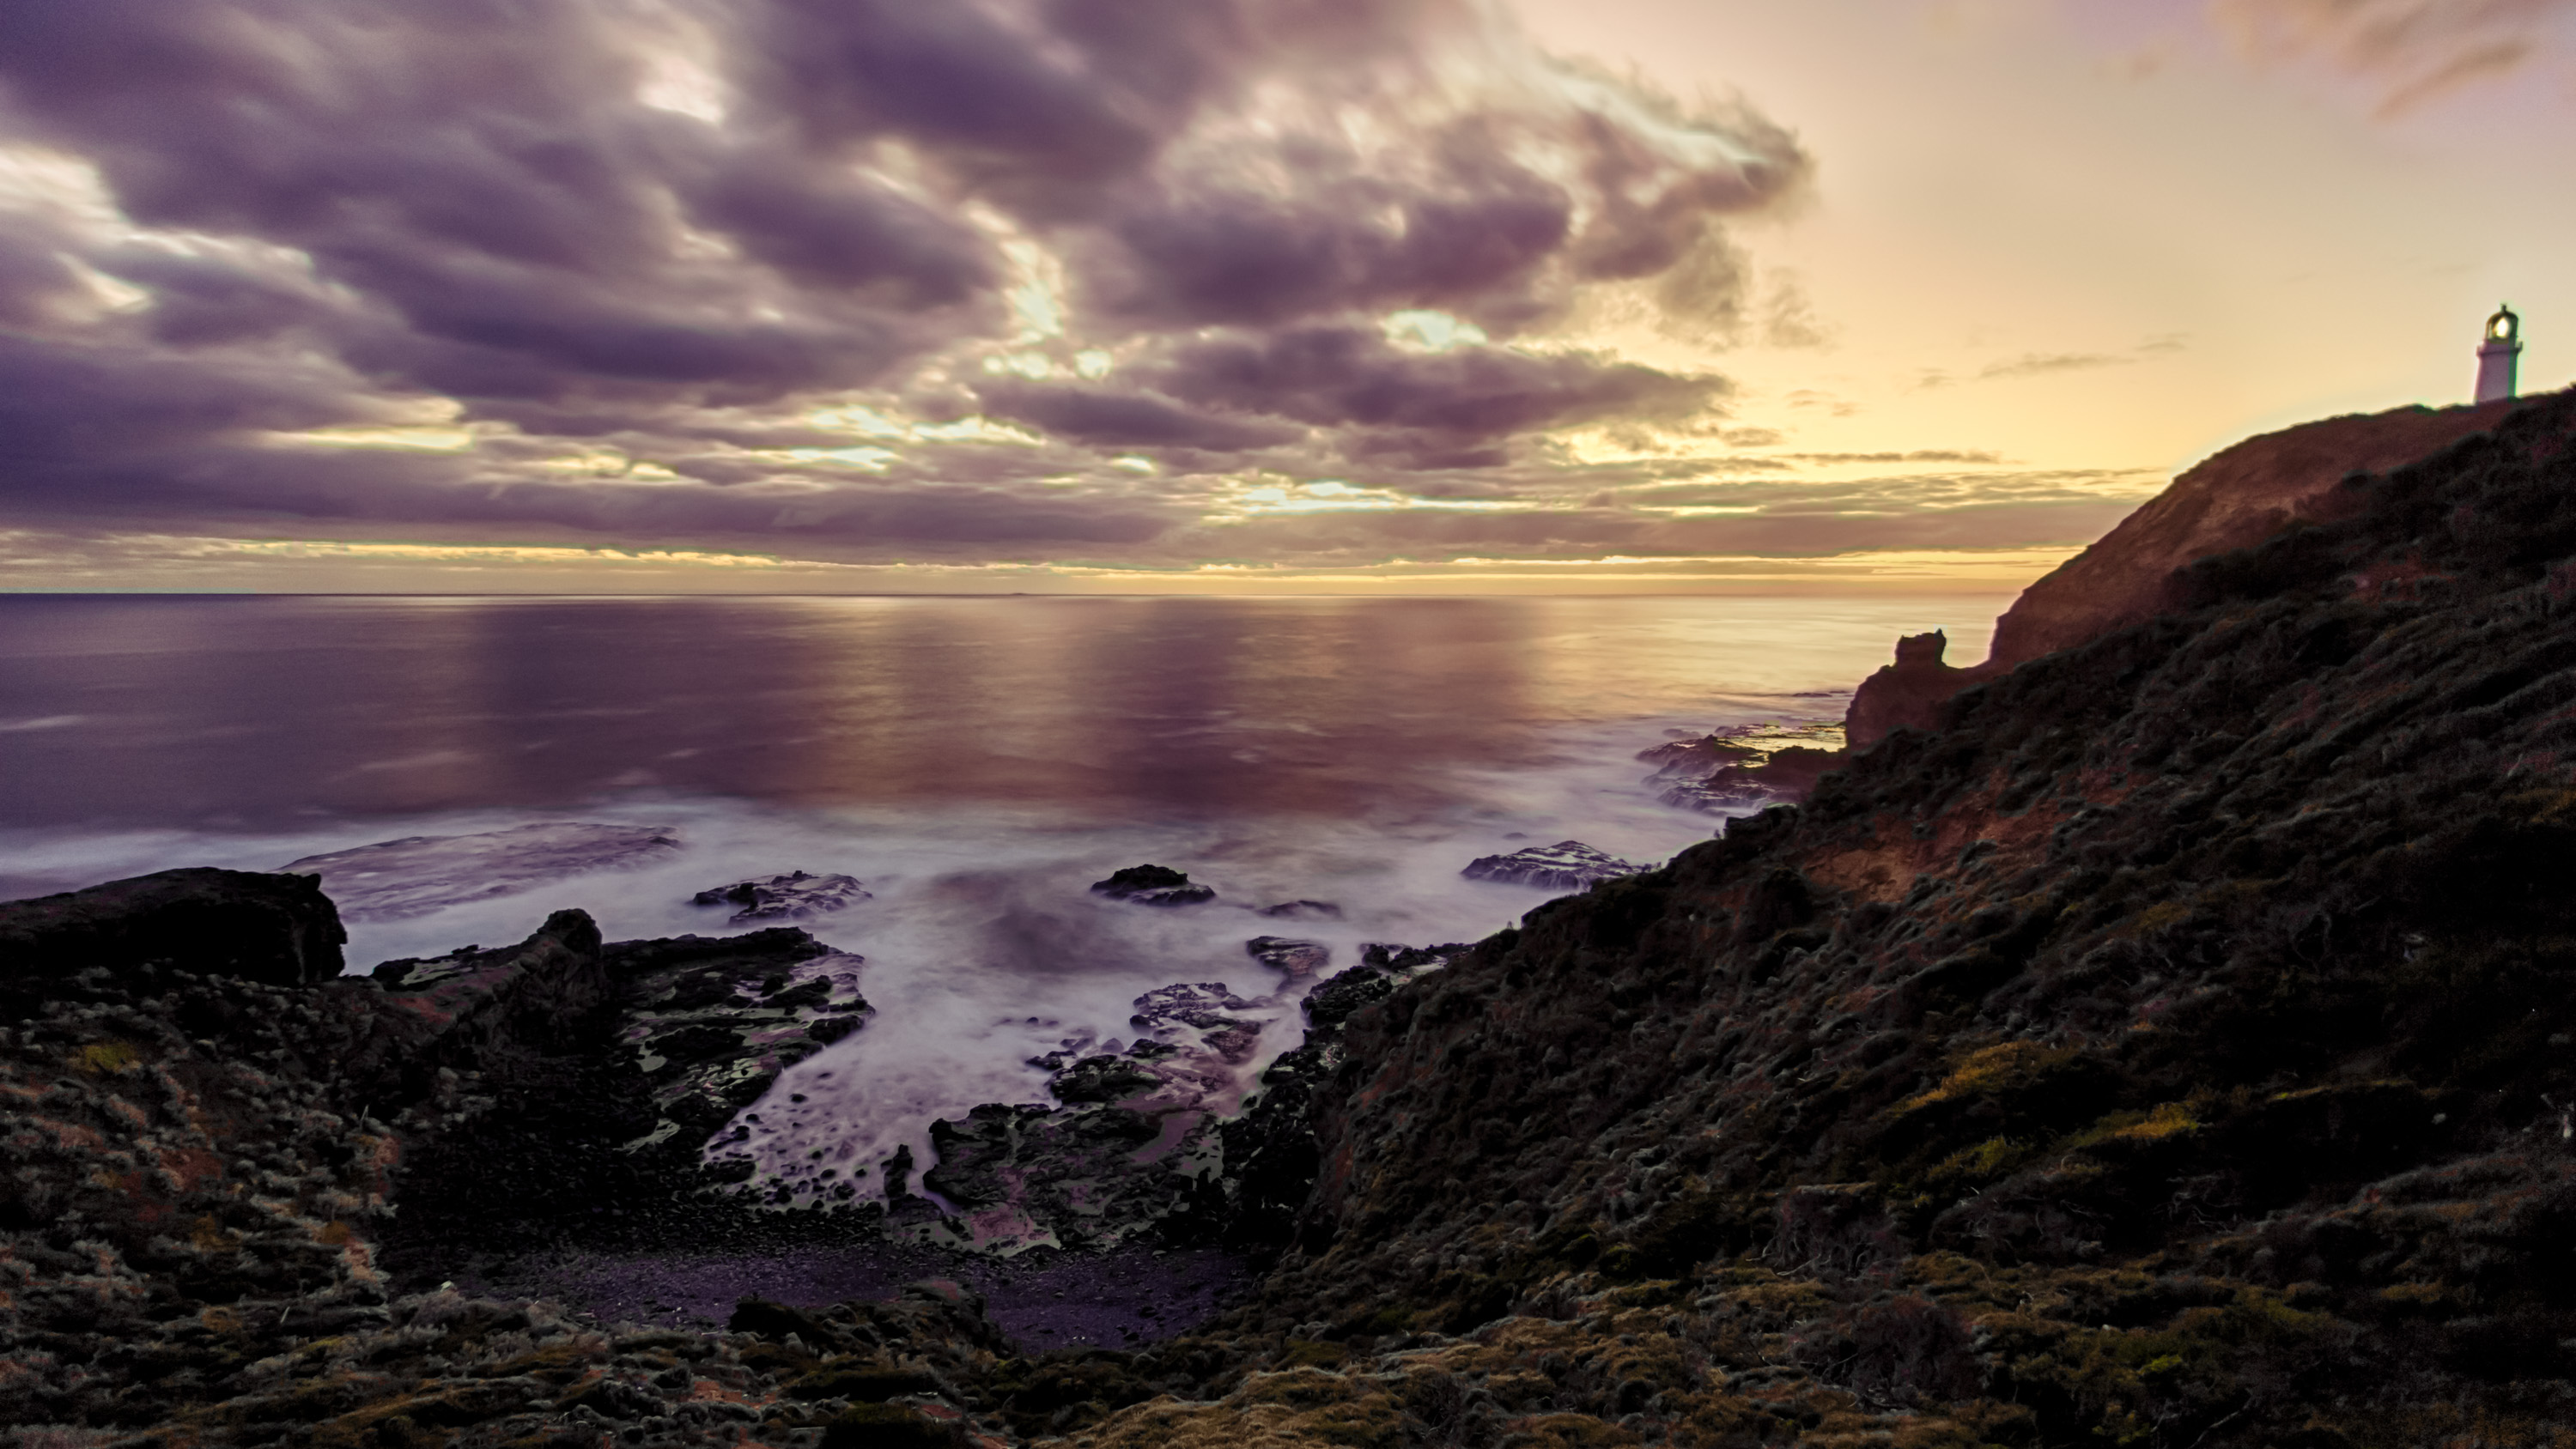
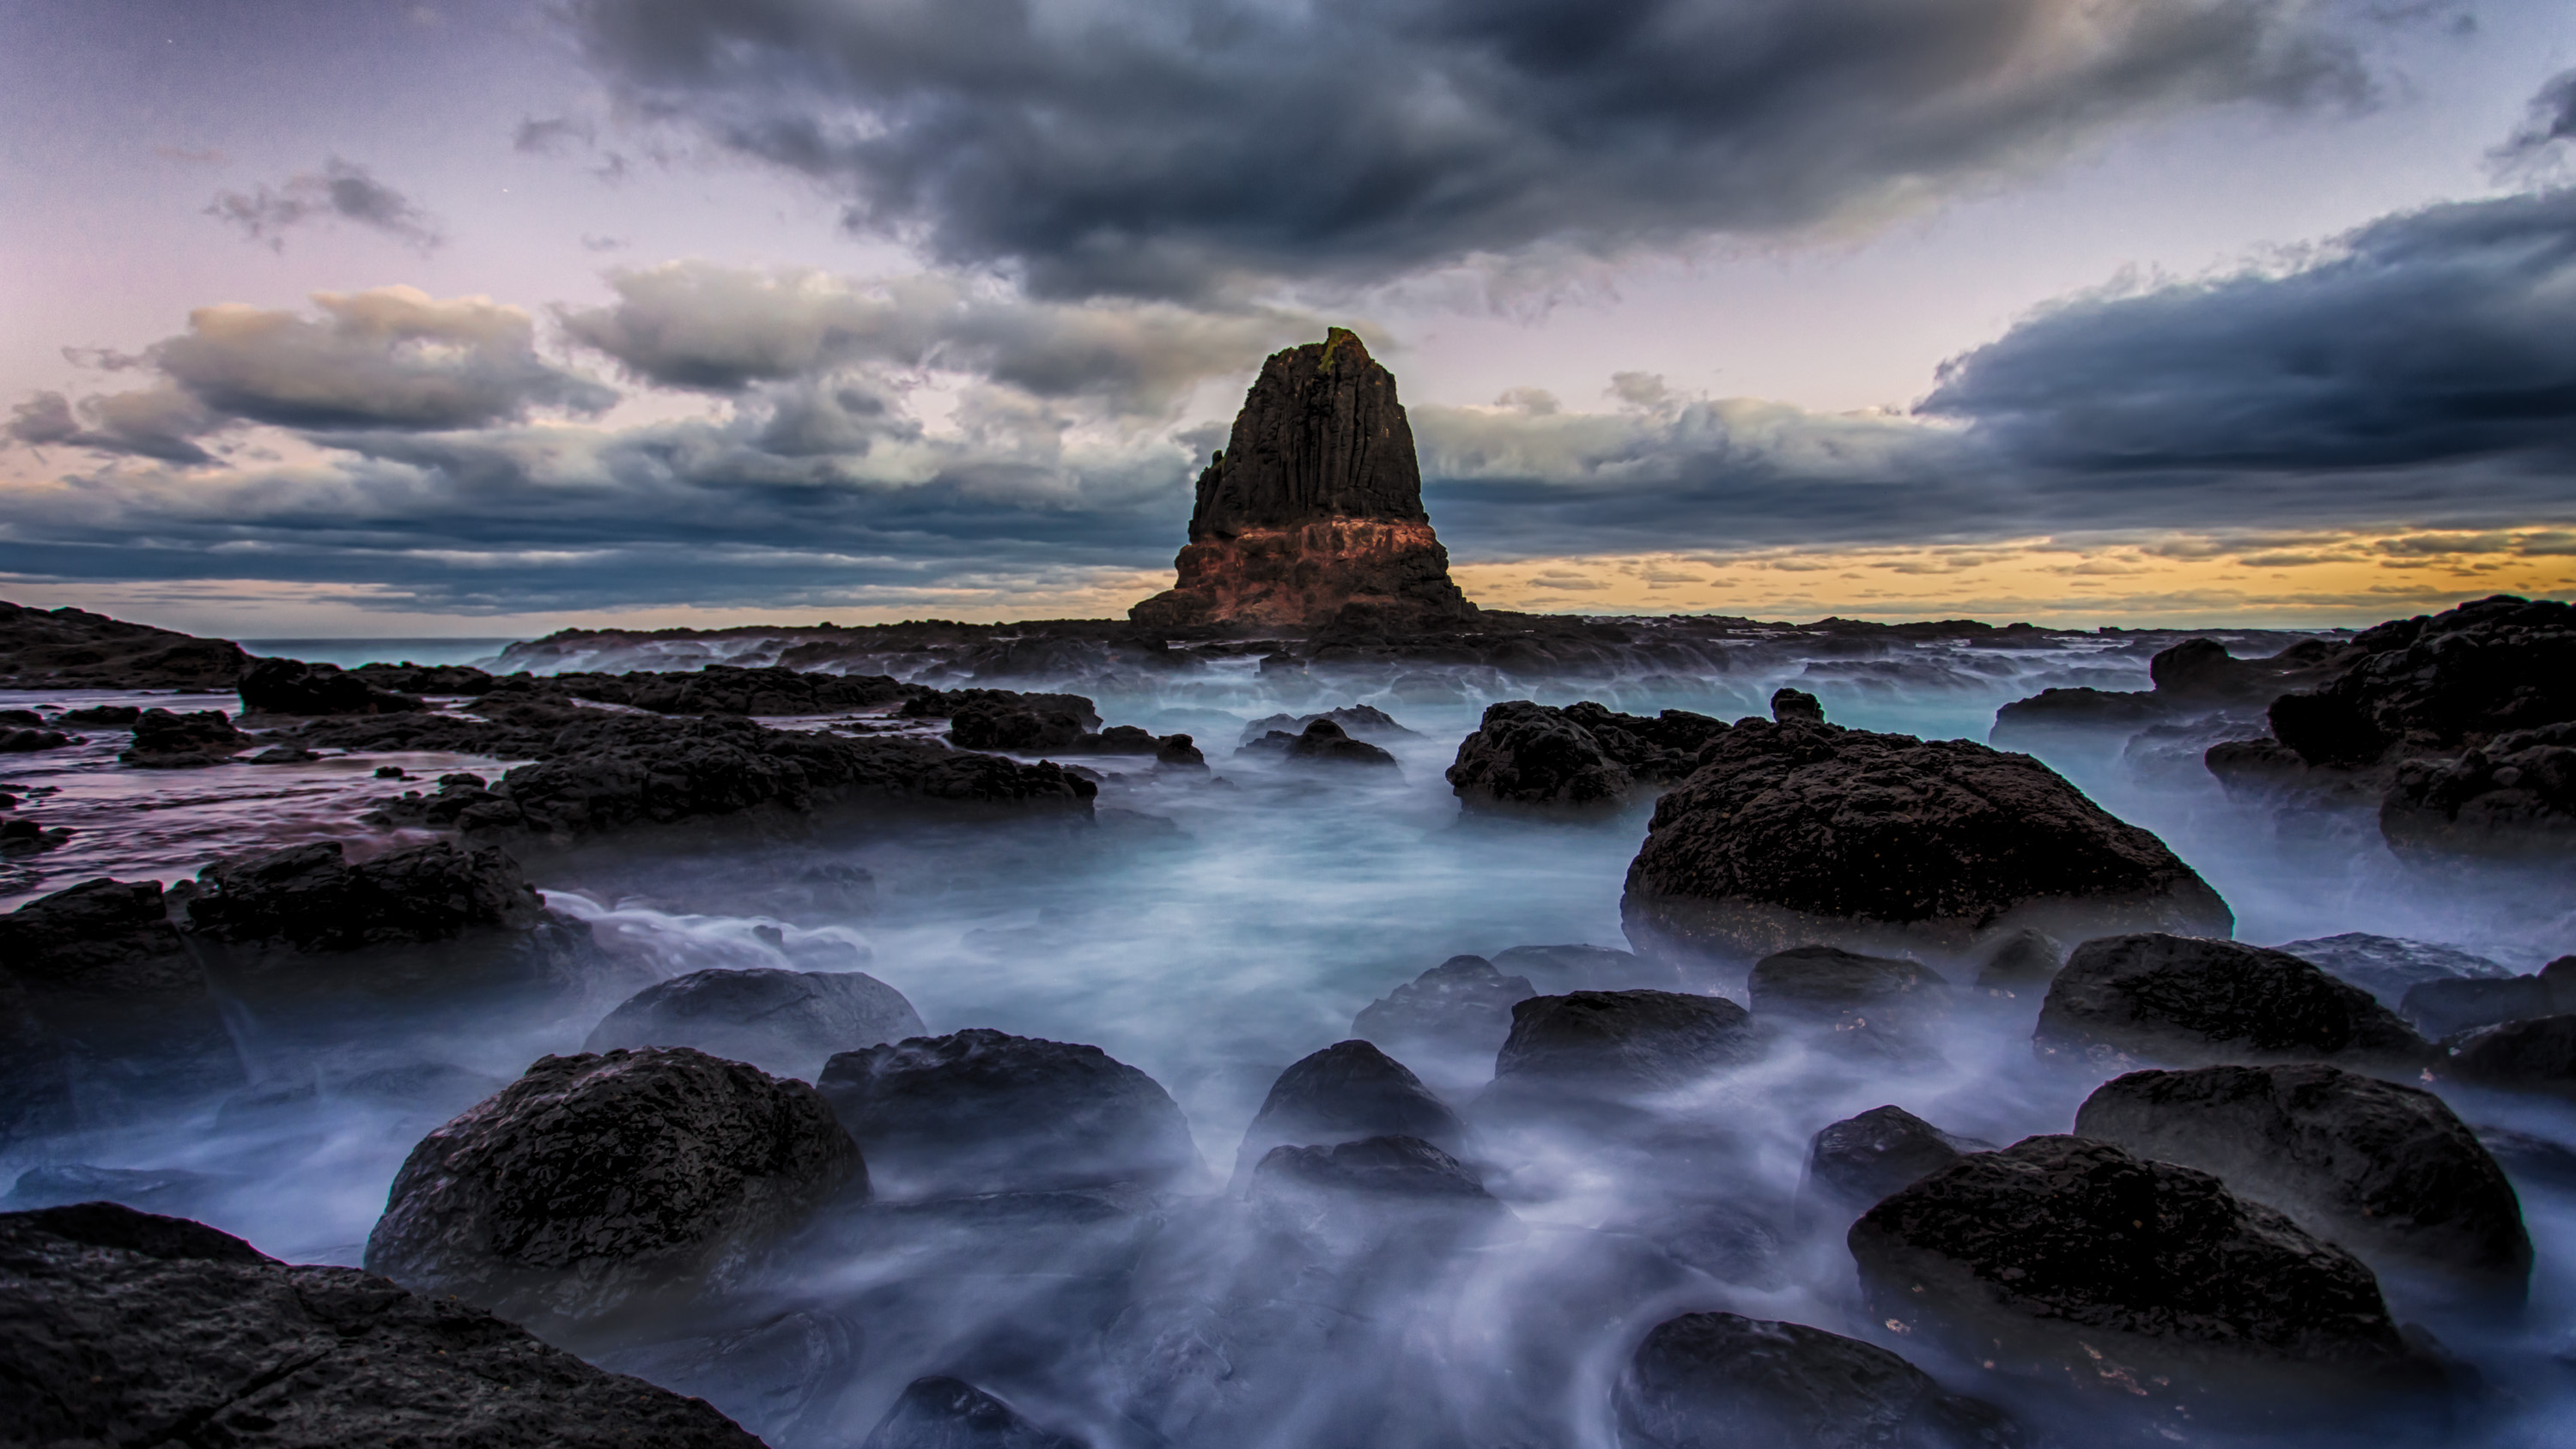
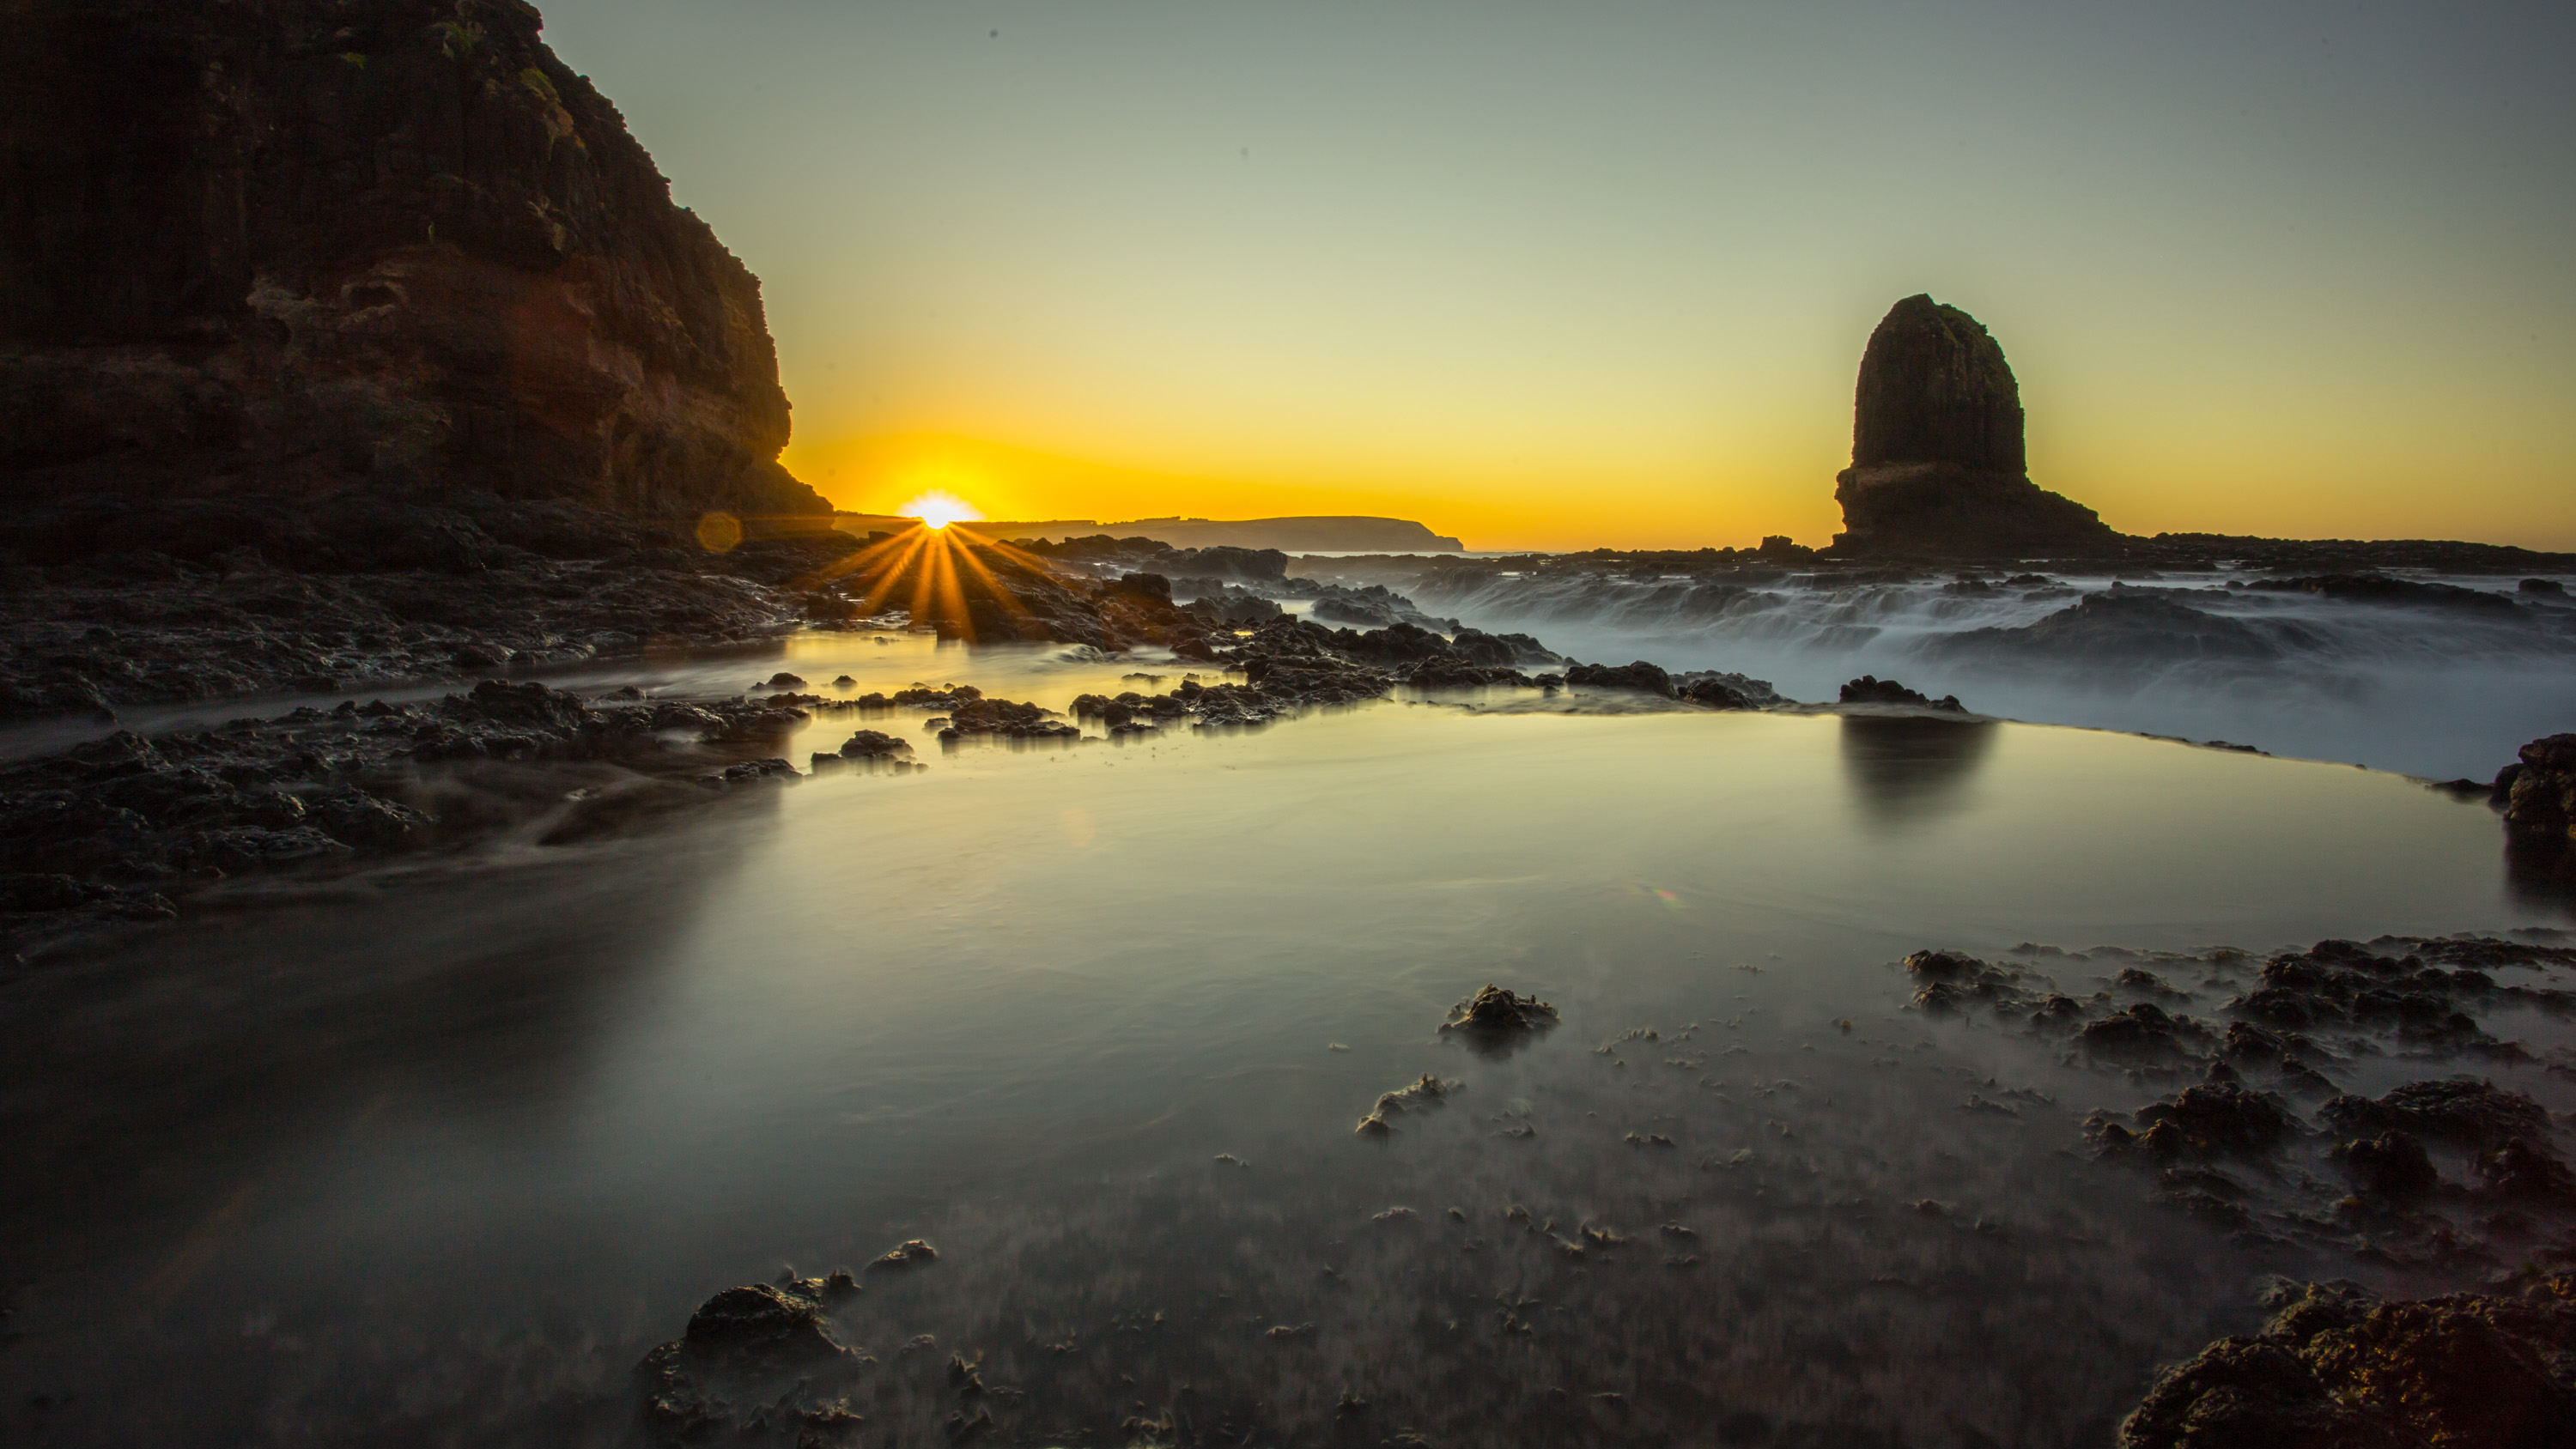
The Pinnacles at Cape Woolamai on Phillip Island are pretty close to Melbourne. All up, the drive is about 2 hours from Melbourne, but living in Australia, that’s not massive. As you walk down to the beach, it’s a pretty typical Aussie surf beach. Big waves, lots of sand, mist in the air, windy, and cliffs on the horizon. The entrance to the walkway is about 1km east (left) from the beach car park, so it’s pretty cruisy walk to the walkway which is the beginning of Cape Woolamai. You start to climb and get a better picture, but it doesn’t really prepare you.
The walk from the car park is about 45/60 minutes (depending on how often you stop for a click), and it’s not a tough mission. Along the way, there’s plenty to see, but nothing really prepares you for the real highlight of The Pinnacles. When you get there, you’re looking down from an observation platform and things look amazing, but still a little small. When you head down, it really gets put in perspective, and you really appreciate how large those rocks actually are. Each on of those pebbles are big enough for two to stand on. And there are thousands of them!
Lucky for me, this weekend I decided to head down and see how I’d go. To be honest, I thought it was going to be a bad move. The weather was wild, and I thought this could be a real fizzer. So, have a look through the photos below. You can see the weather starting off pretty rough, and as time goes on, the clouds blew over and the colour in the sky comes on strong to put on a show. Loved it!
Icing on the cake
Just to put icing on the cake, at one point we saw a pod of dolphins about 20 strong! Talk about an awesome little mission. Too far out with my wide lenses on, but still, it’s about more than the photos.
And a little freebee
You can download pretty sweet resolutions here, but if you’d like a super high original resolution of “Saving the best moment for the end. Amazing.”, I’ve got a download link for my favourite Pinnacles Sunset Photo. Feel free to use for personal use however you’d like – just don’t sell it…
Looking like it could get real, but there’s always a chance of change…
With the storm blowing over, I kinda thought this was going to be bad.
Beautiful views of the popular beach in clearing weather.
Along the walkway around Cape Woolamai
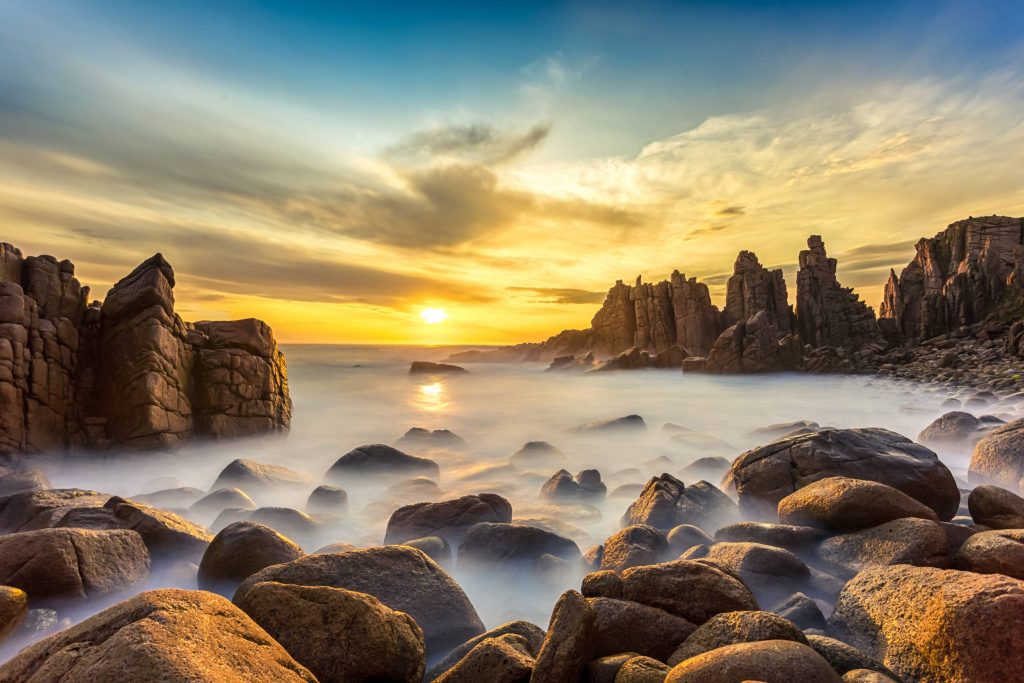
About an hour before the sun sets on The Pinnacles
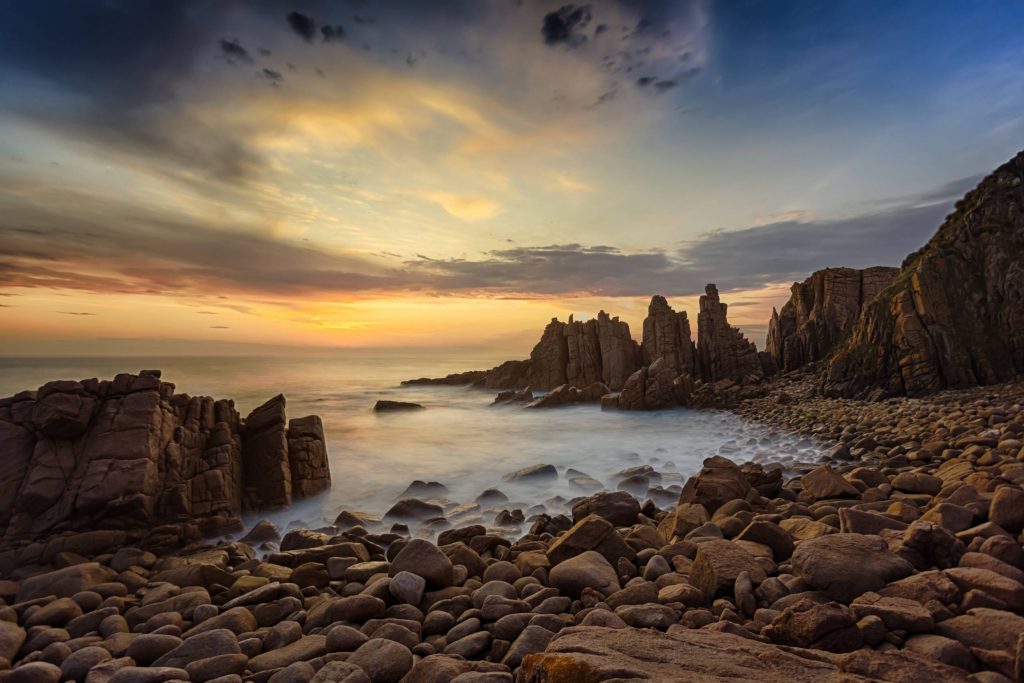
Colours are flat, but that will change
At the base of The Pinnacles in the spring afternoon
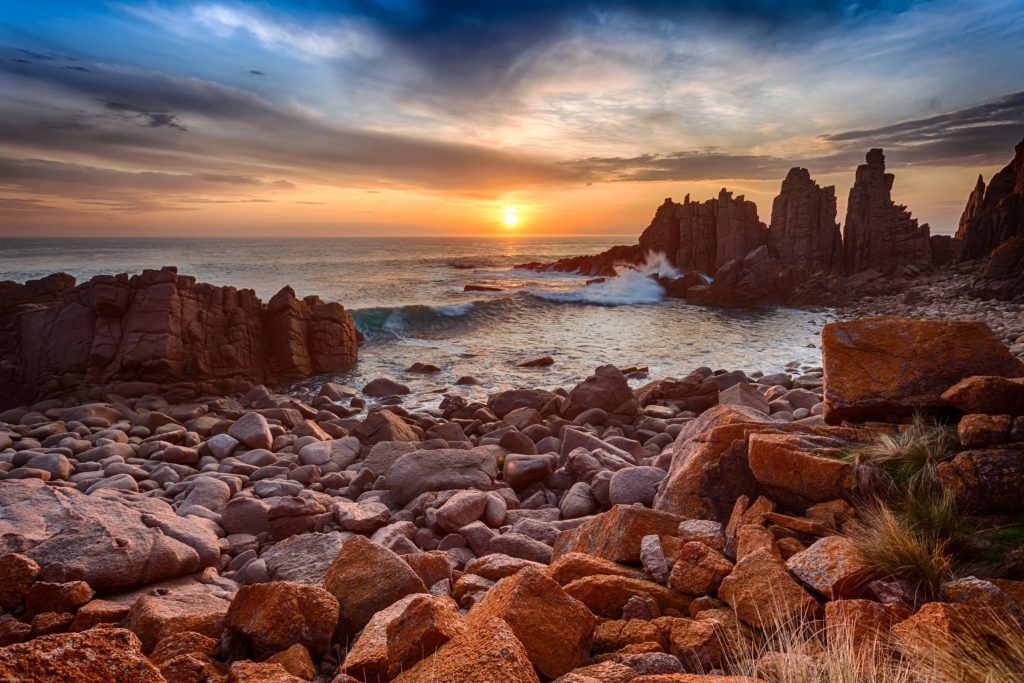
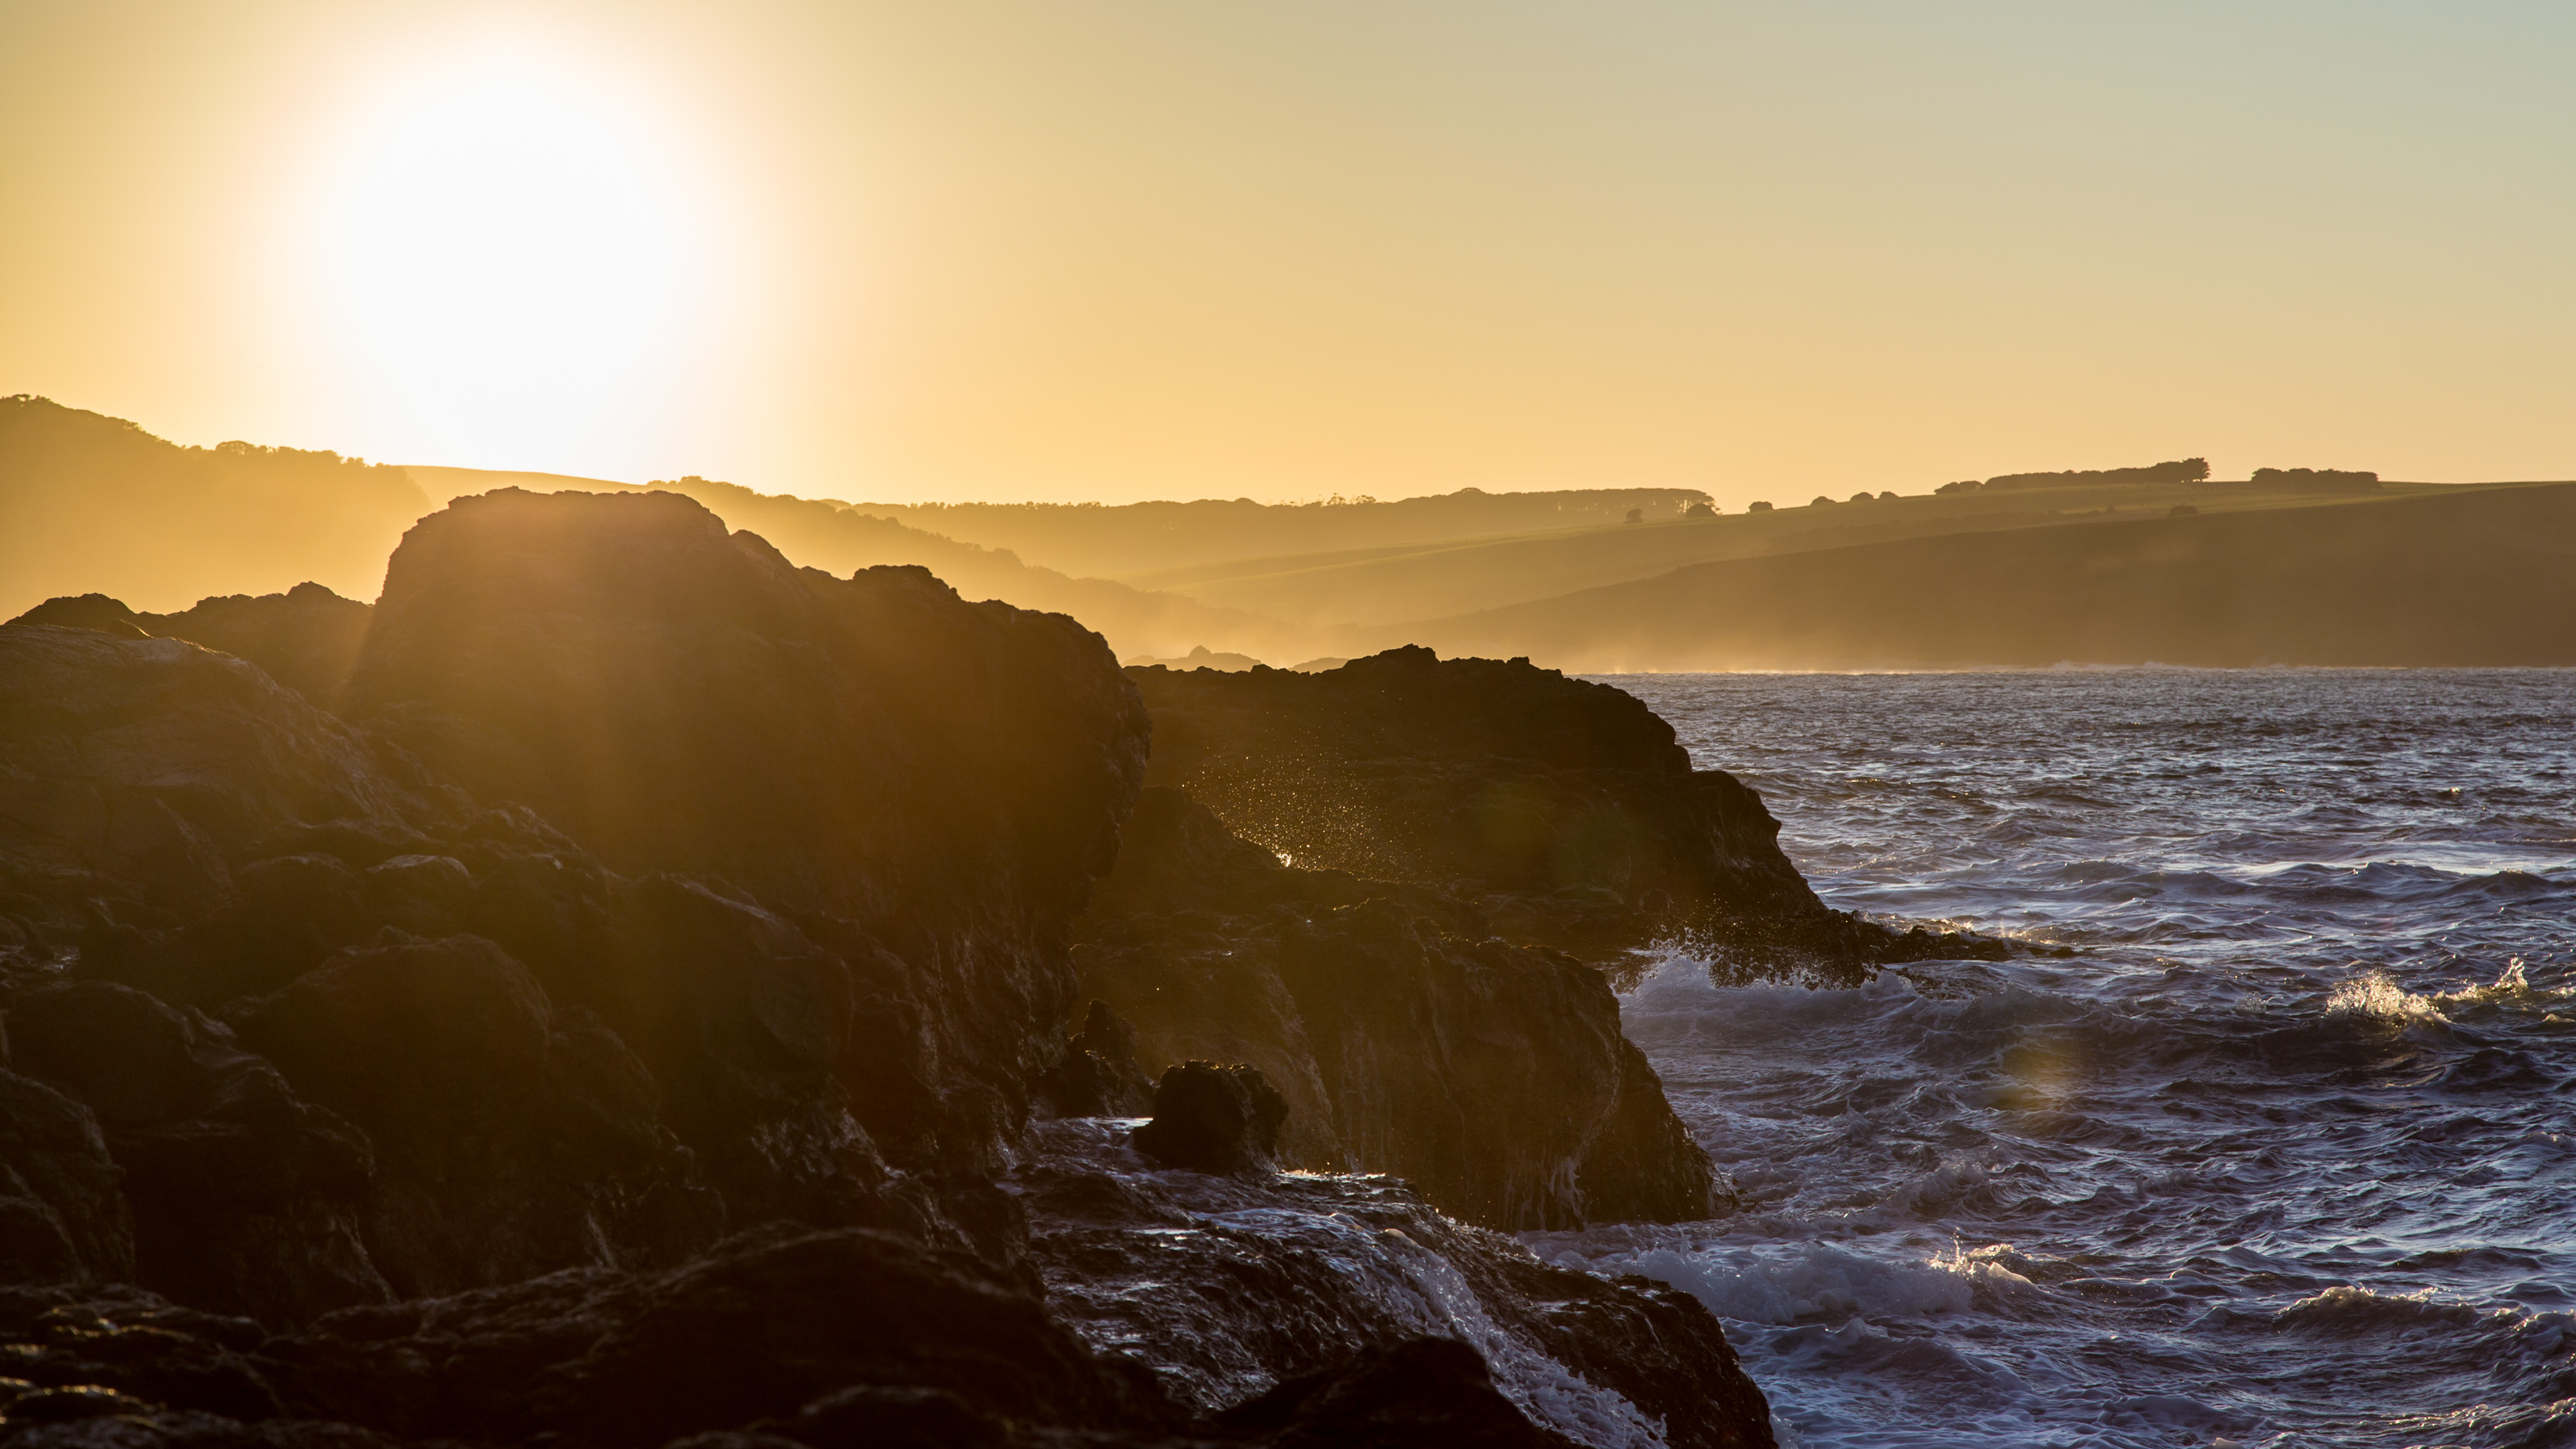
Looking at the begining of the edge of Cape Woolamai. Here Bass Strait makes its splash felt.
Sun hiding behind the clouds for a brief moment before sunset
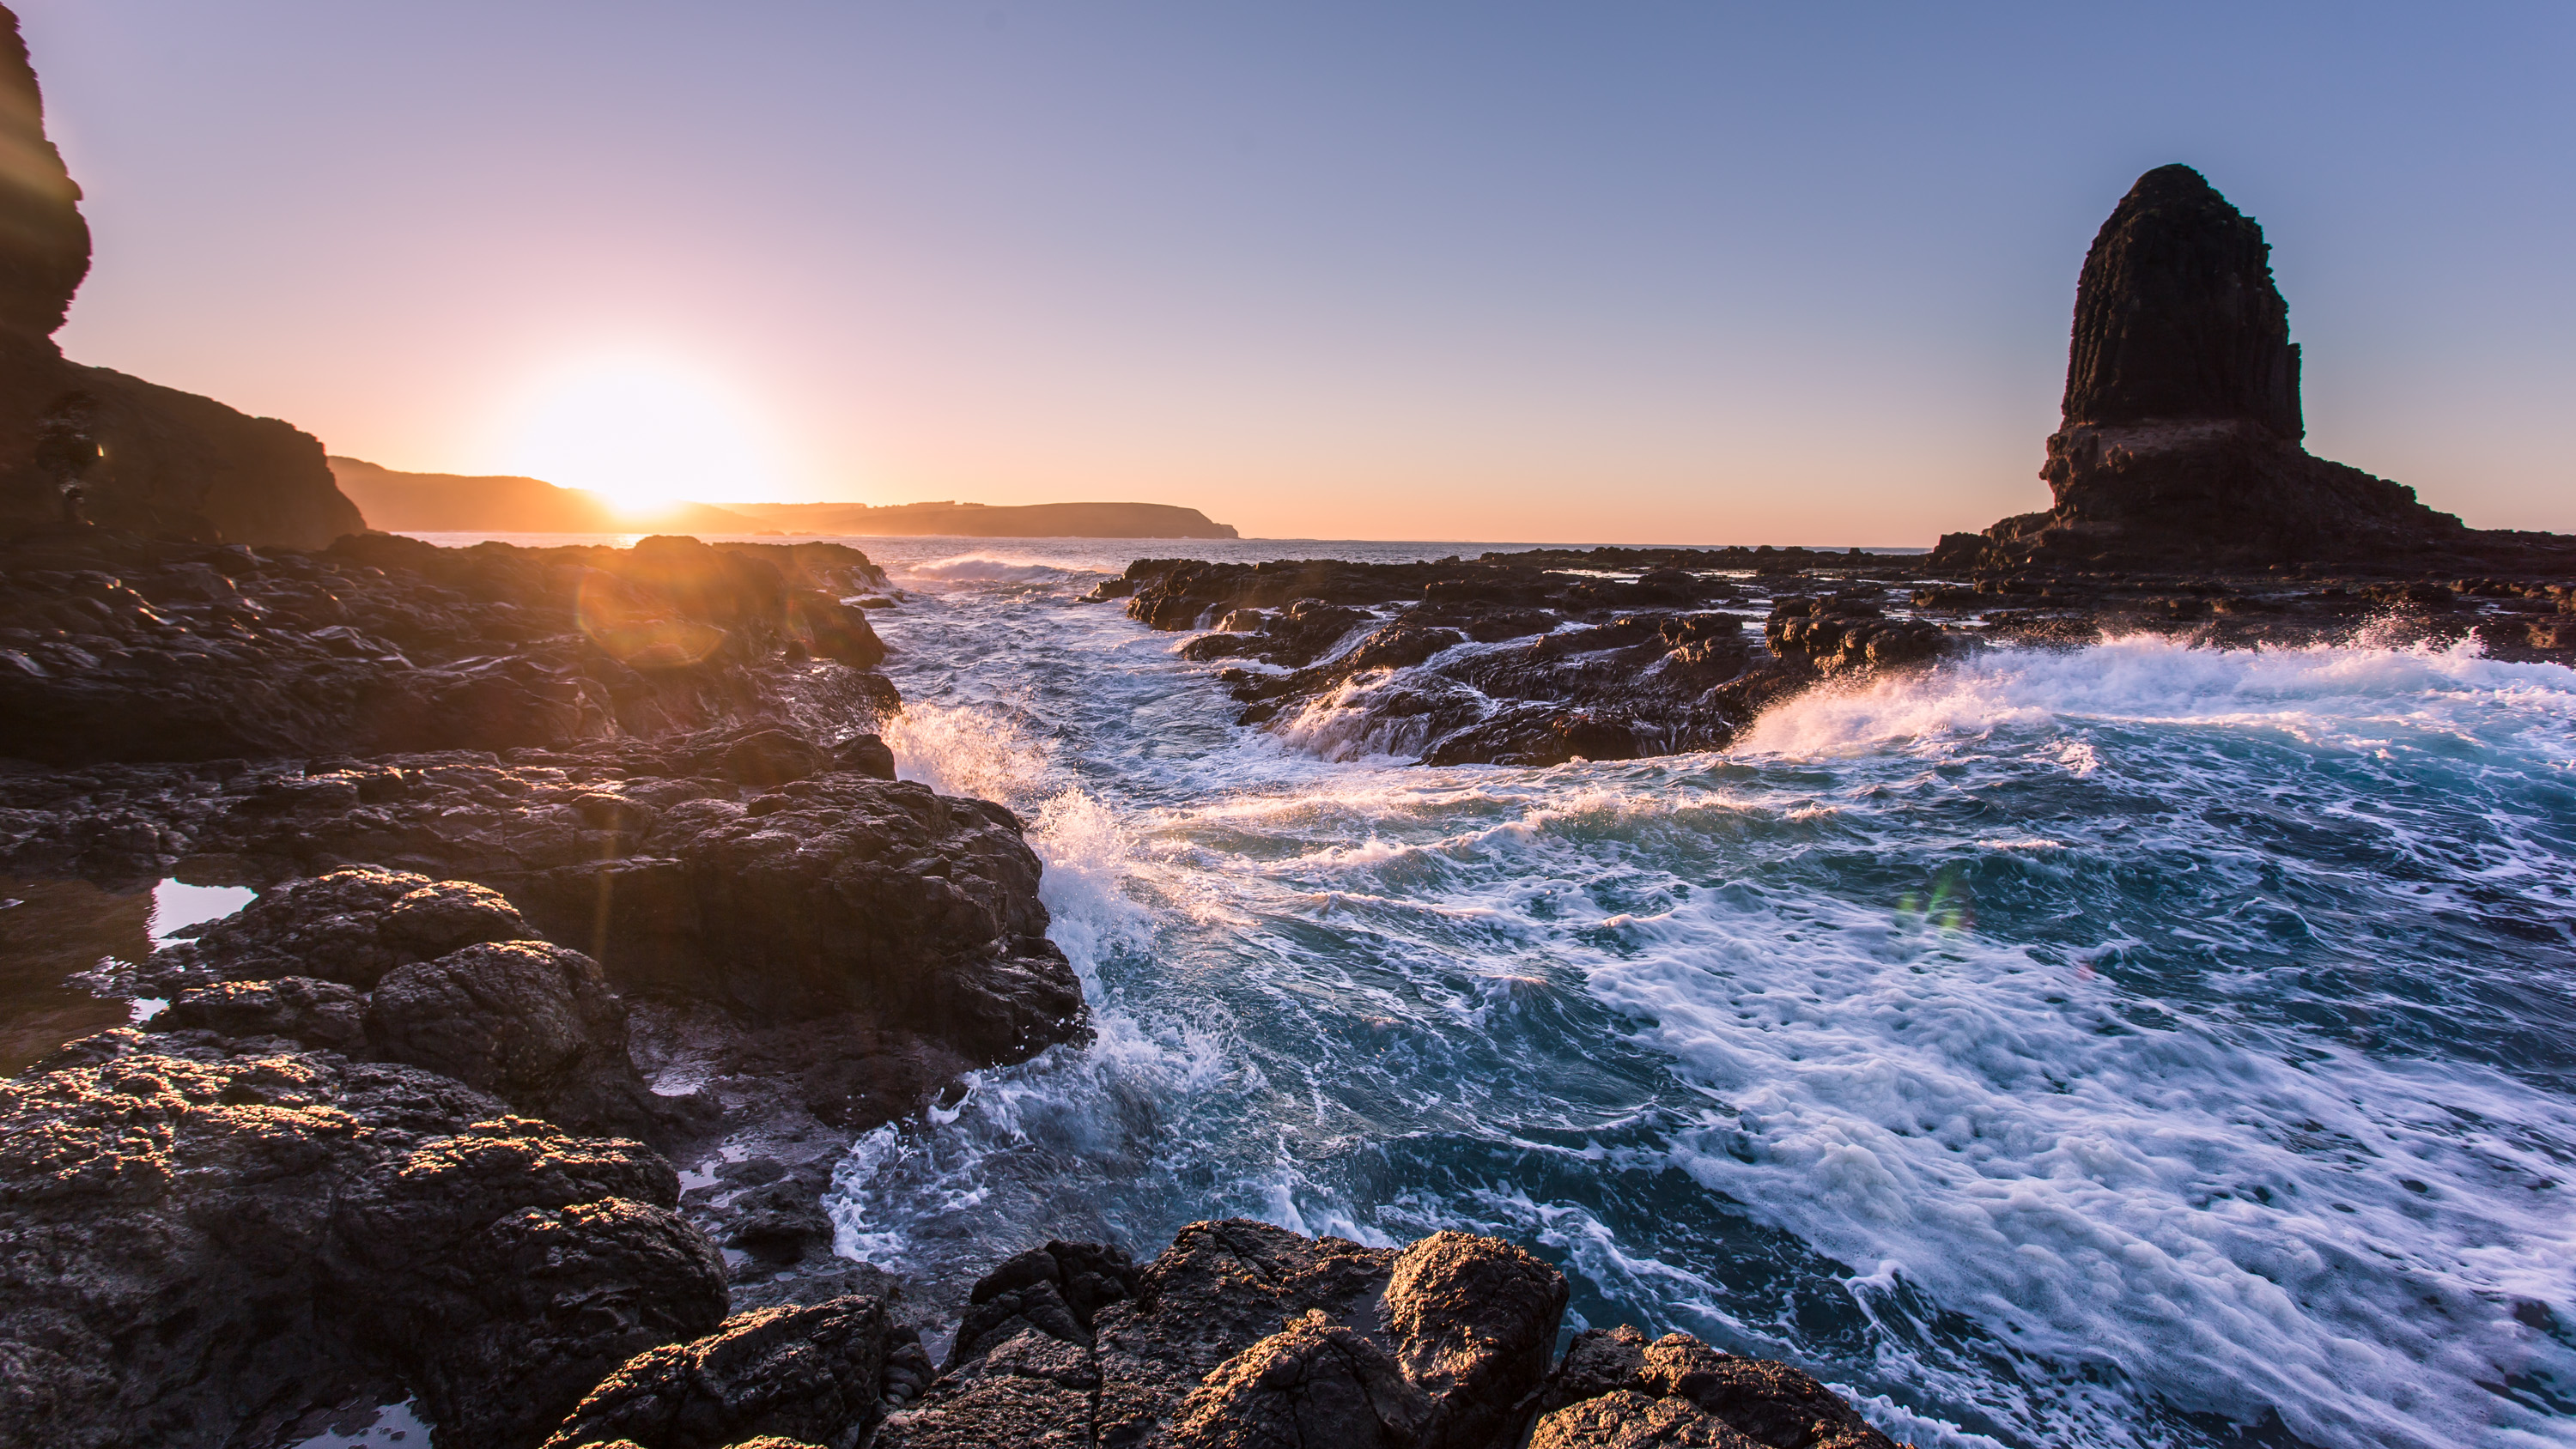
Saving the best moment for the end. Amazing.
Sun kissing the horizon at The Pinnacles on Phillip Island, Victoria, Australia
Just after the sun goes down, the sky really changes colour
Looking at the afterglow of sunset at The Pinnacles
Sky changes, surf rolls on. It gets darker, the mood changes, but the surf still sounds the same. Only more dramatic. P.S. All those dots in the sky; they are birds!
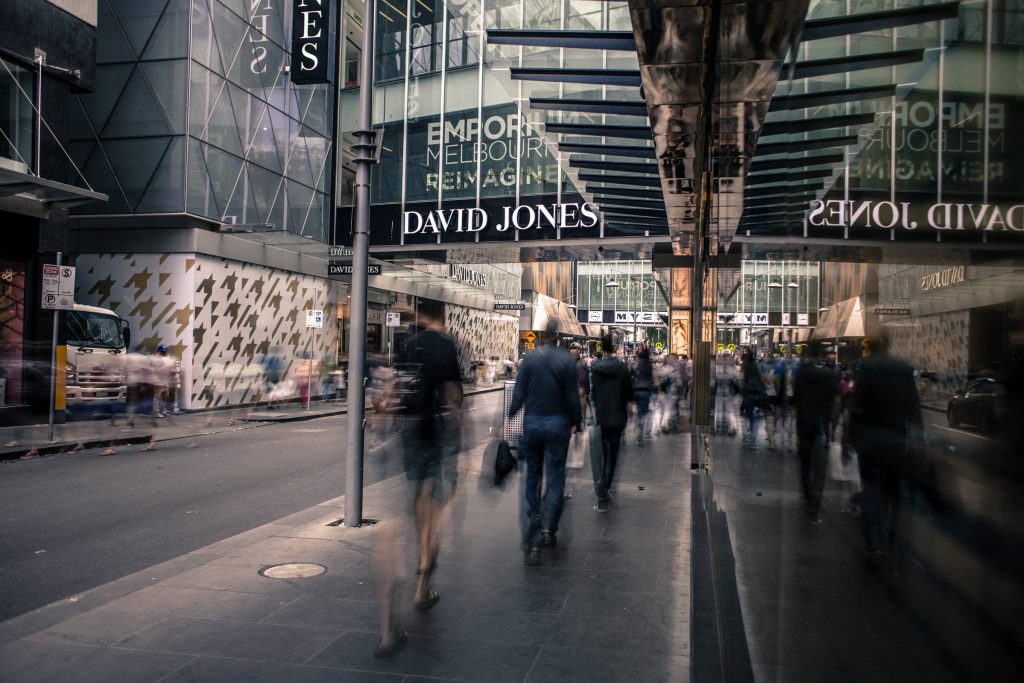
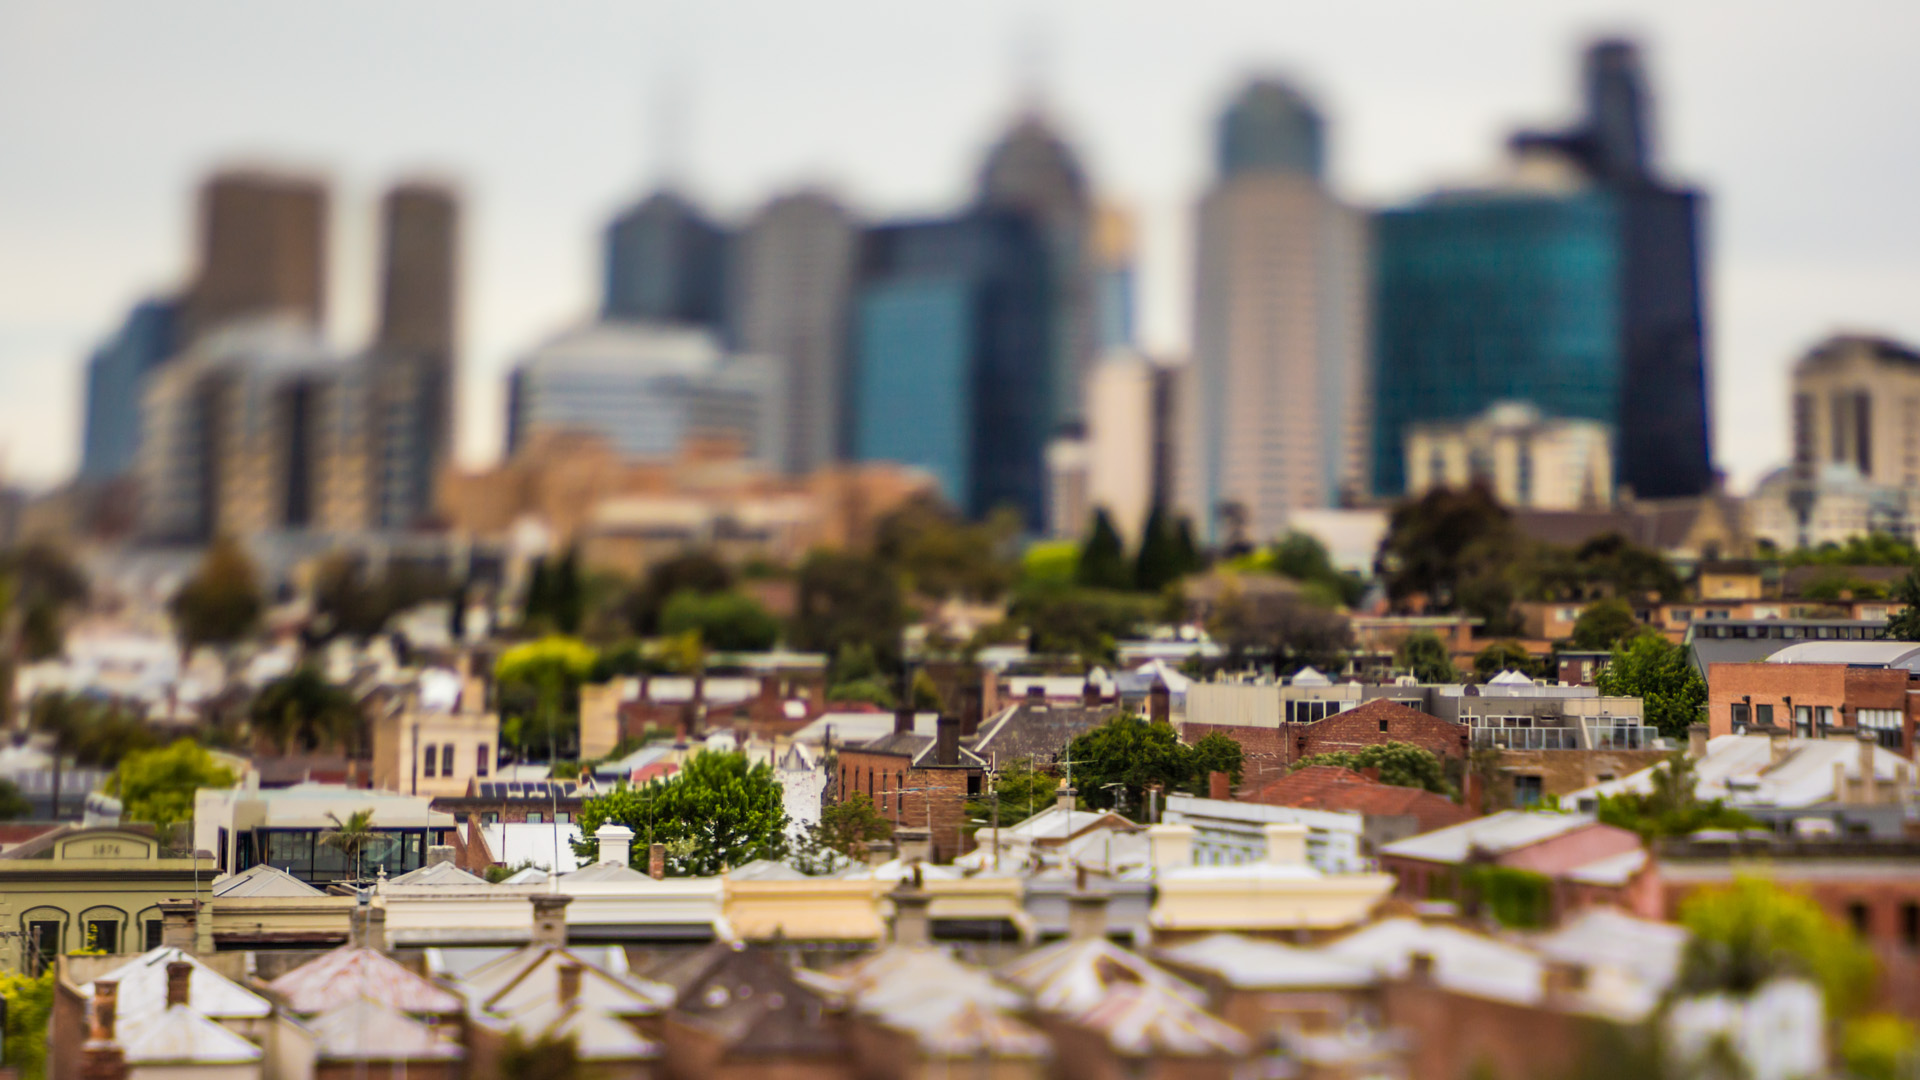
It’s funny how when you’re a local, you tend to not really absorb the great things around you. Using myself in Melbourne, as an example, how much does it take to do something like visit the Aquarium? Or go for dinner on the Restaurant Tram? Or even head down to the Dandenong Rangers for a day out? What I’m getting at, is there is so much to do for locals, yet we often wait for friends of family to visit (from afar) as justification for doing something interesting.
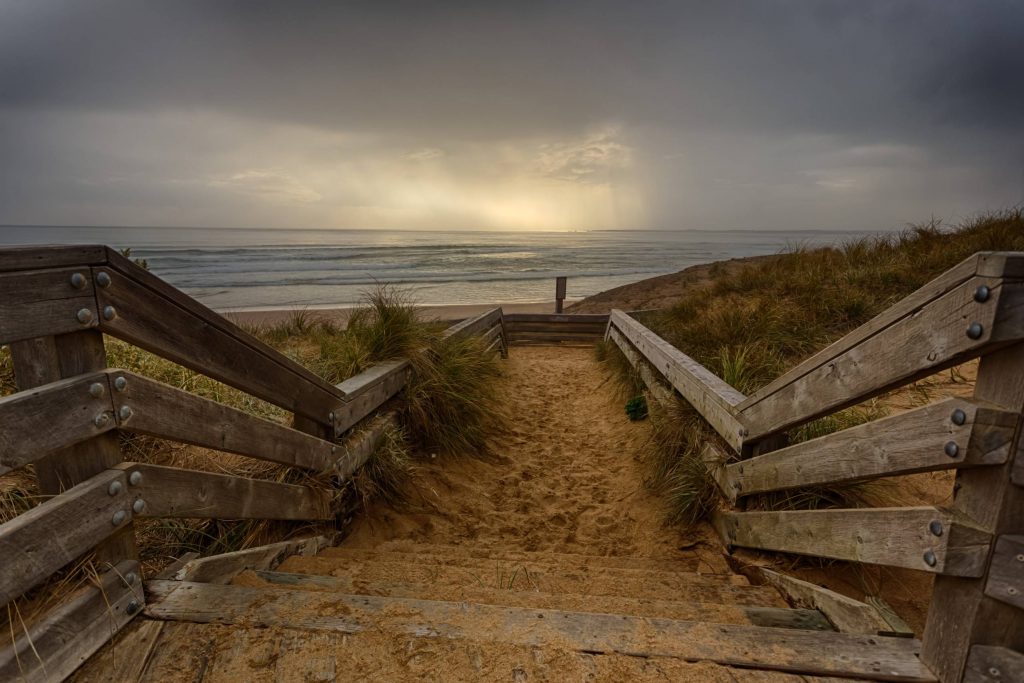
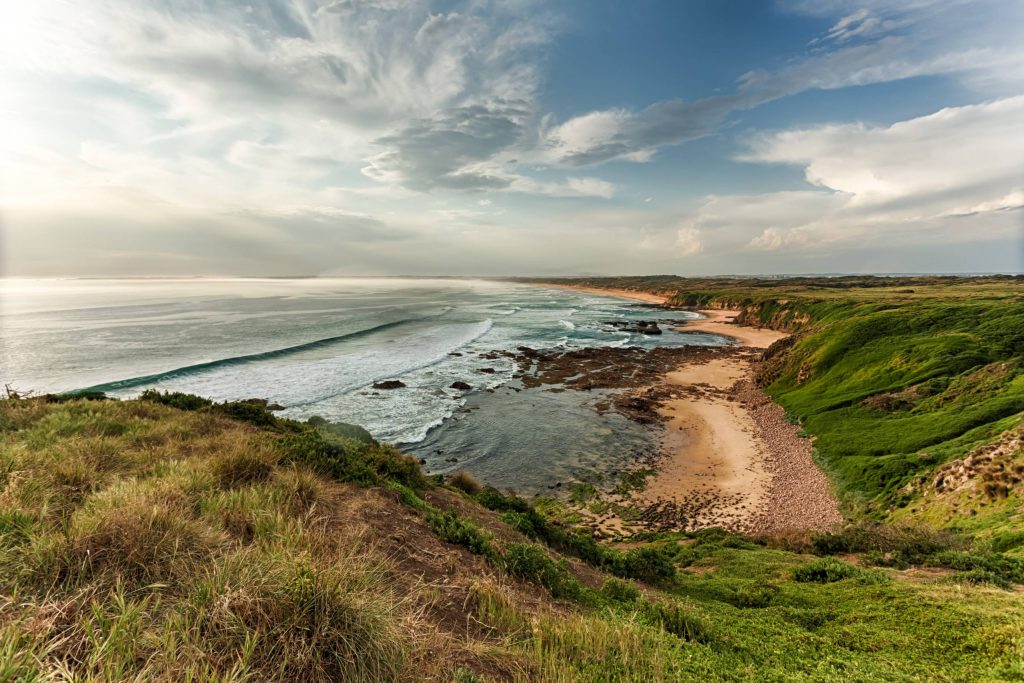
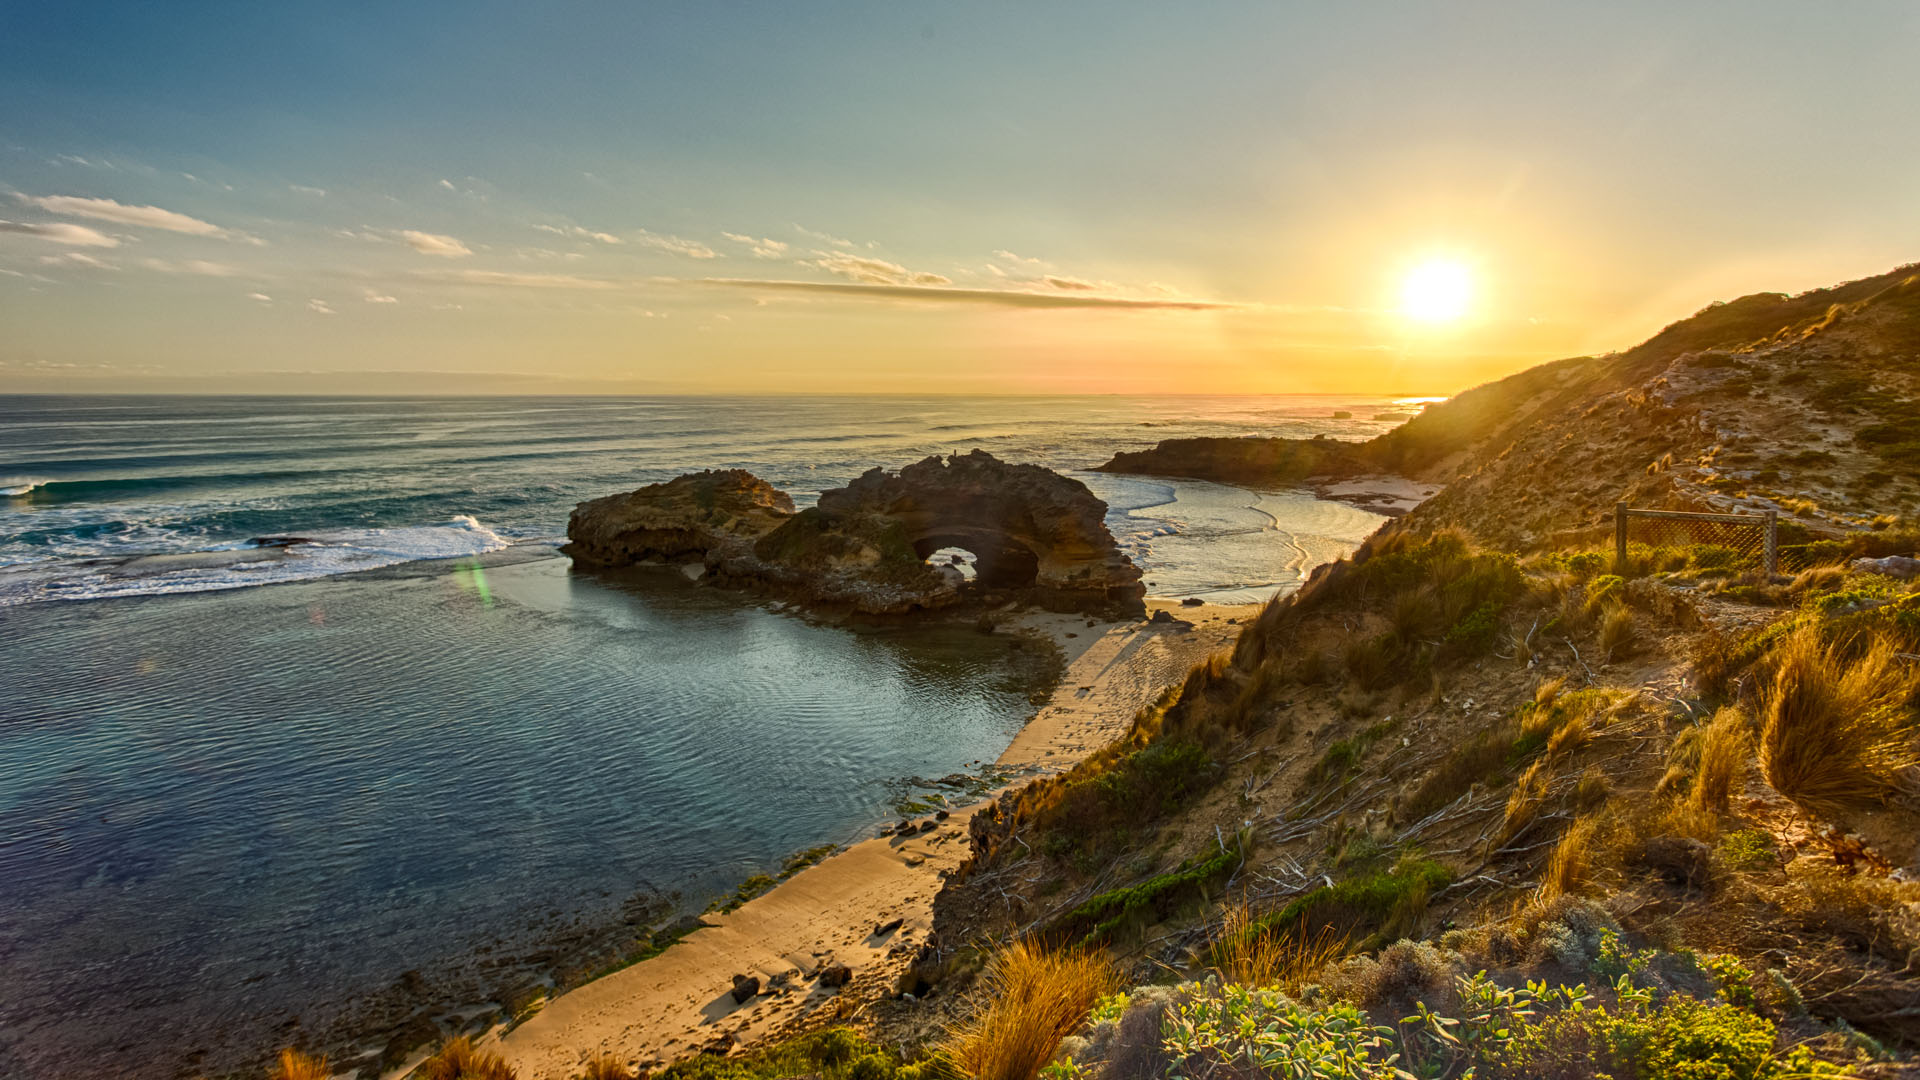
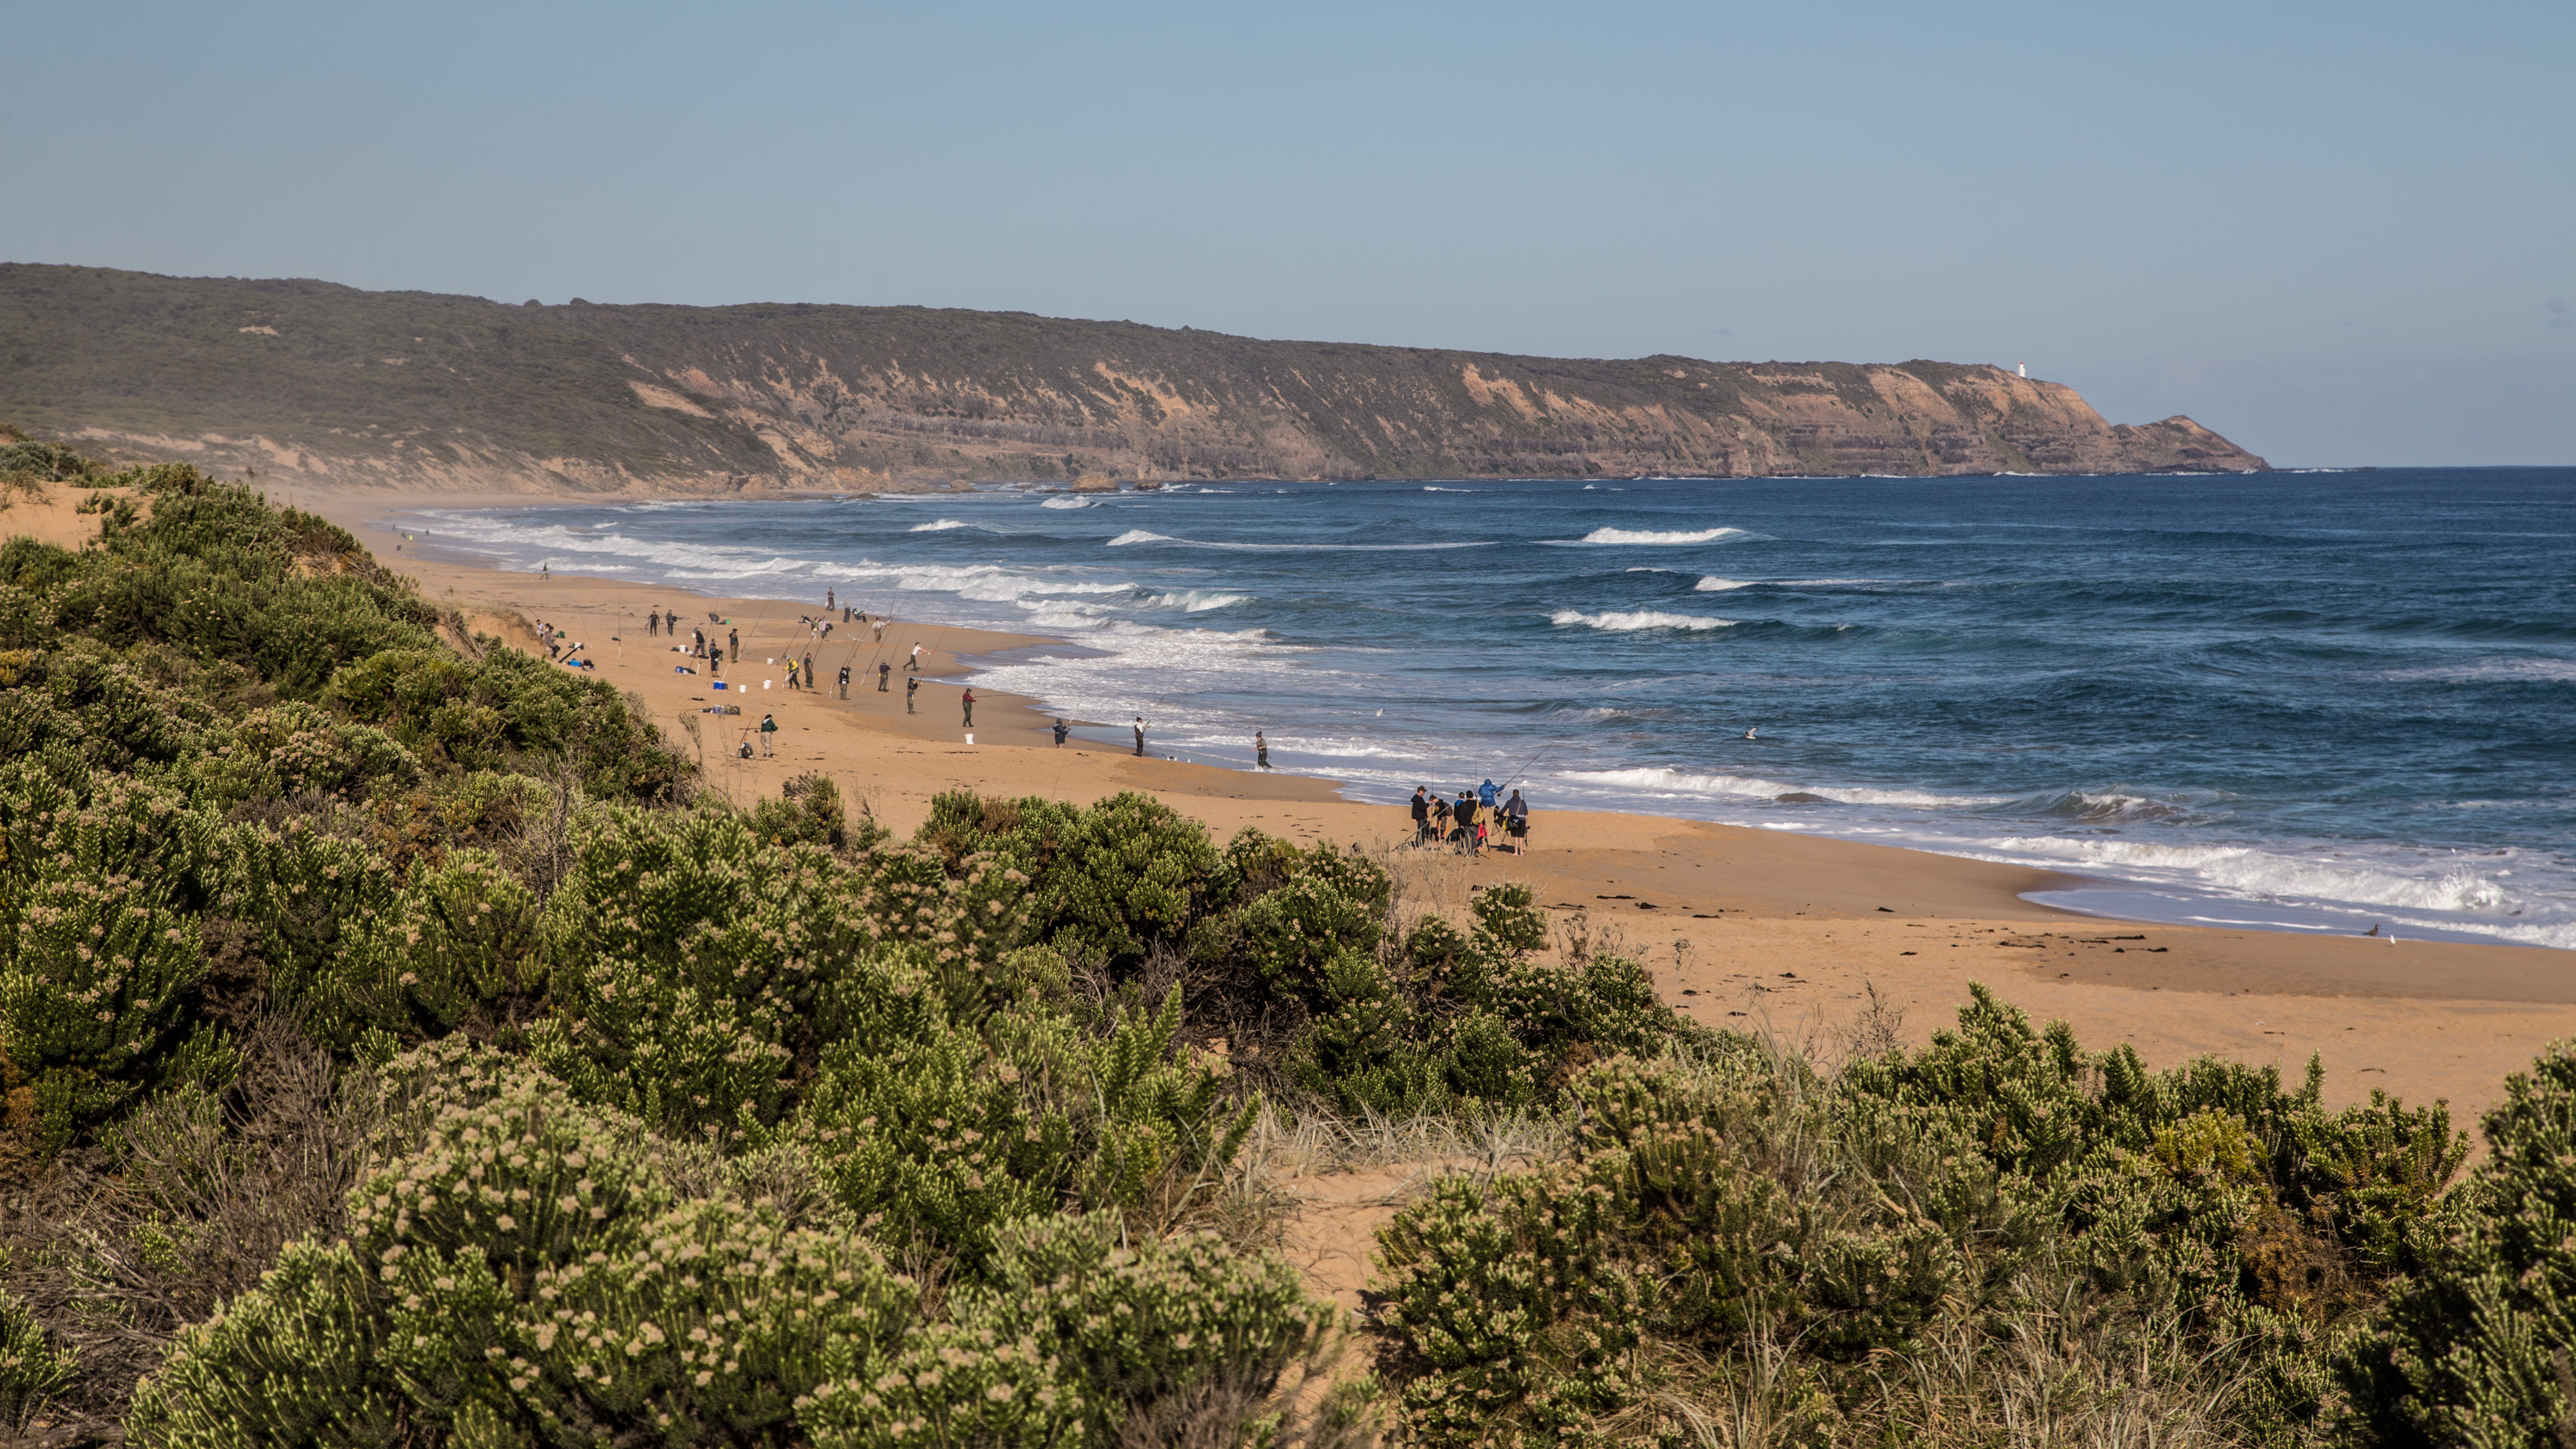
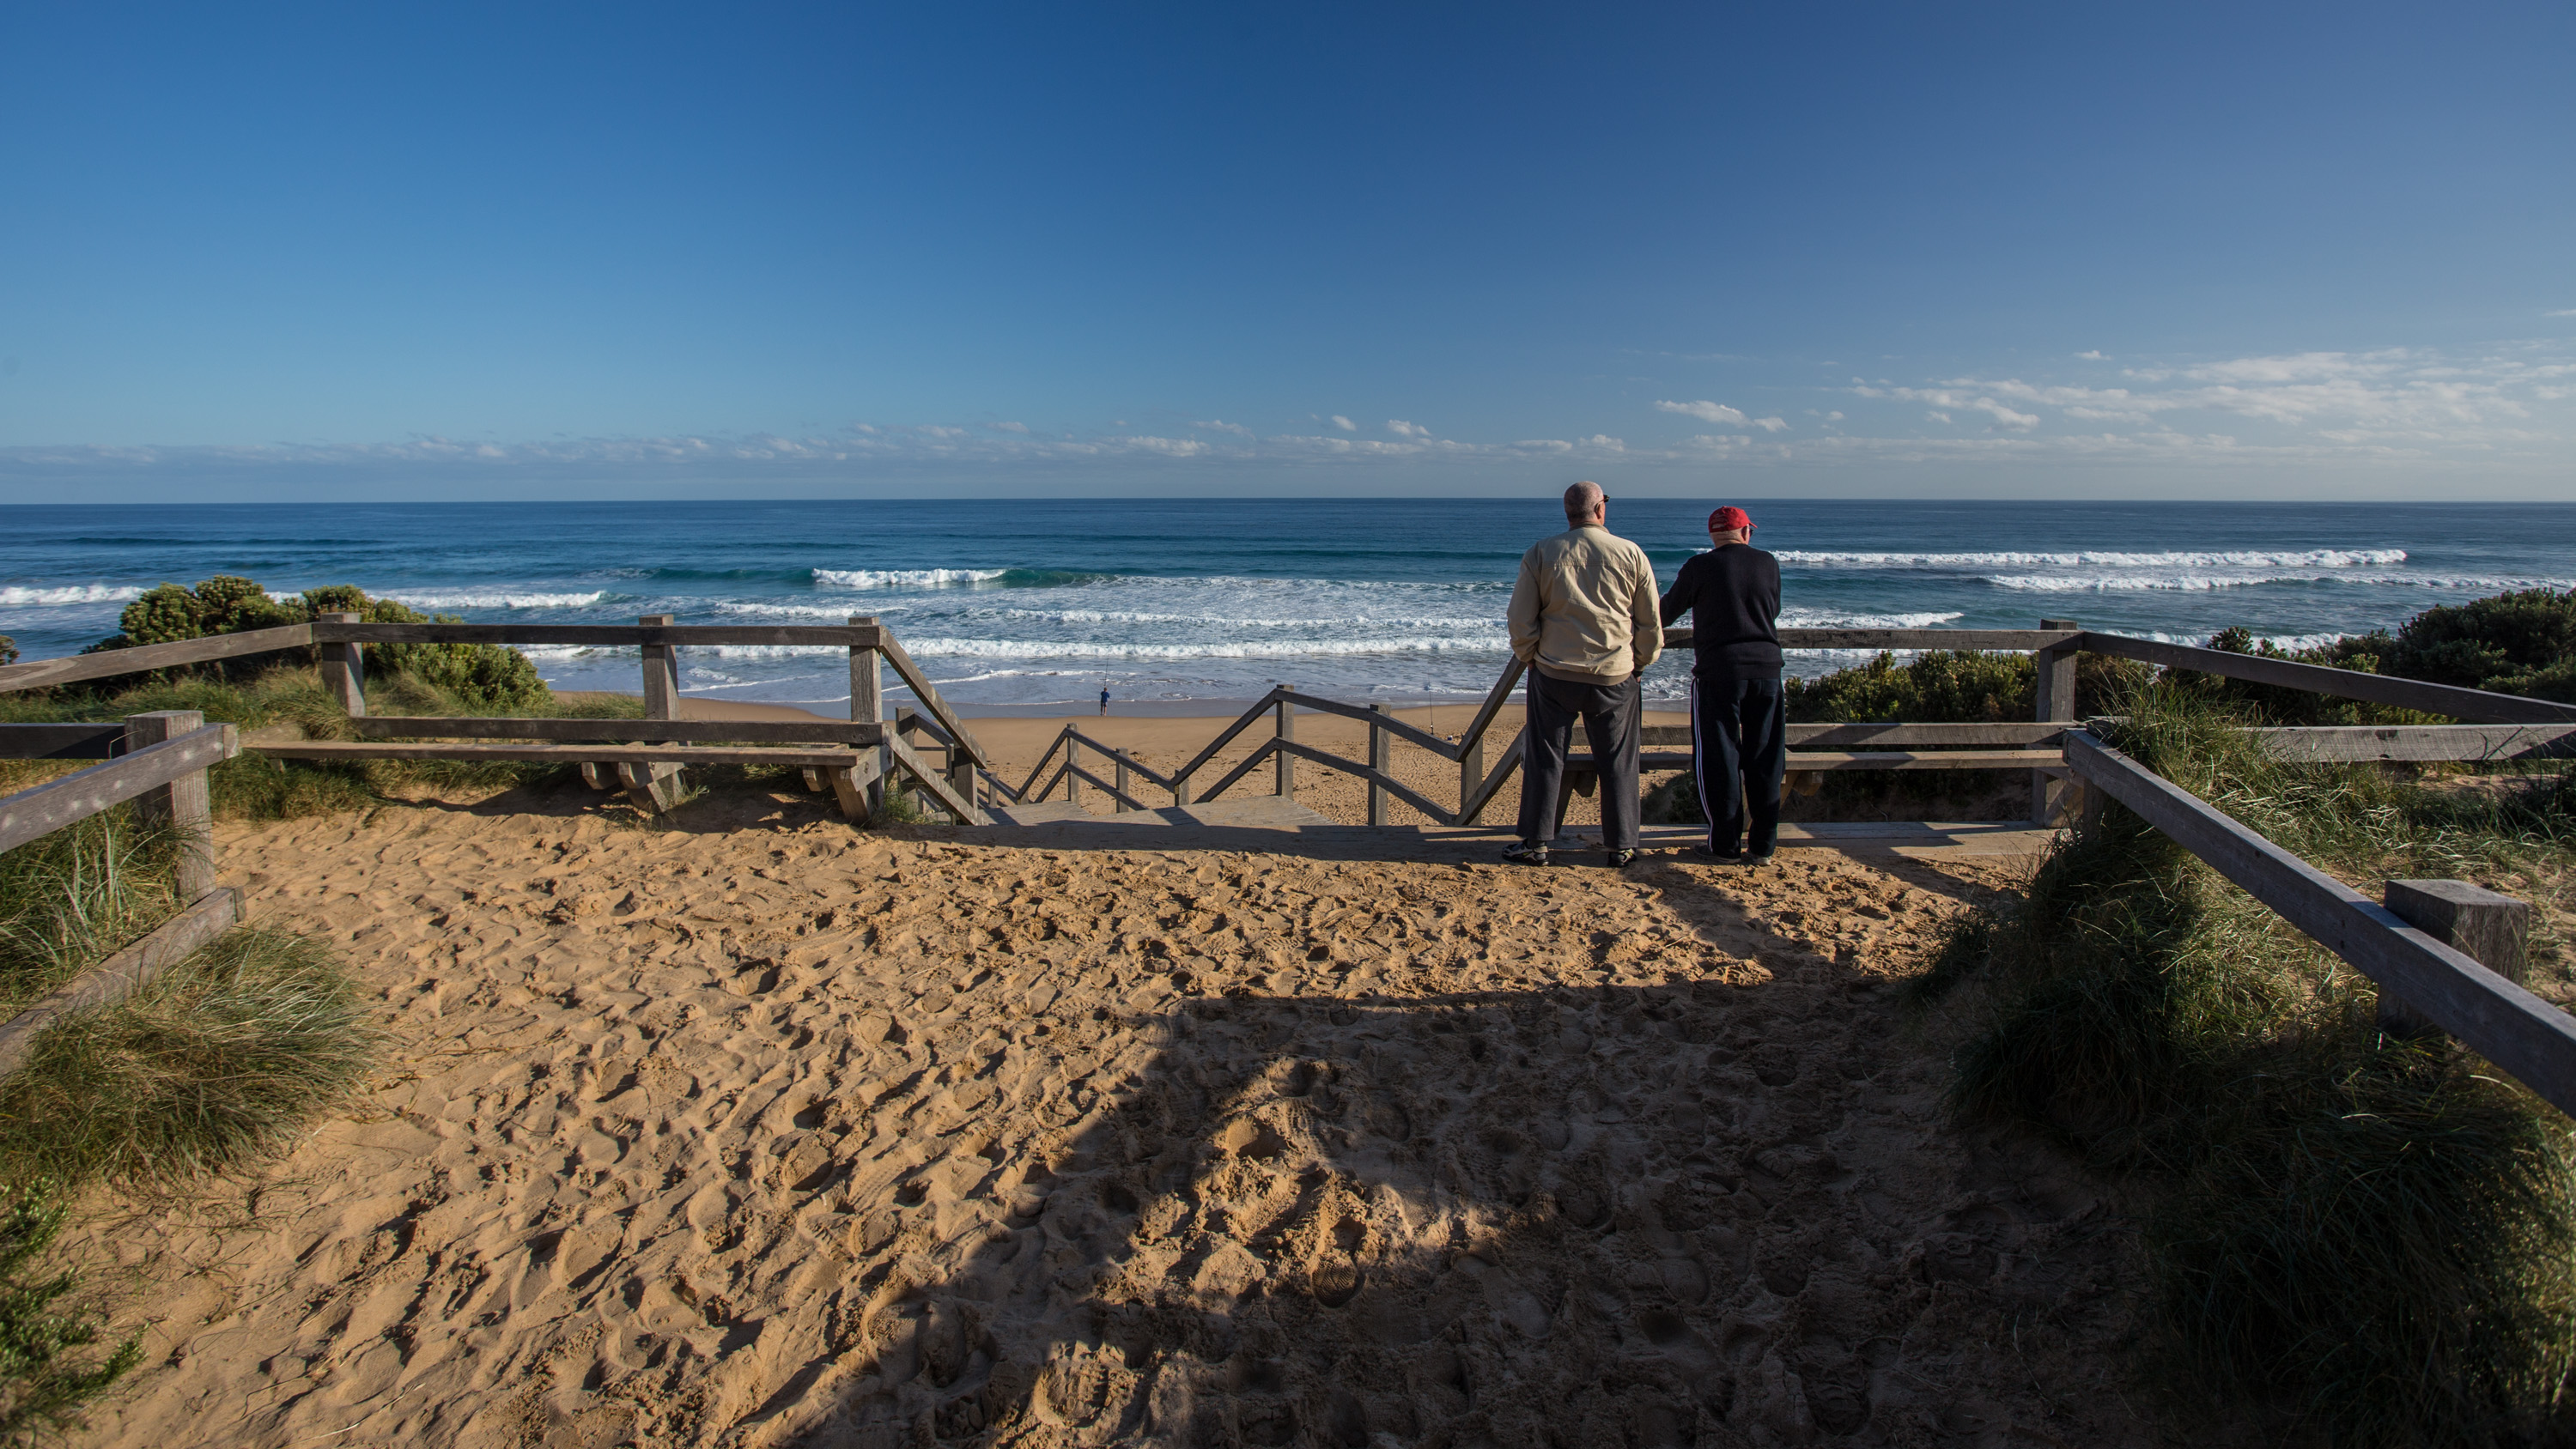
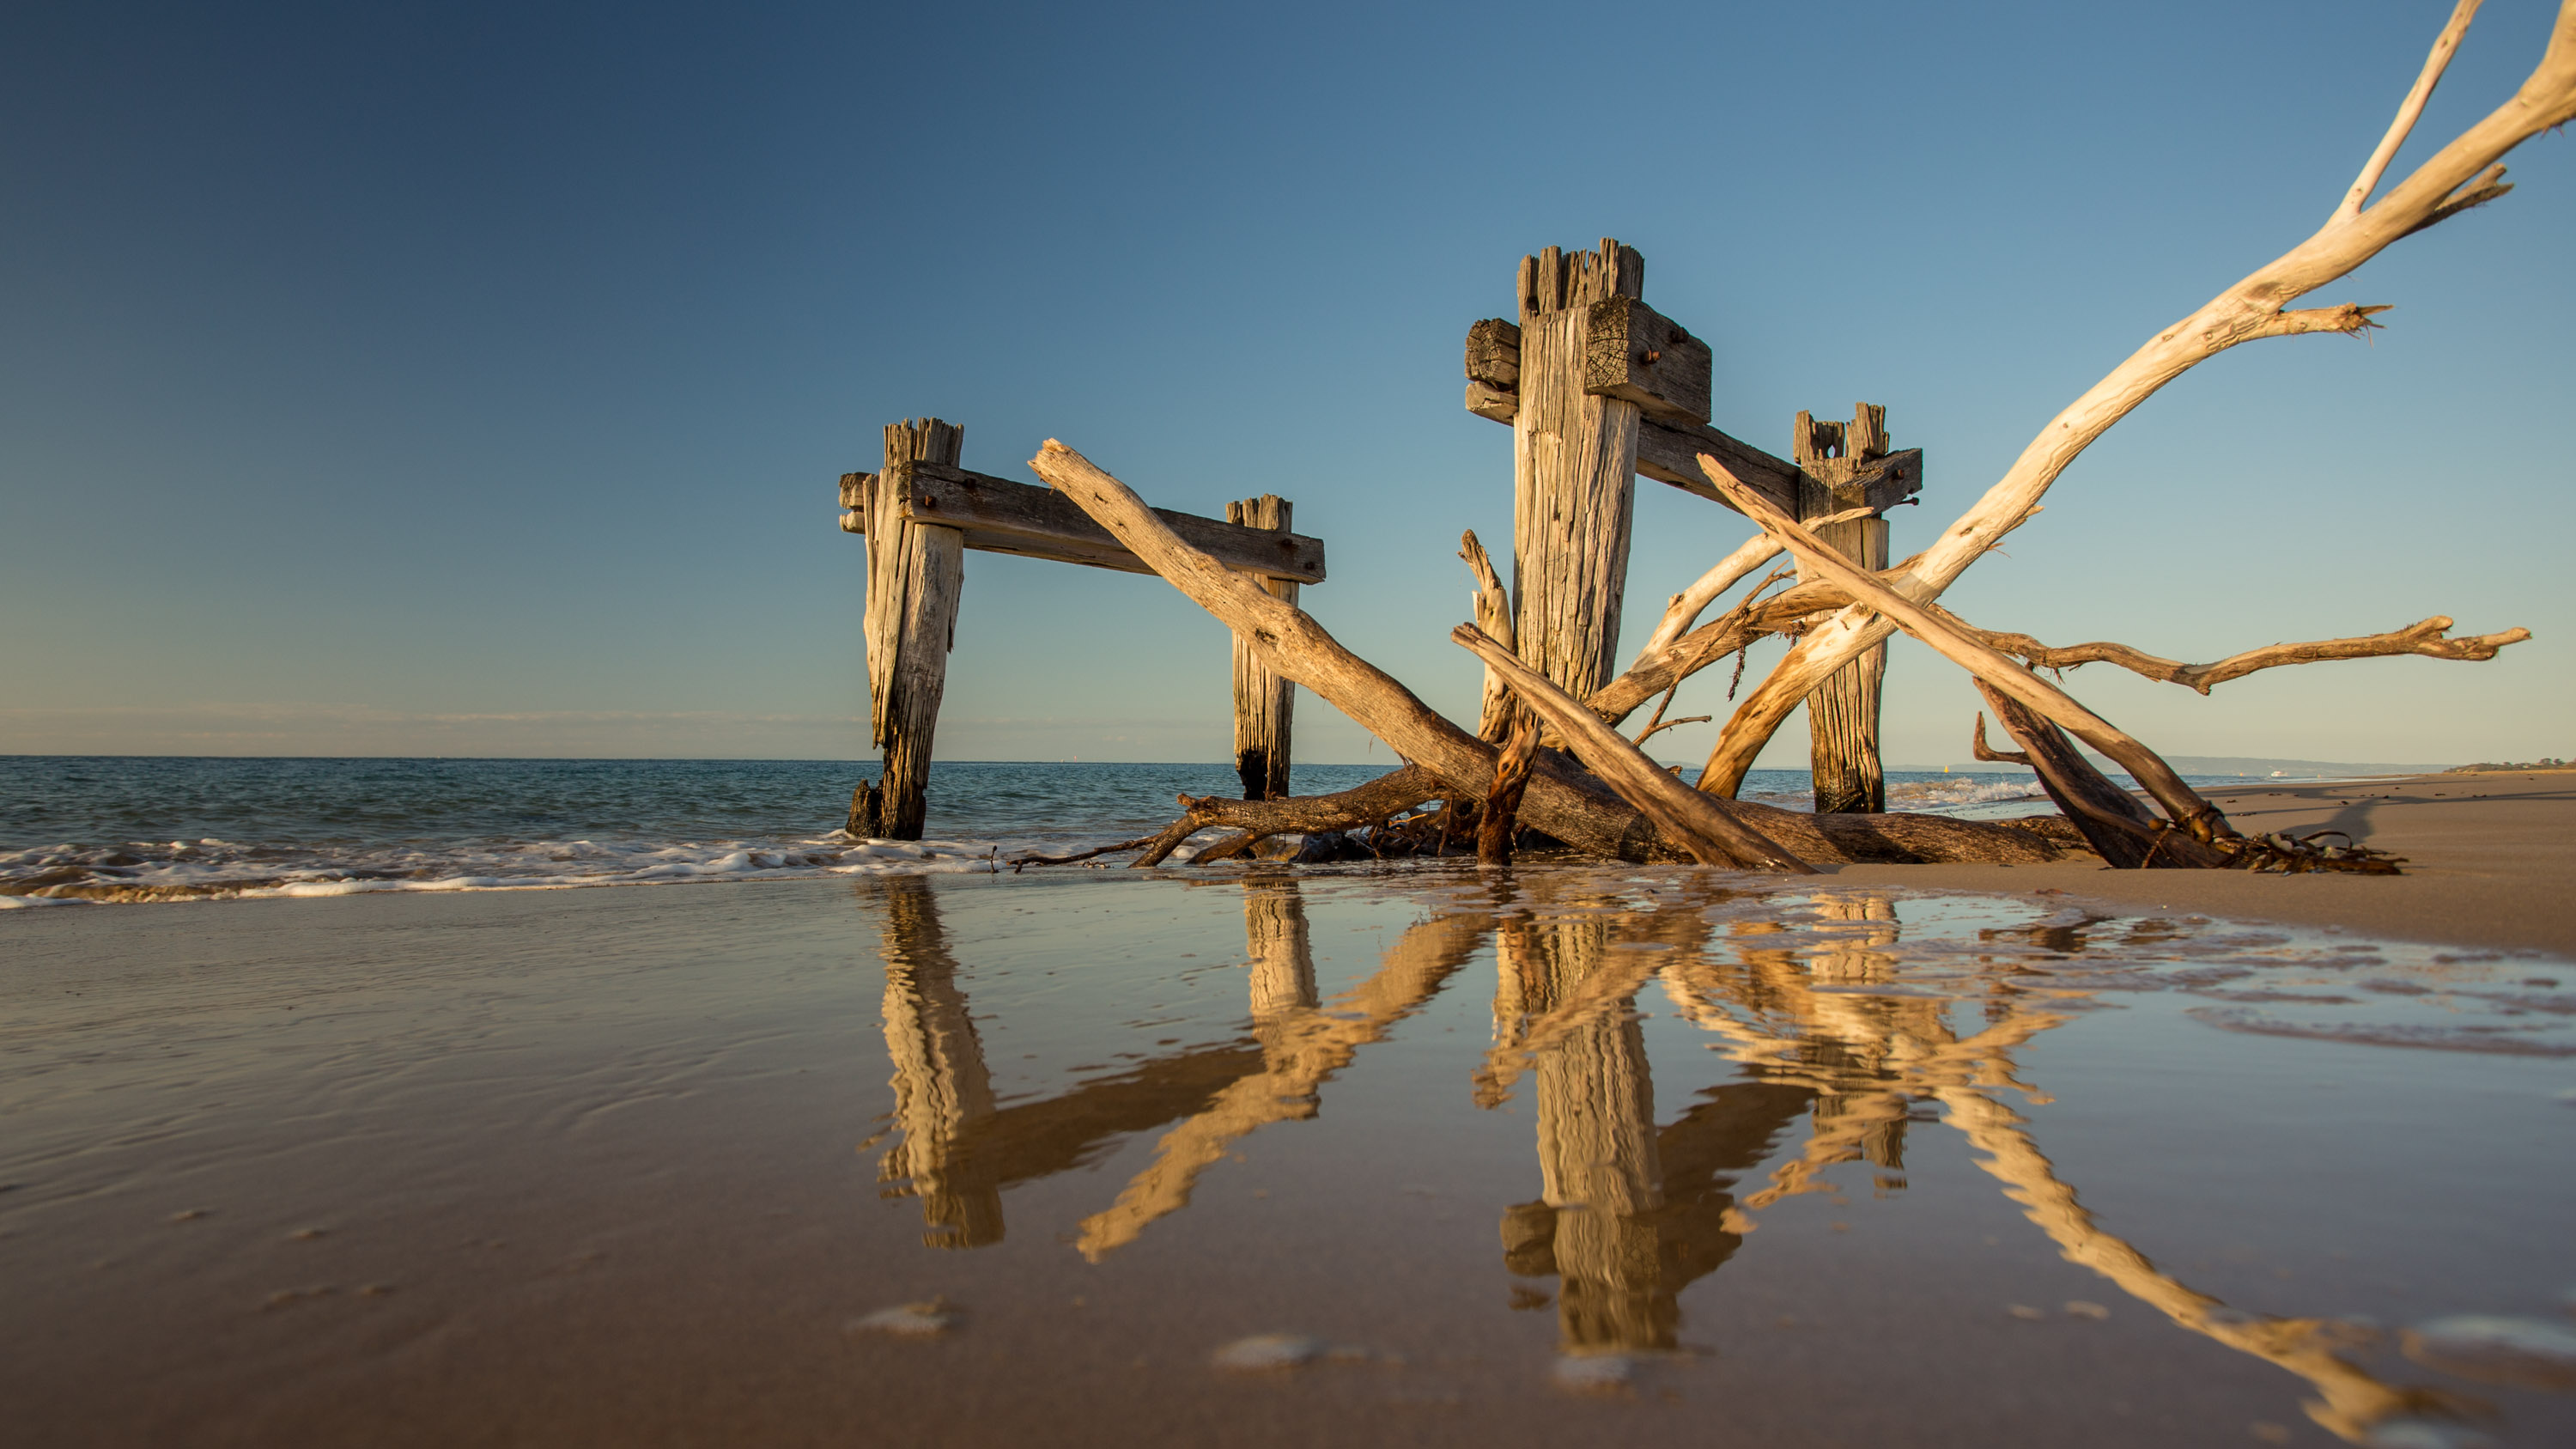
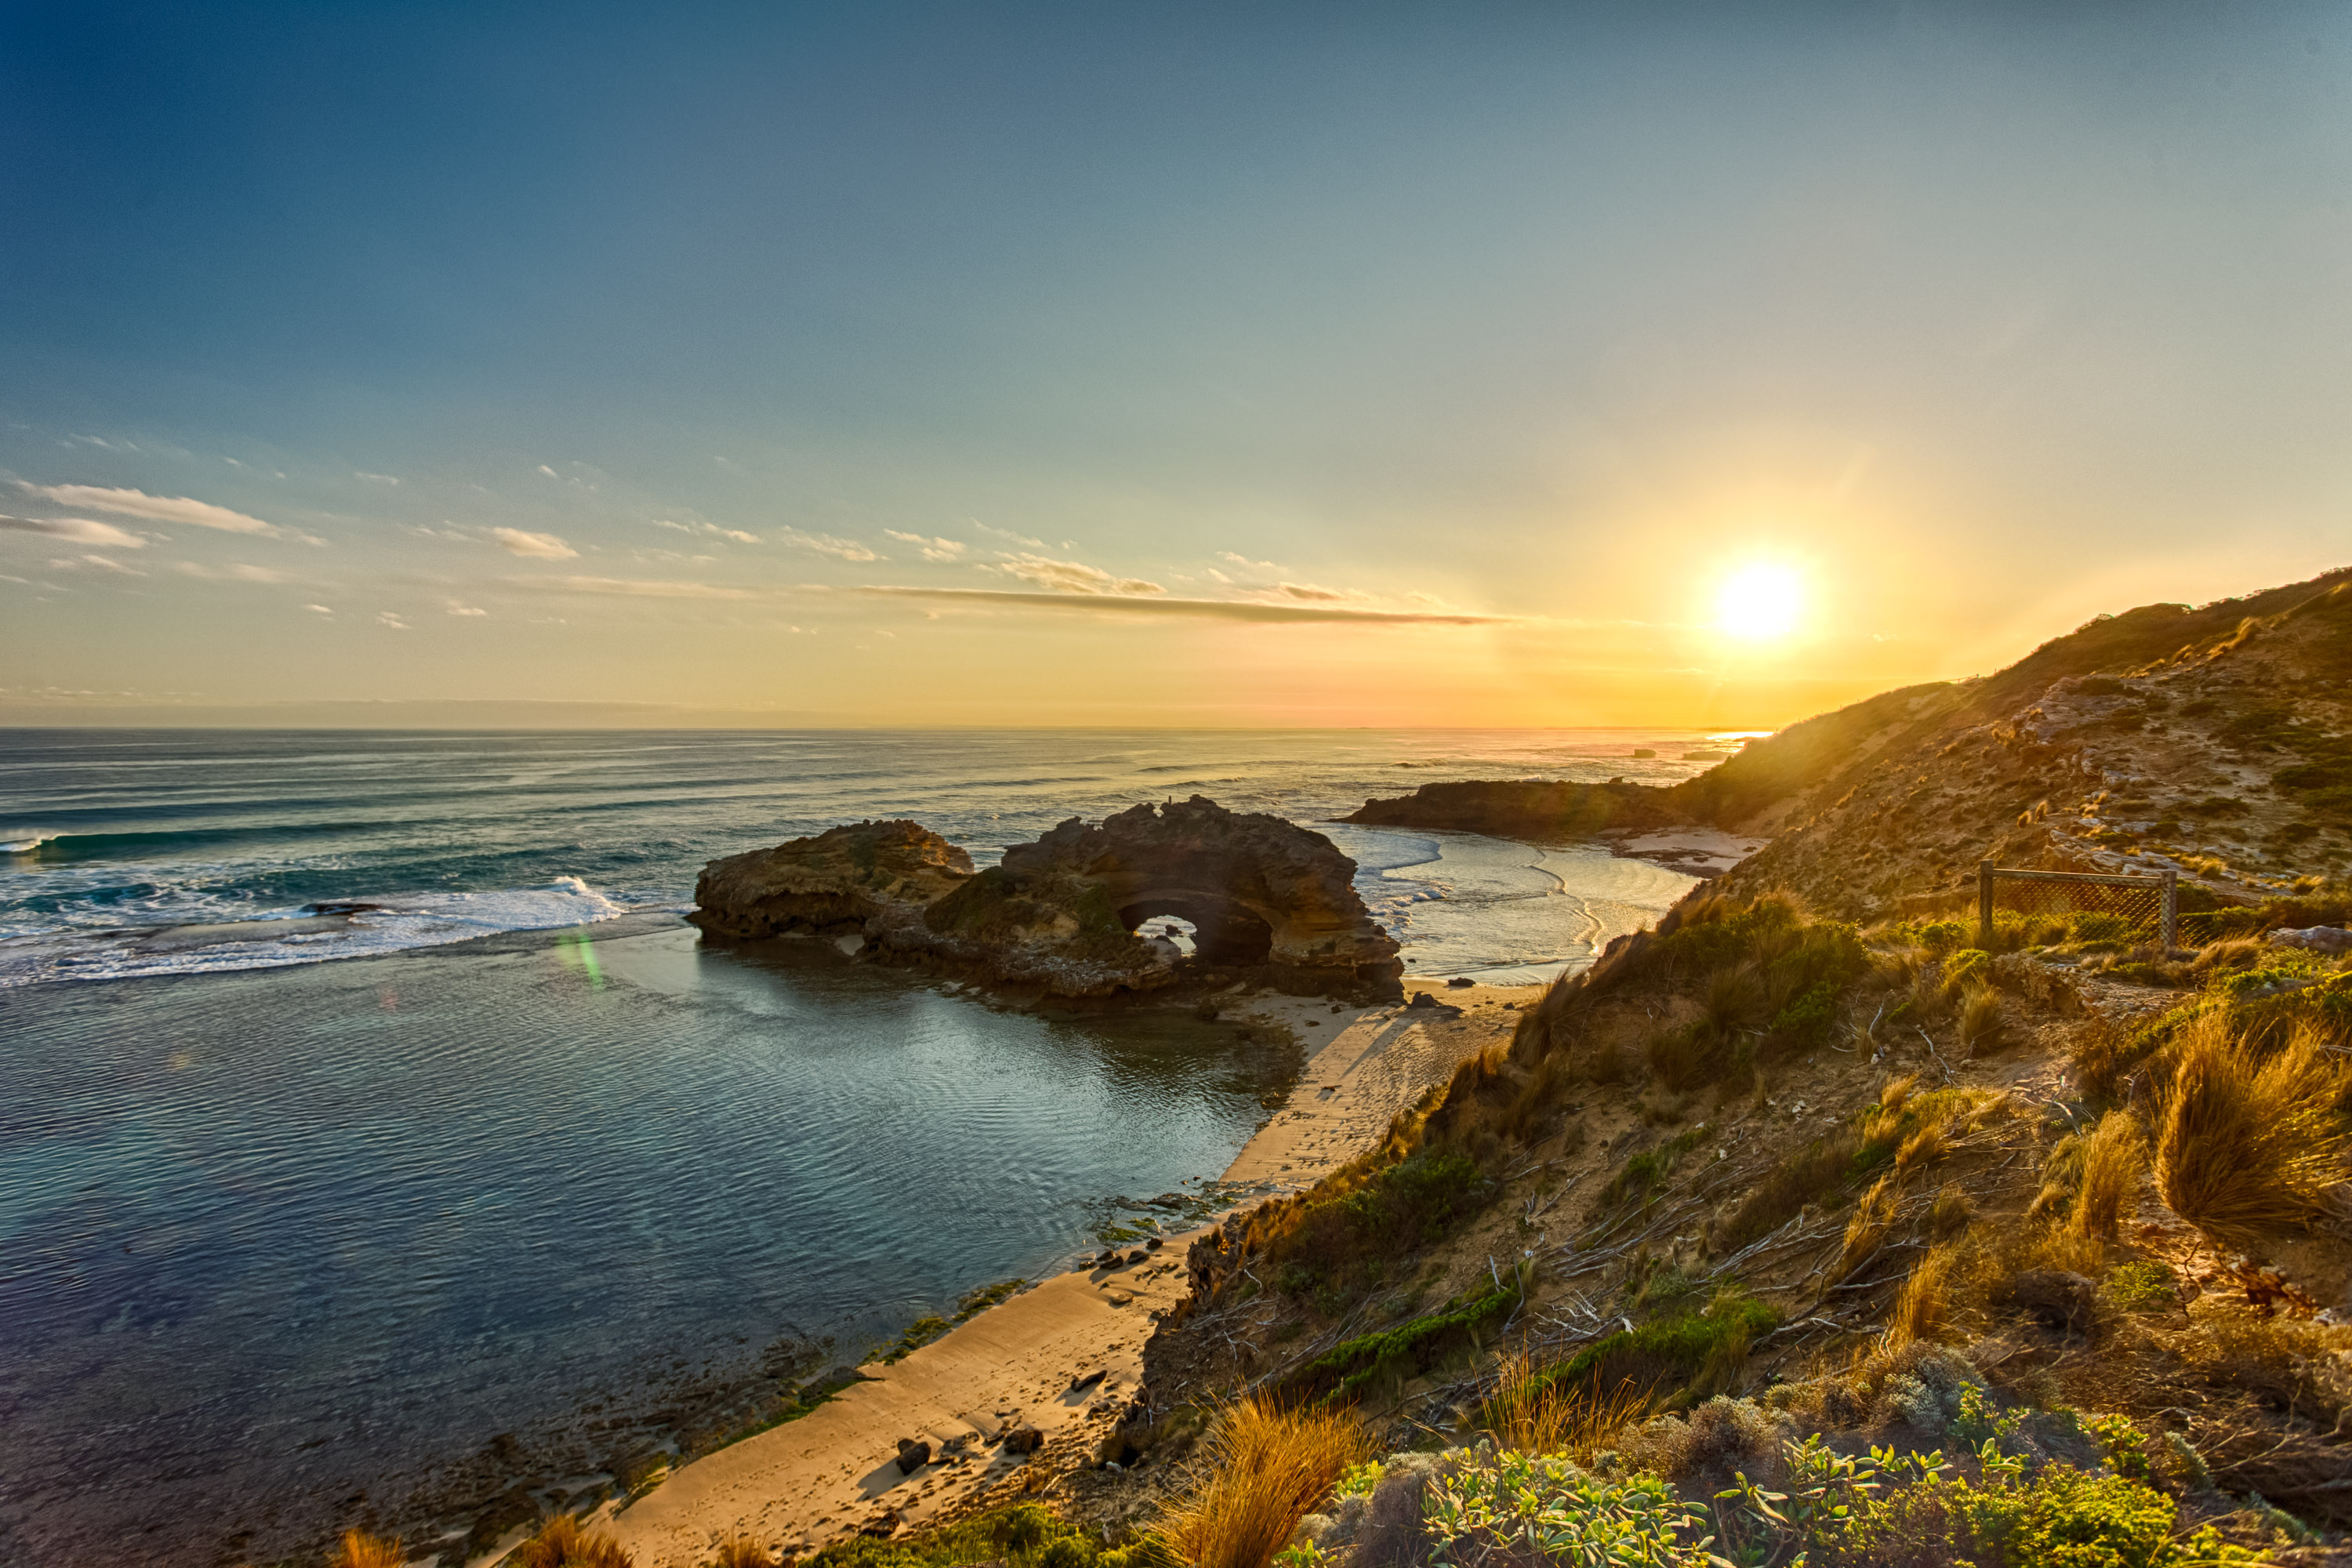
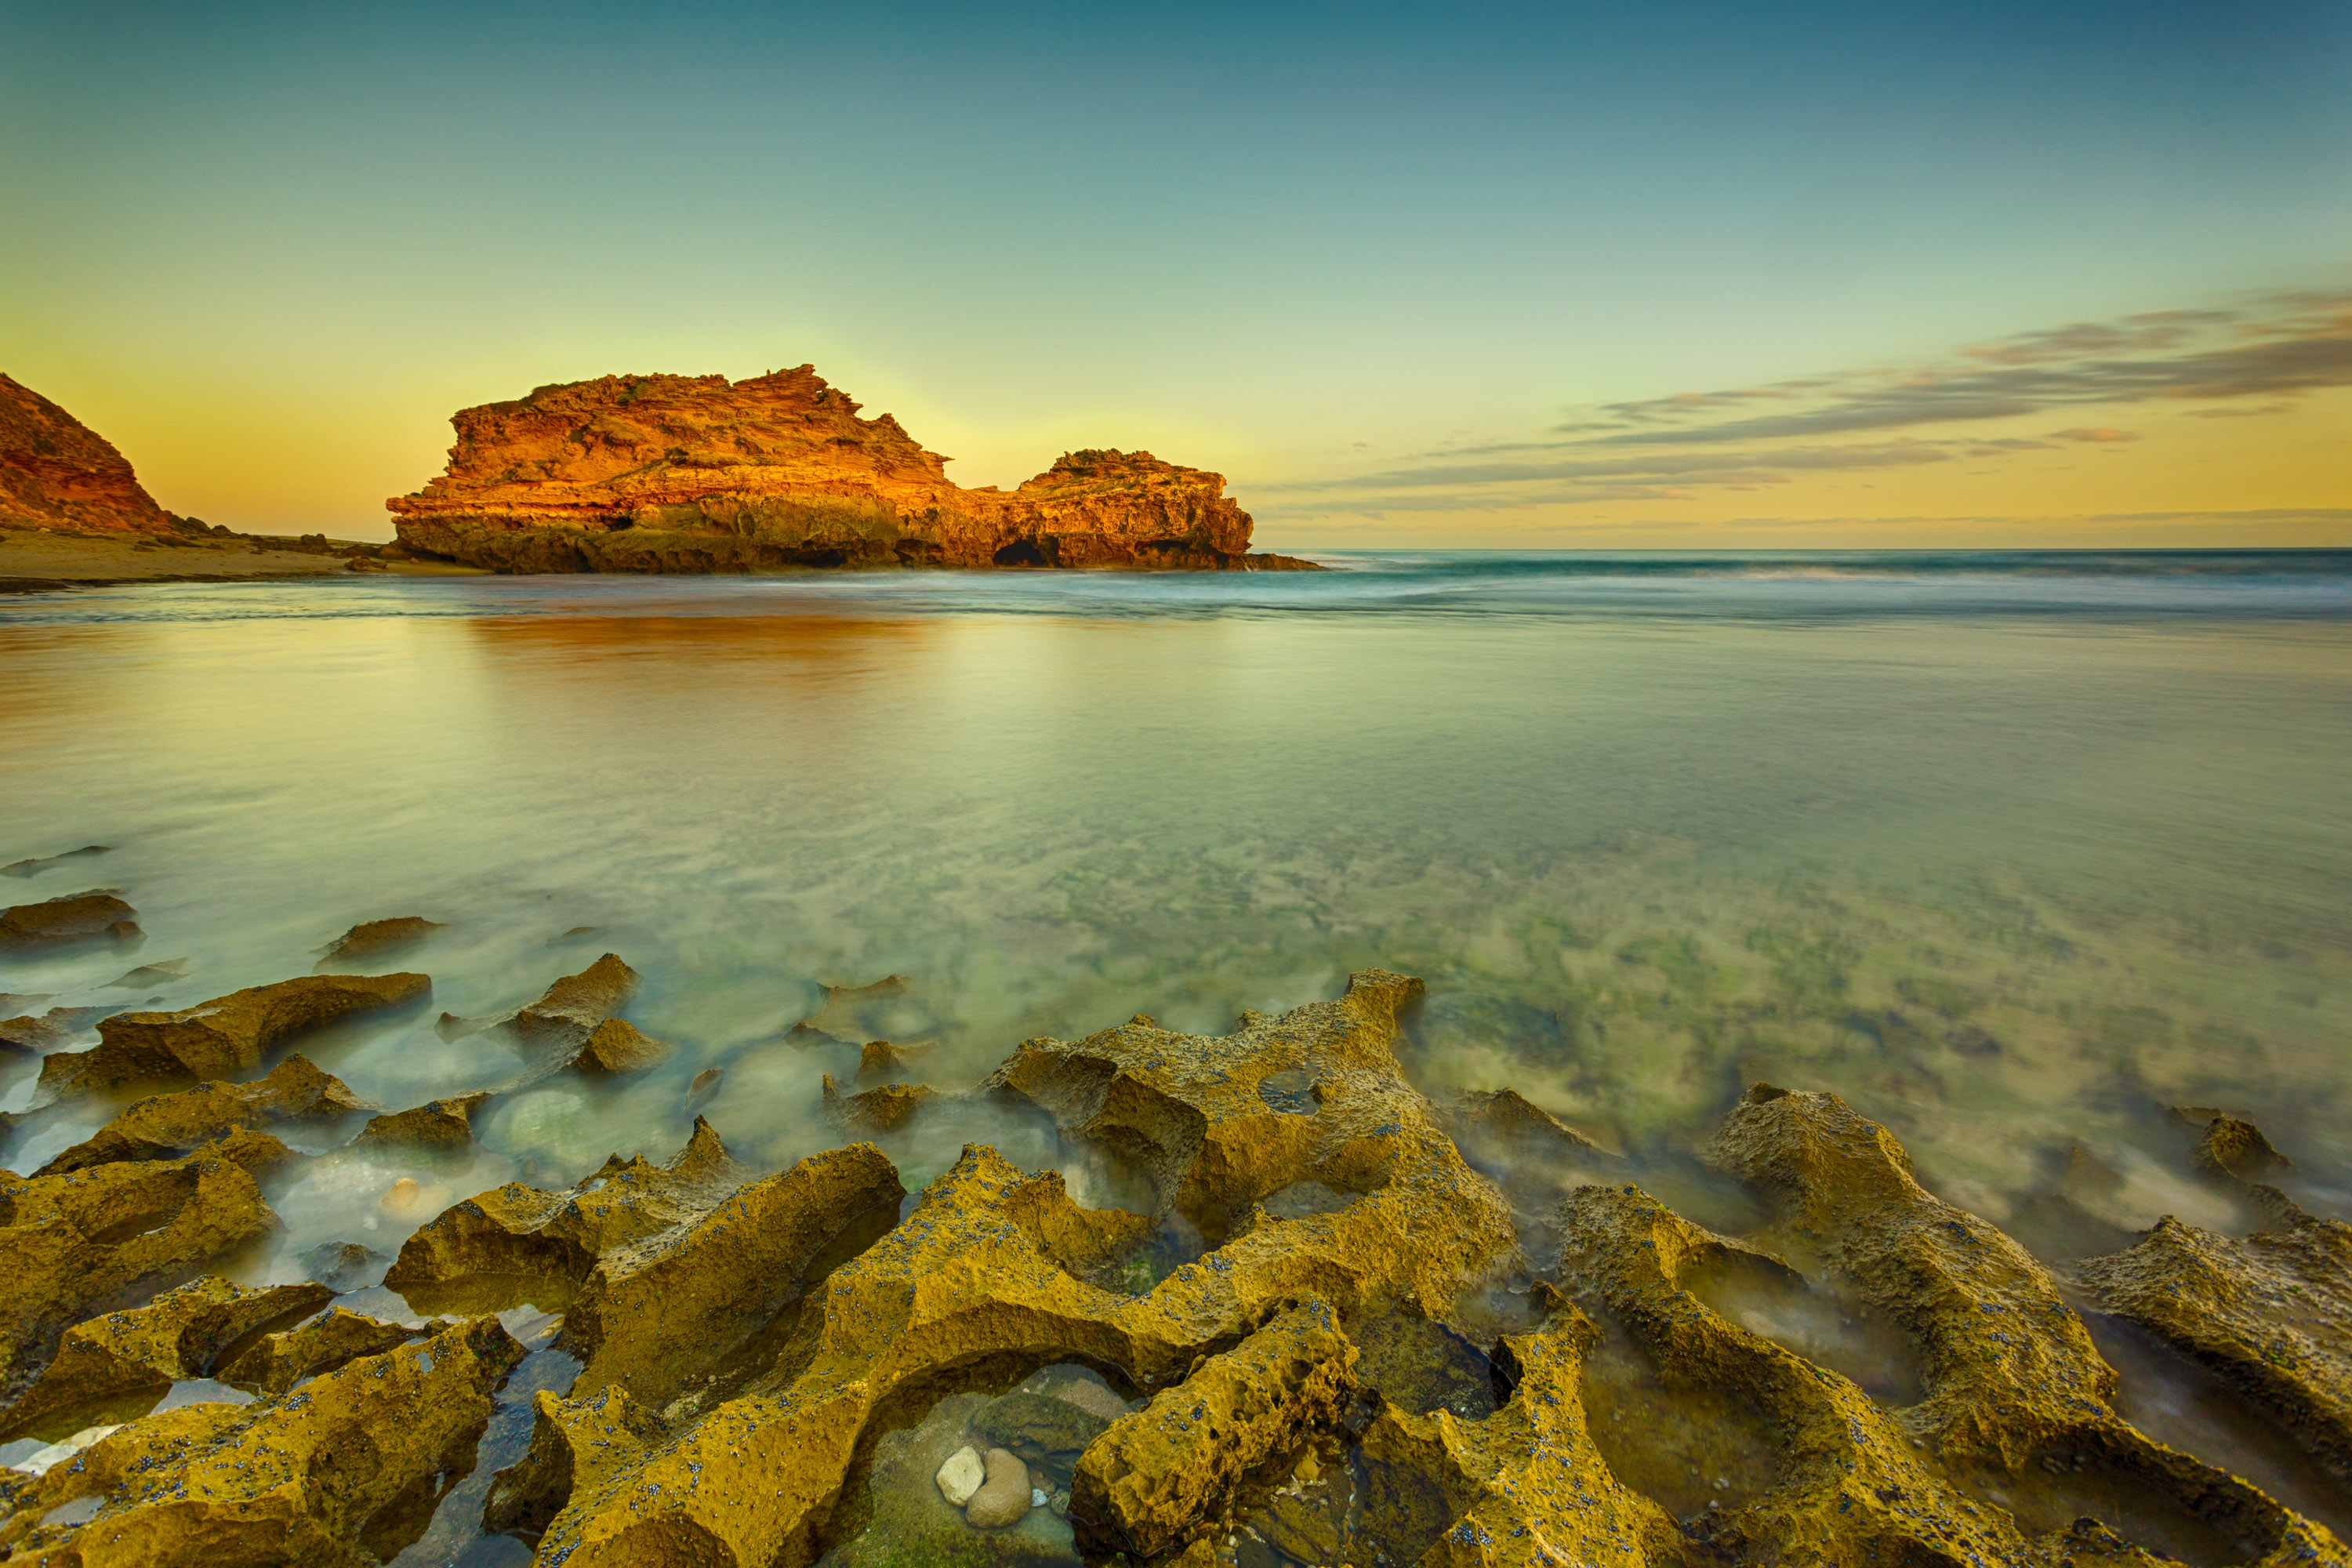
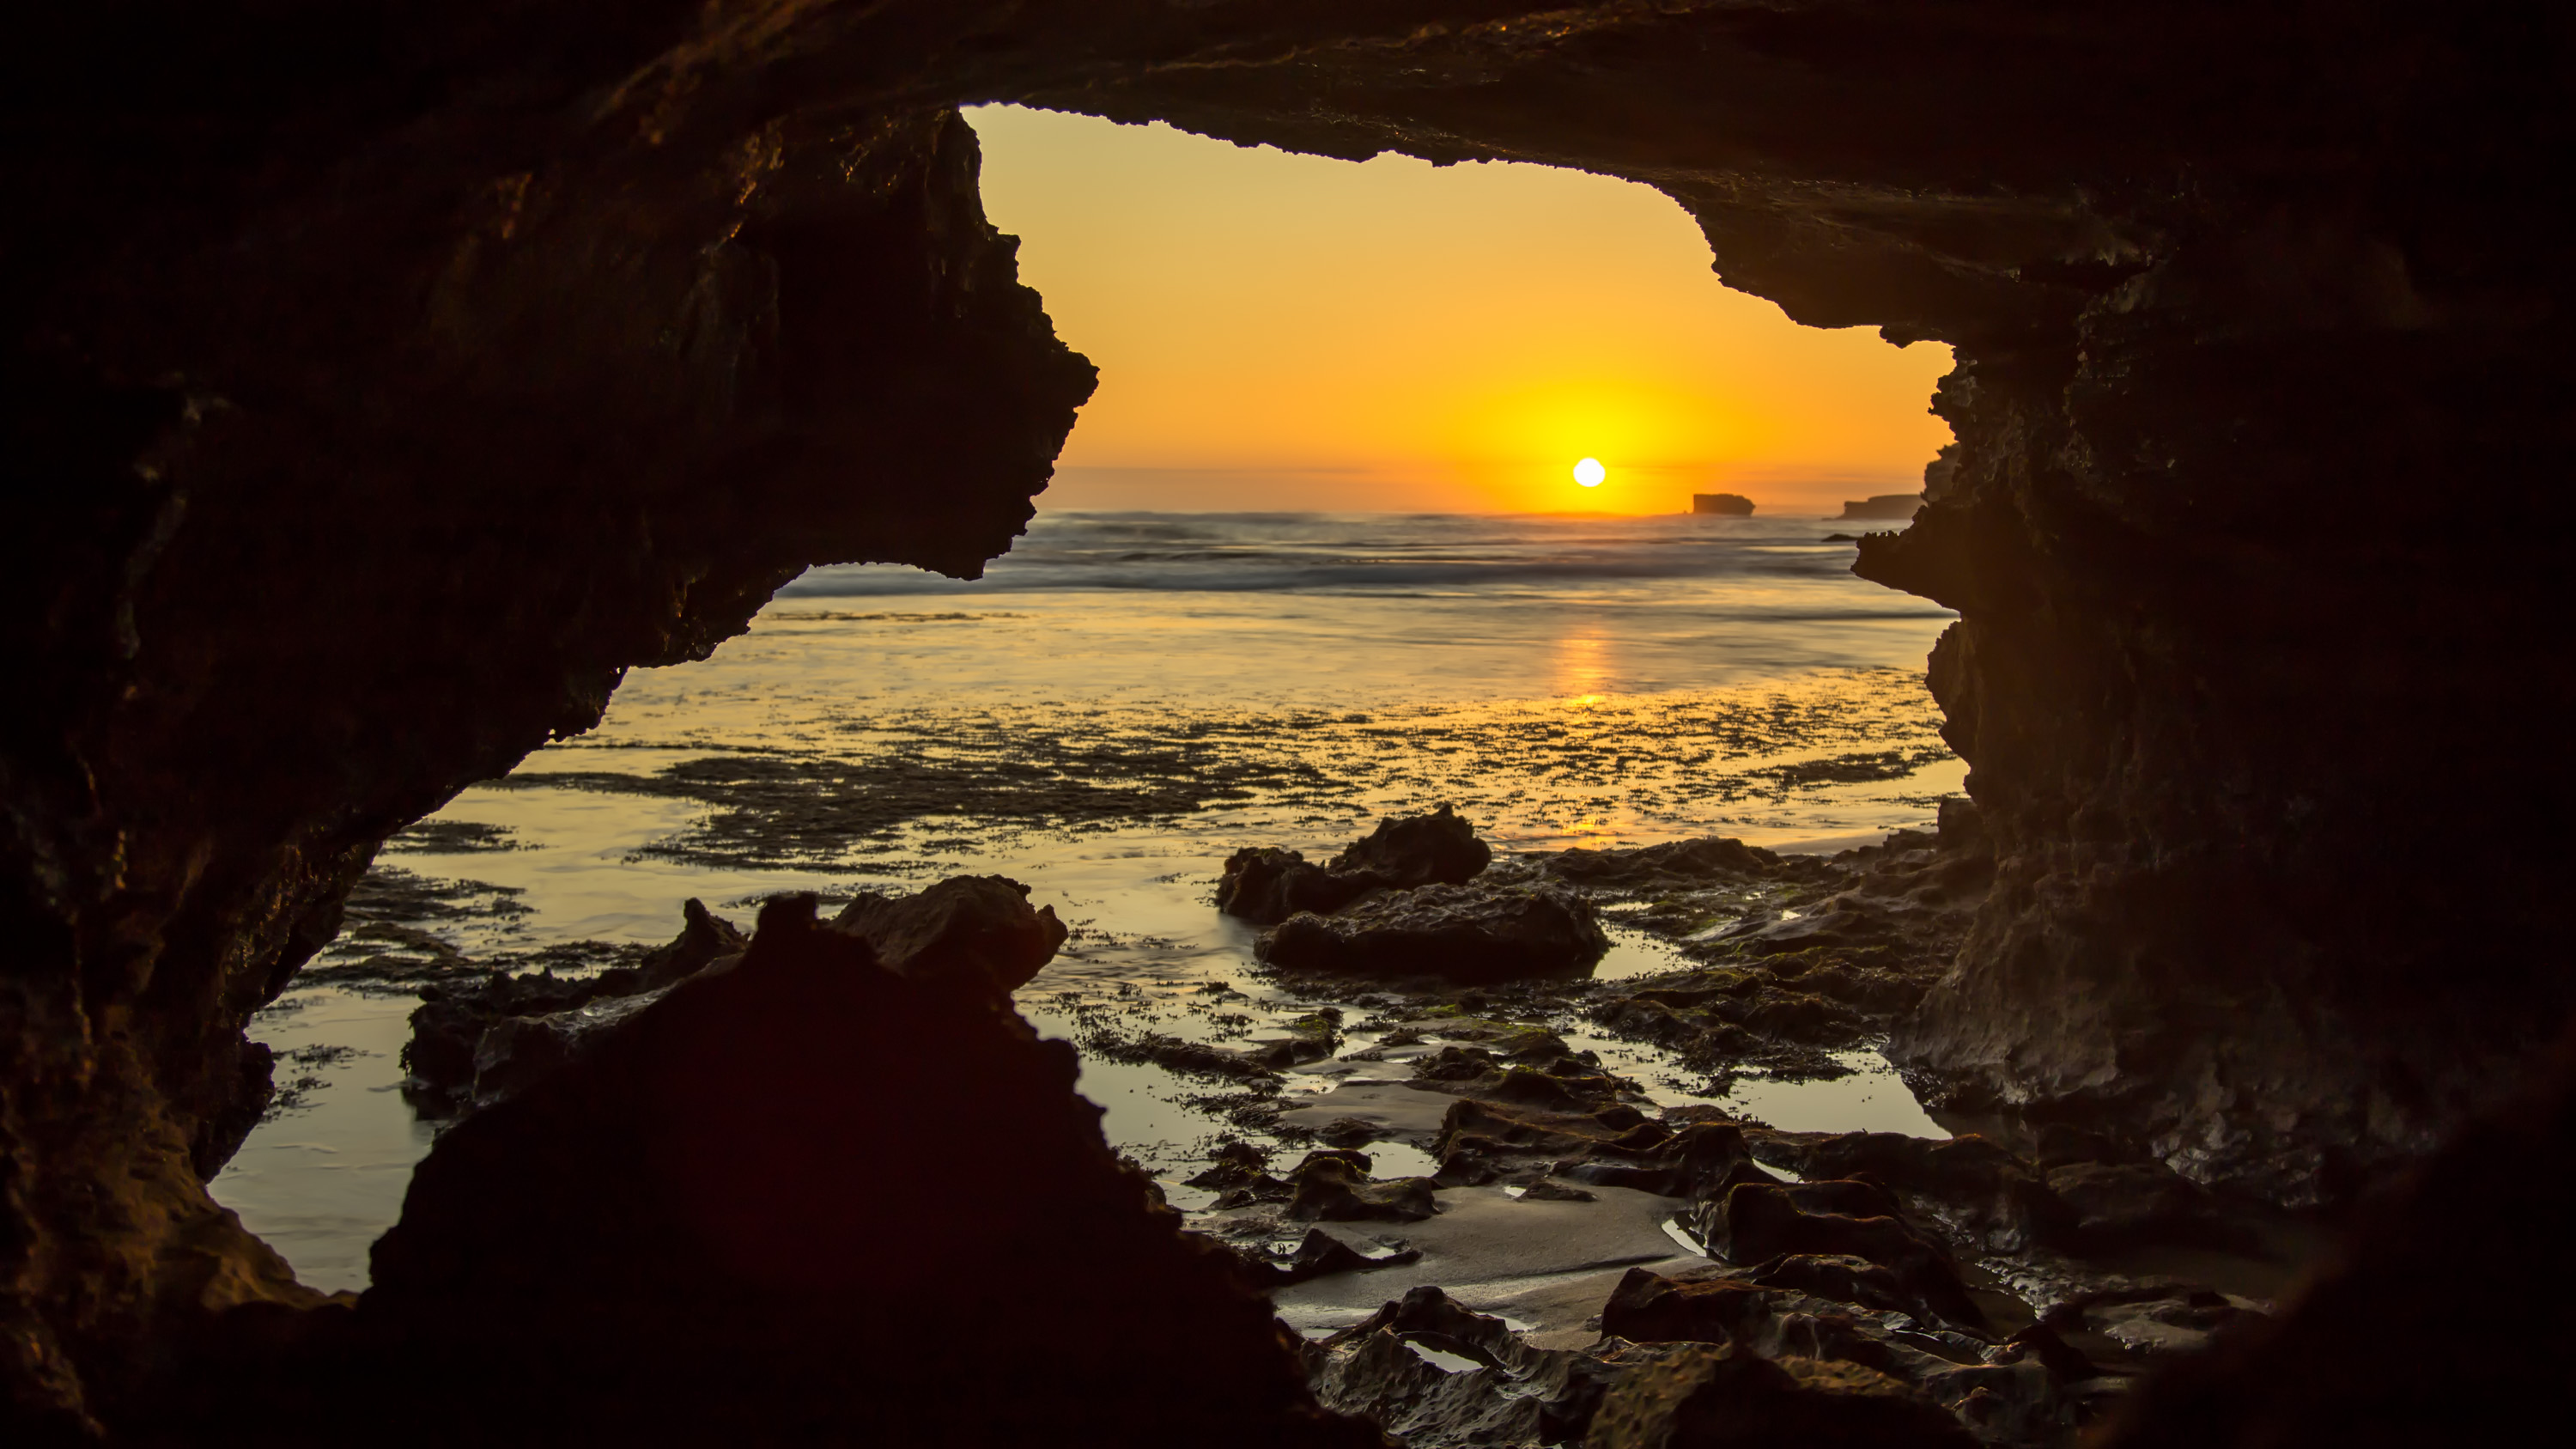
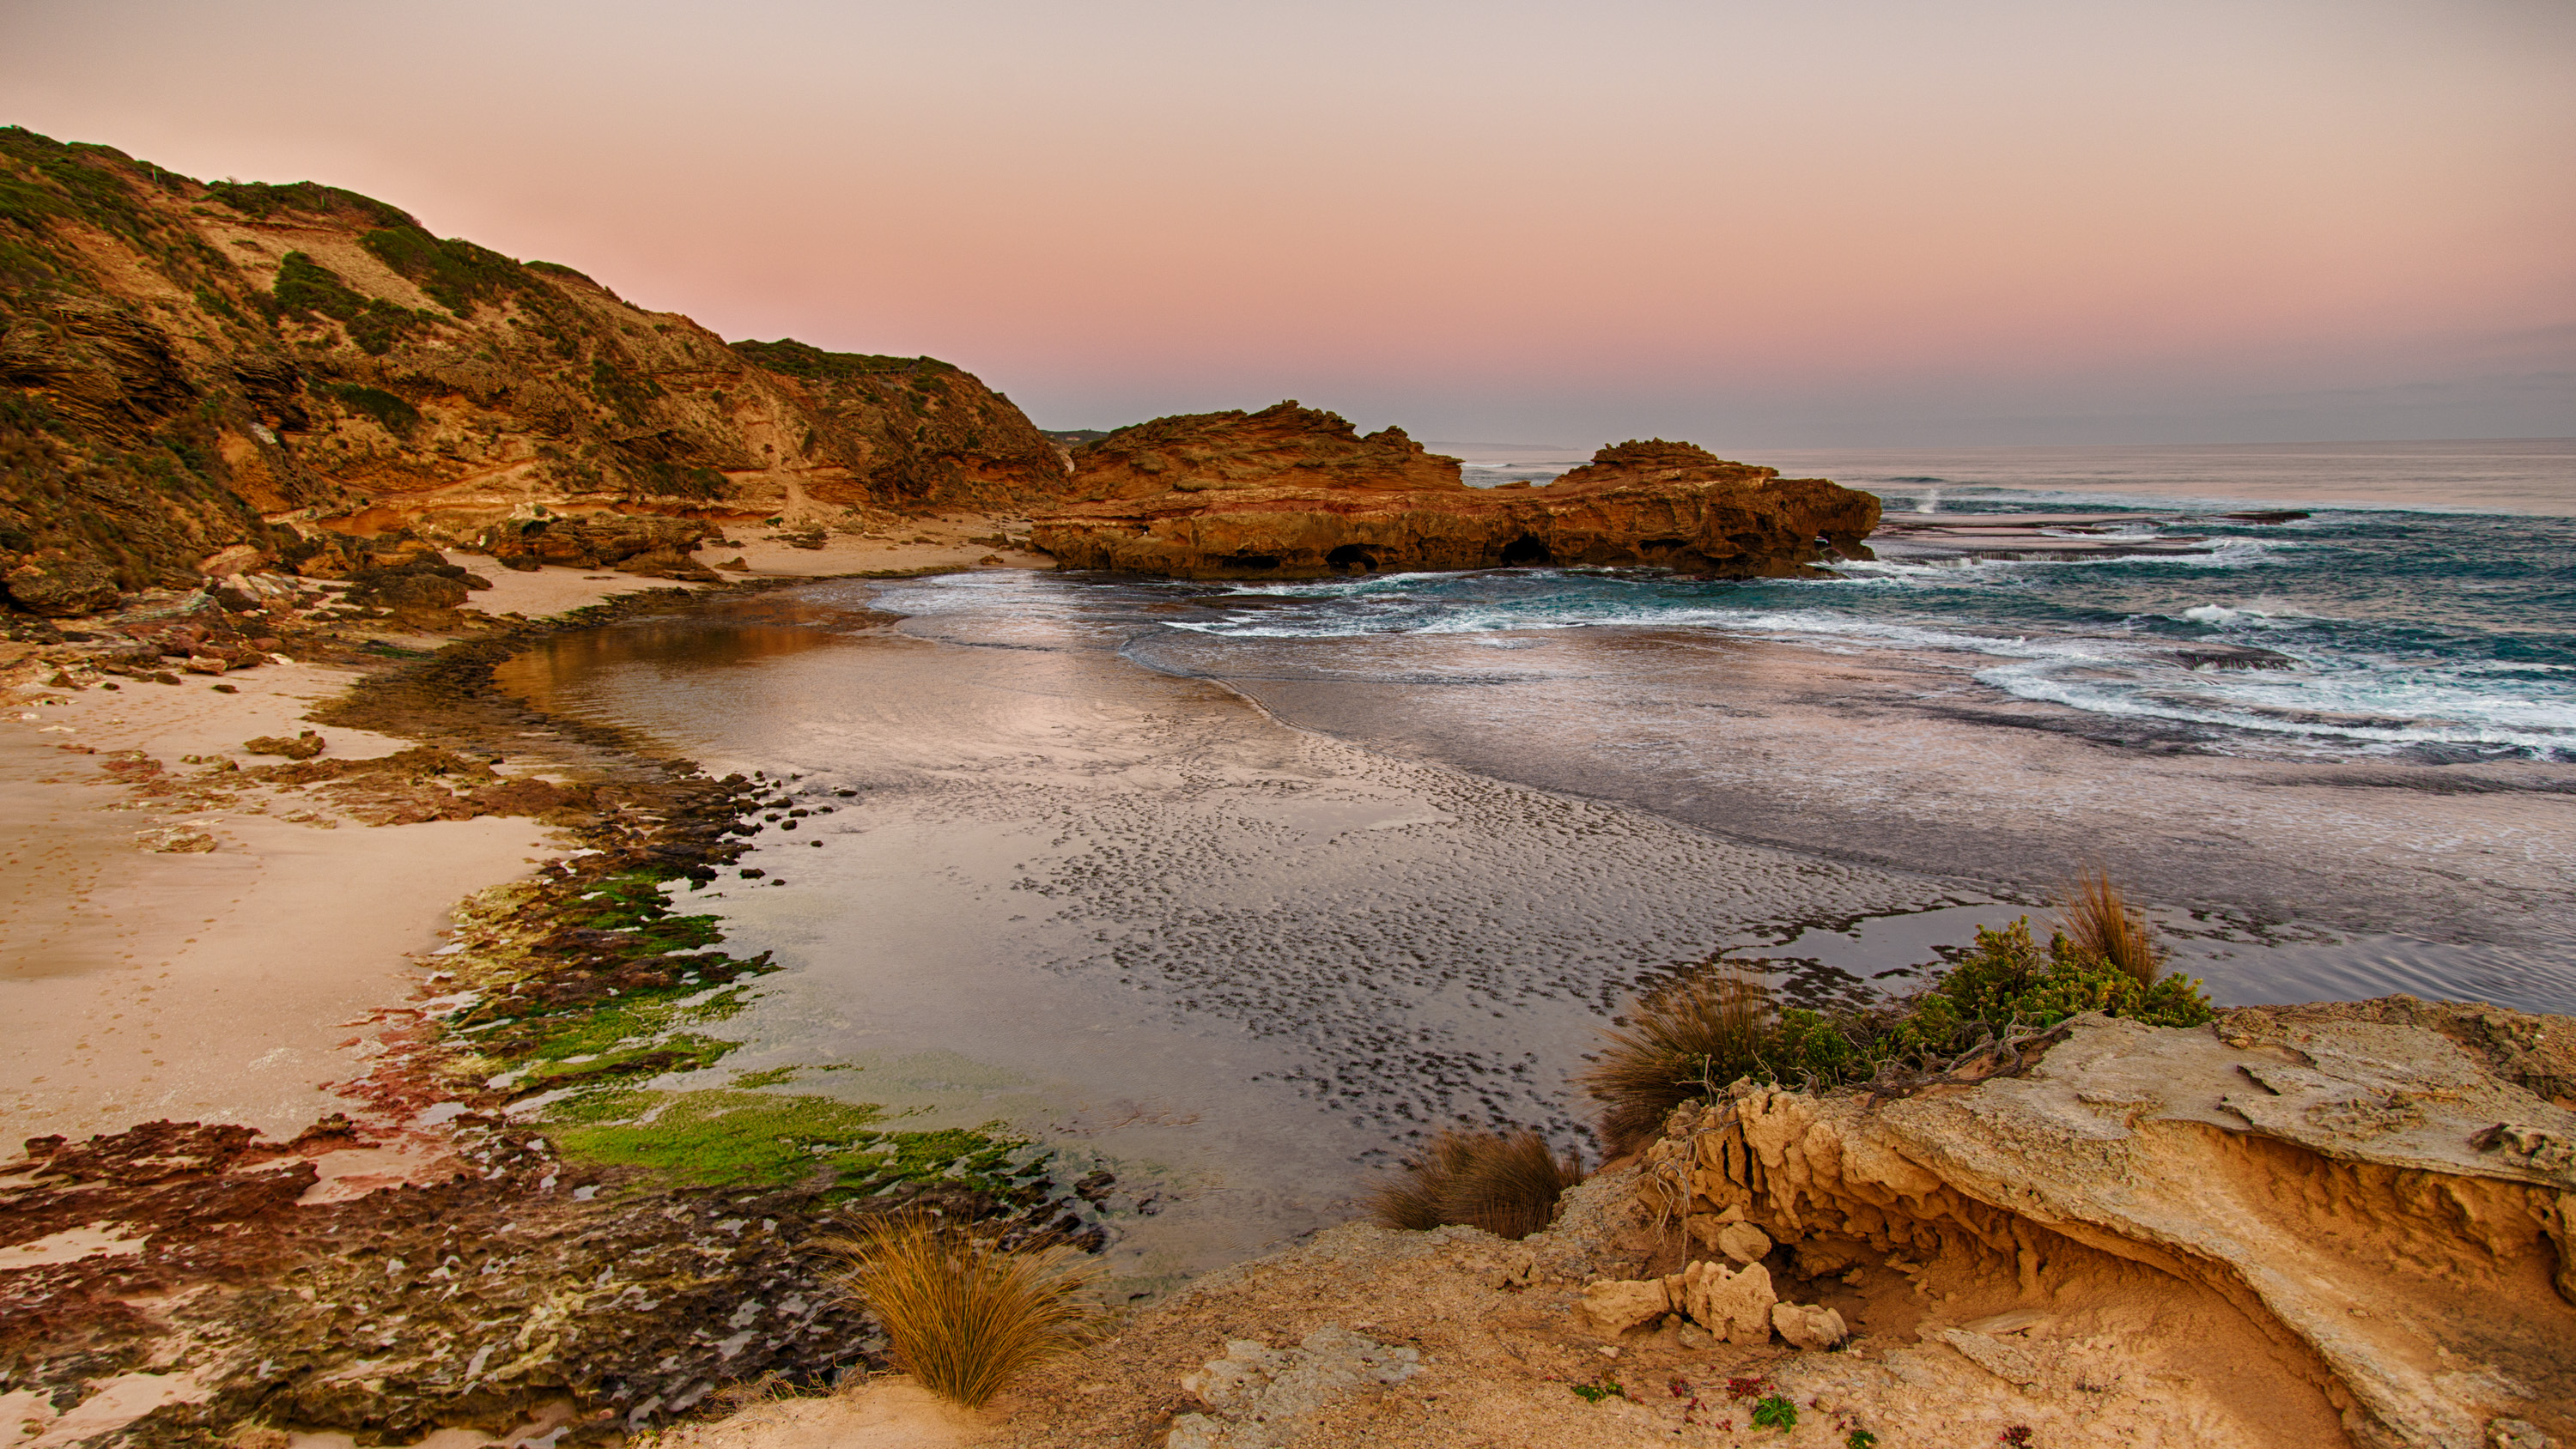
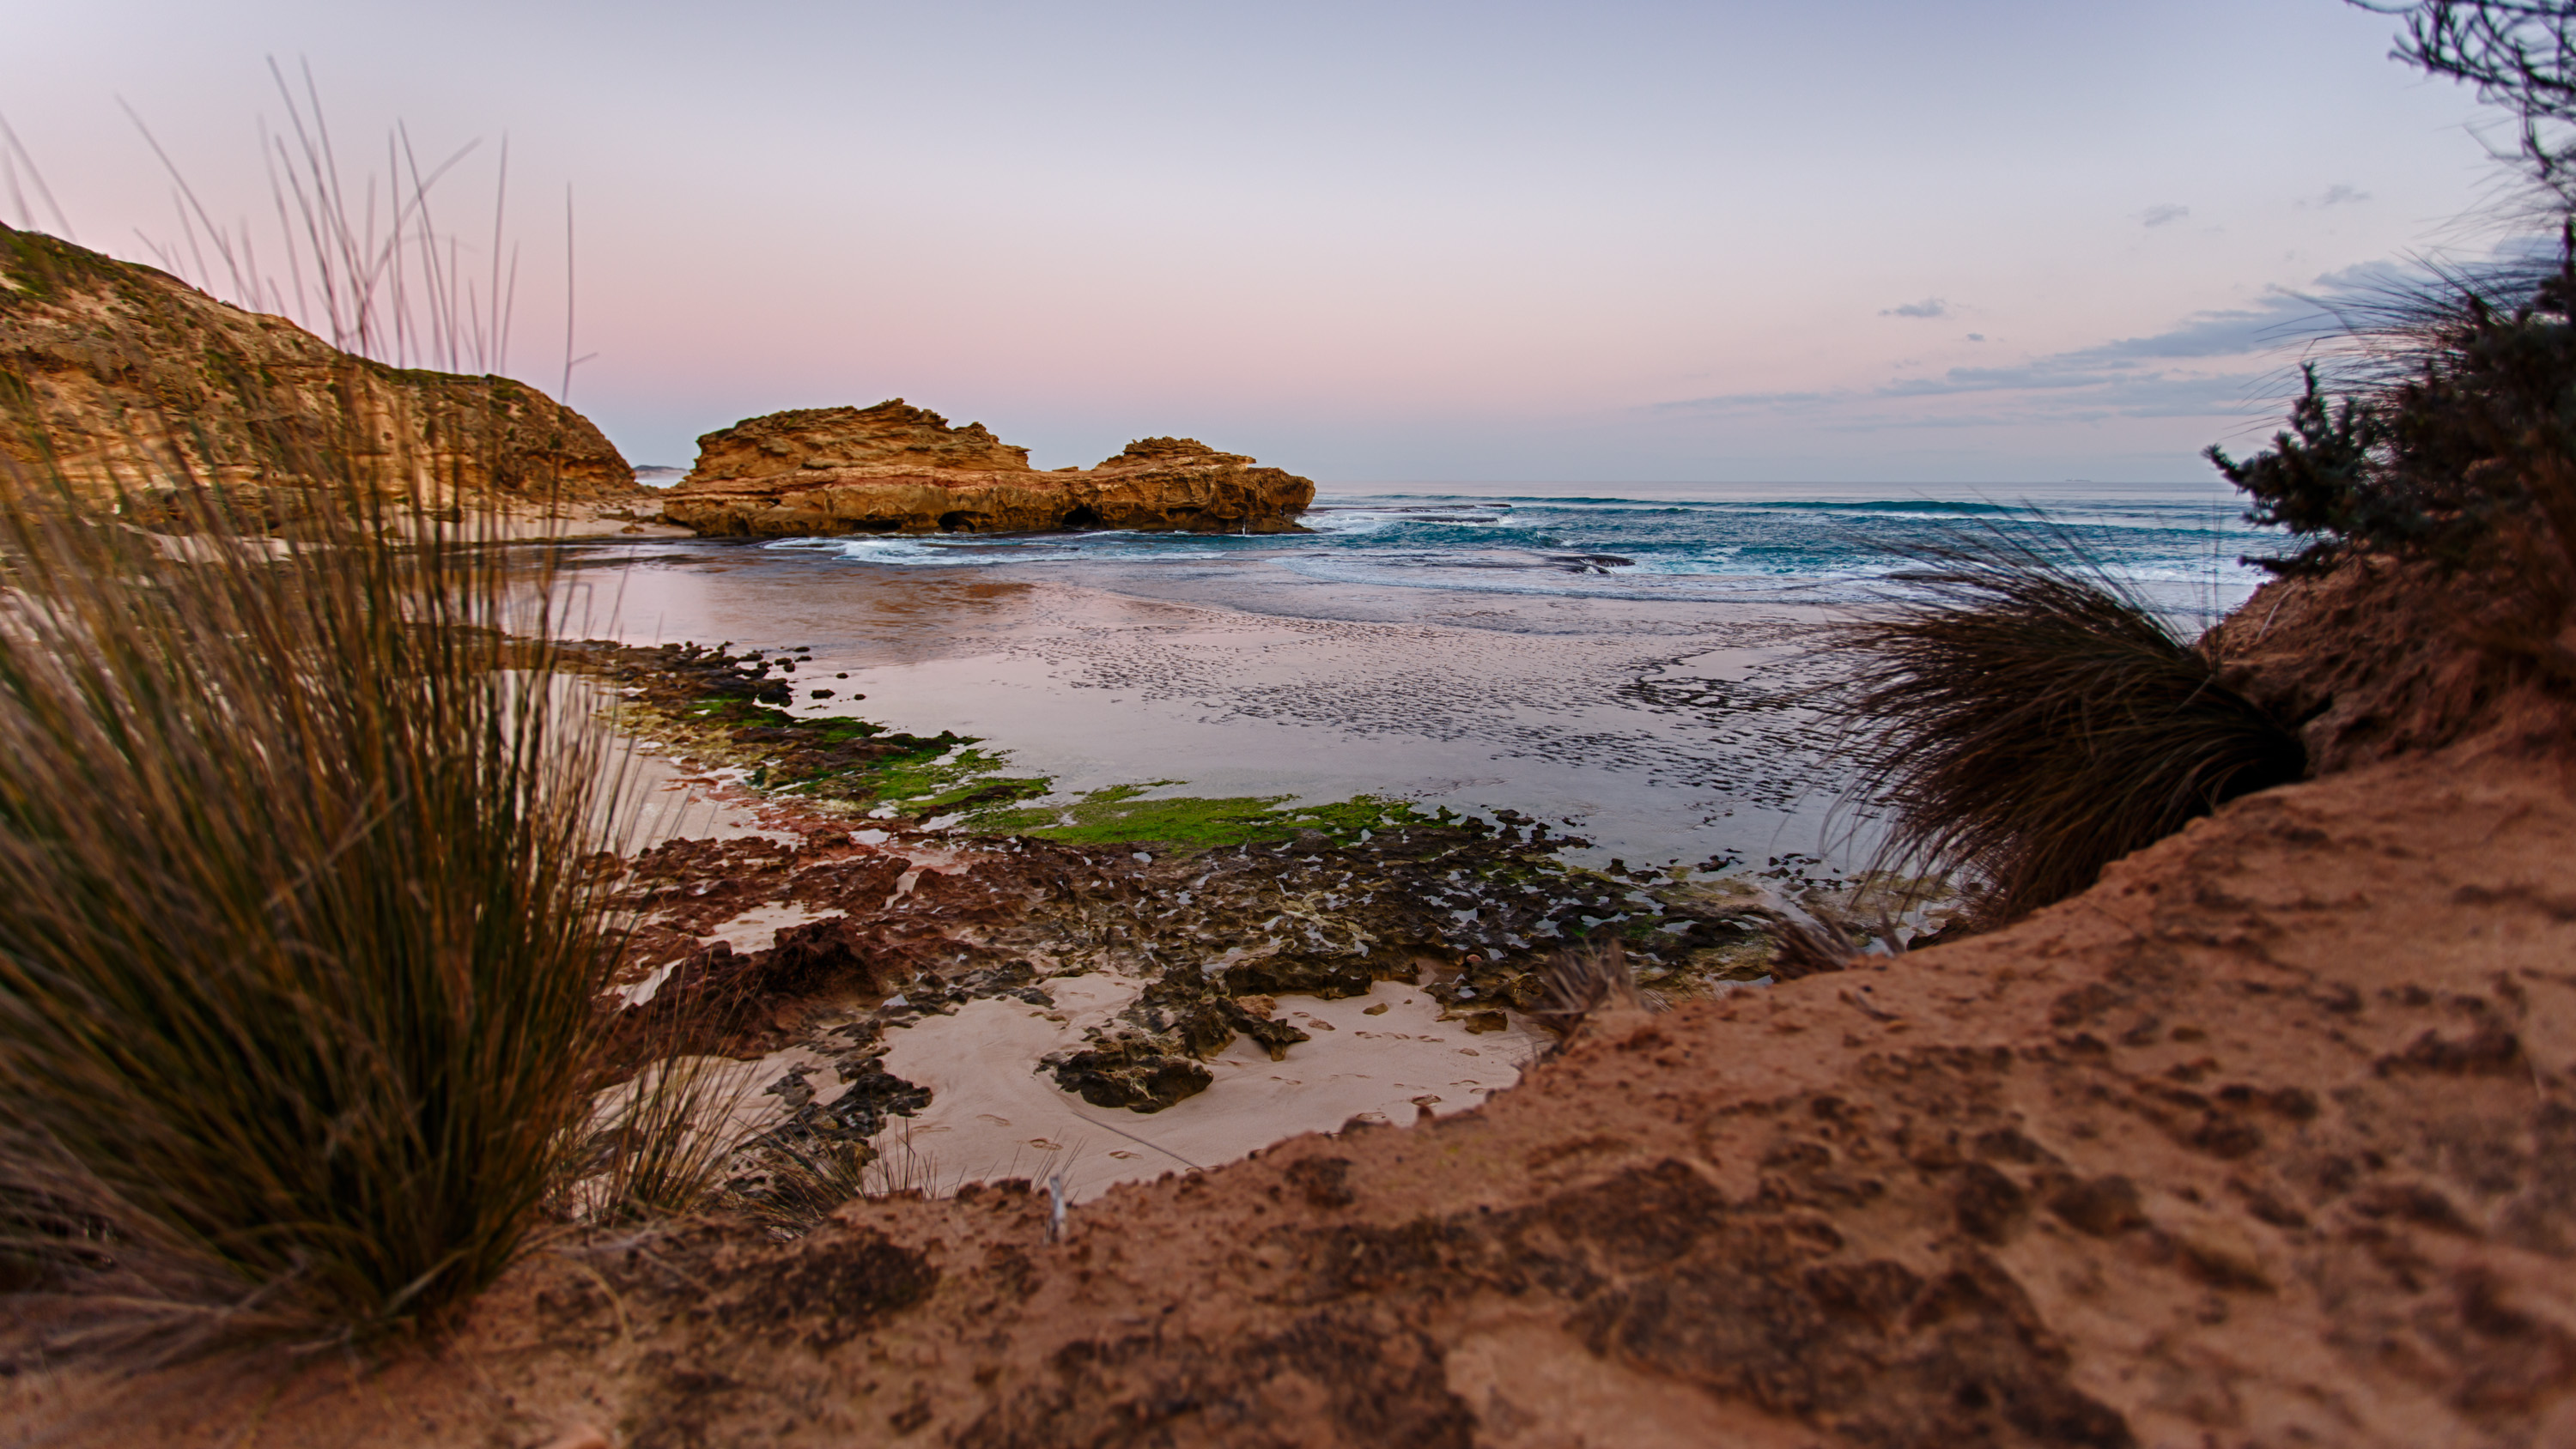
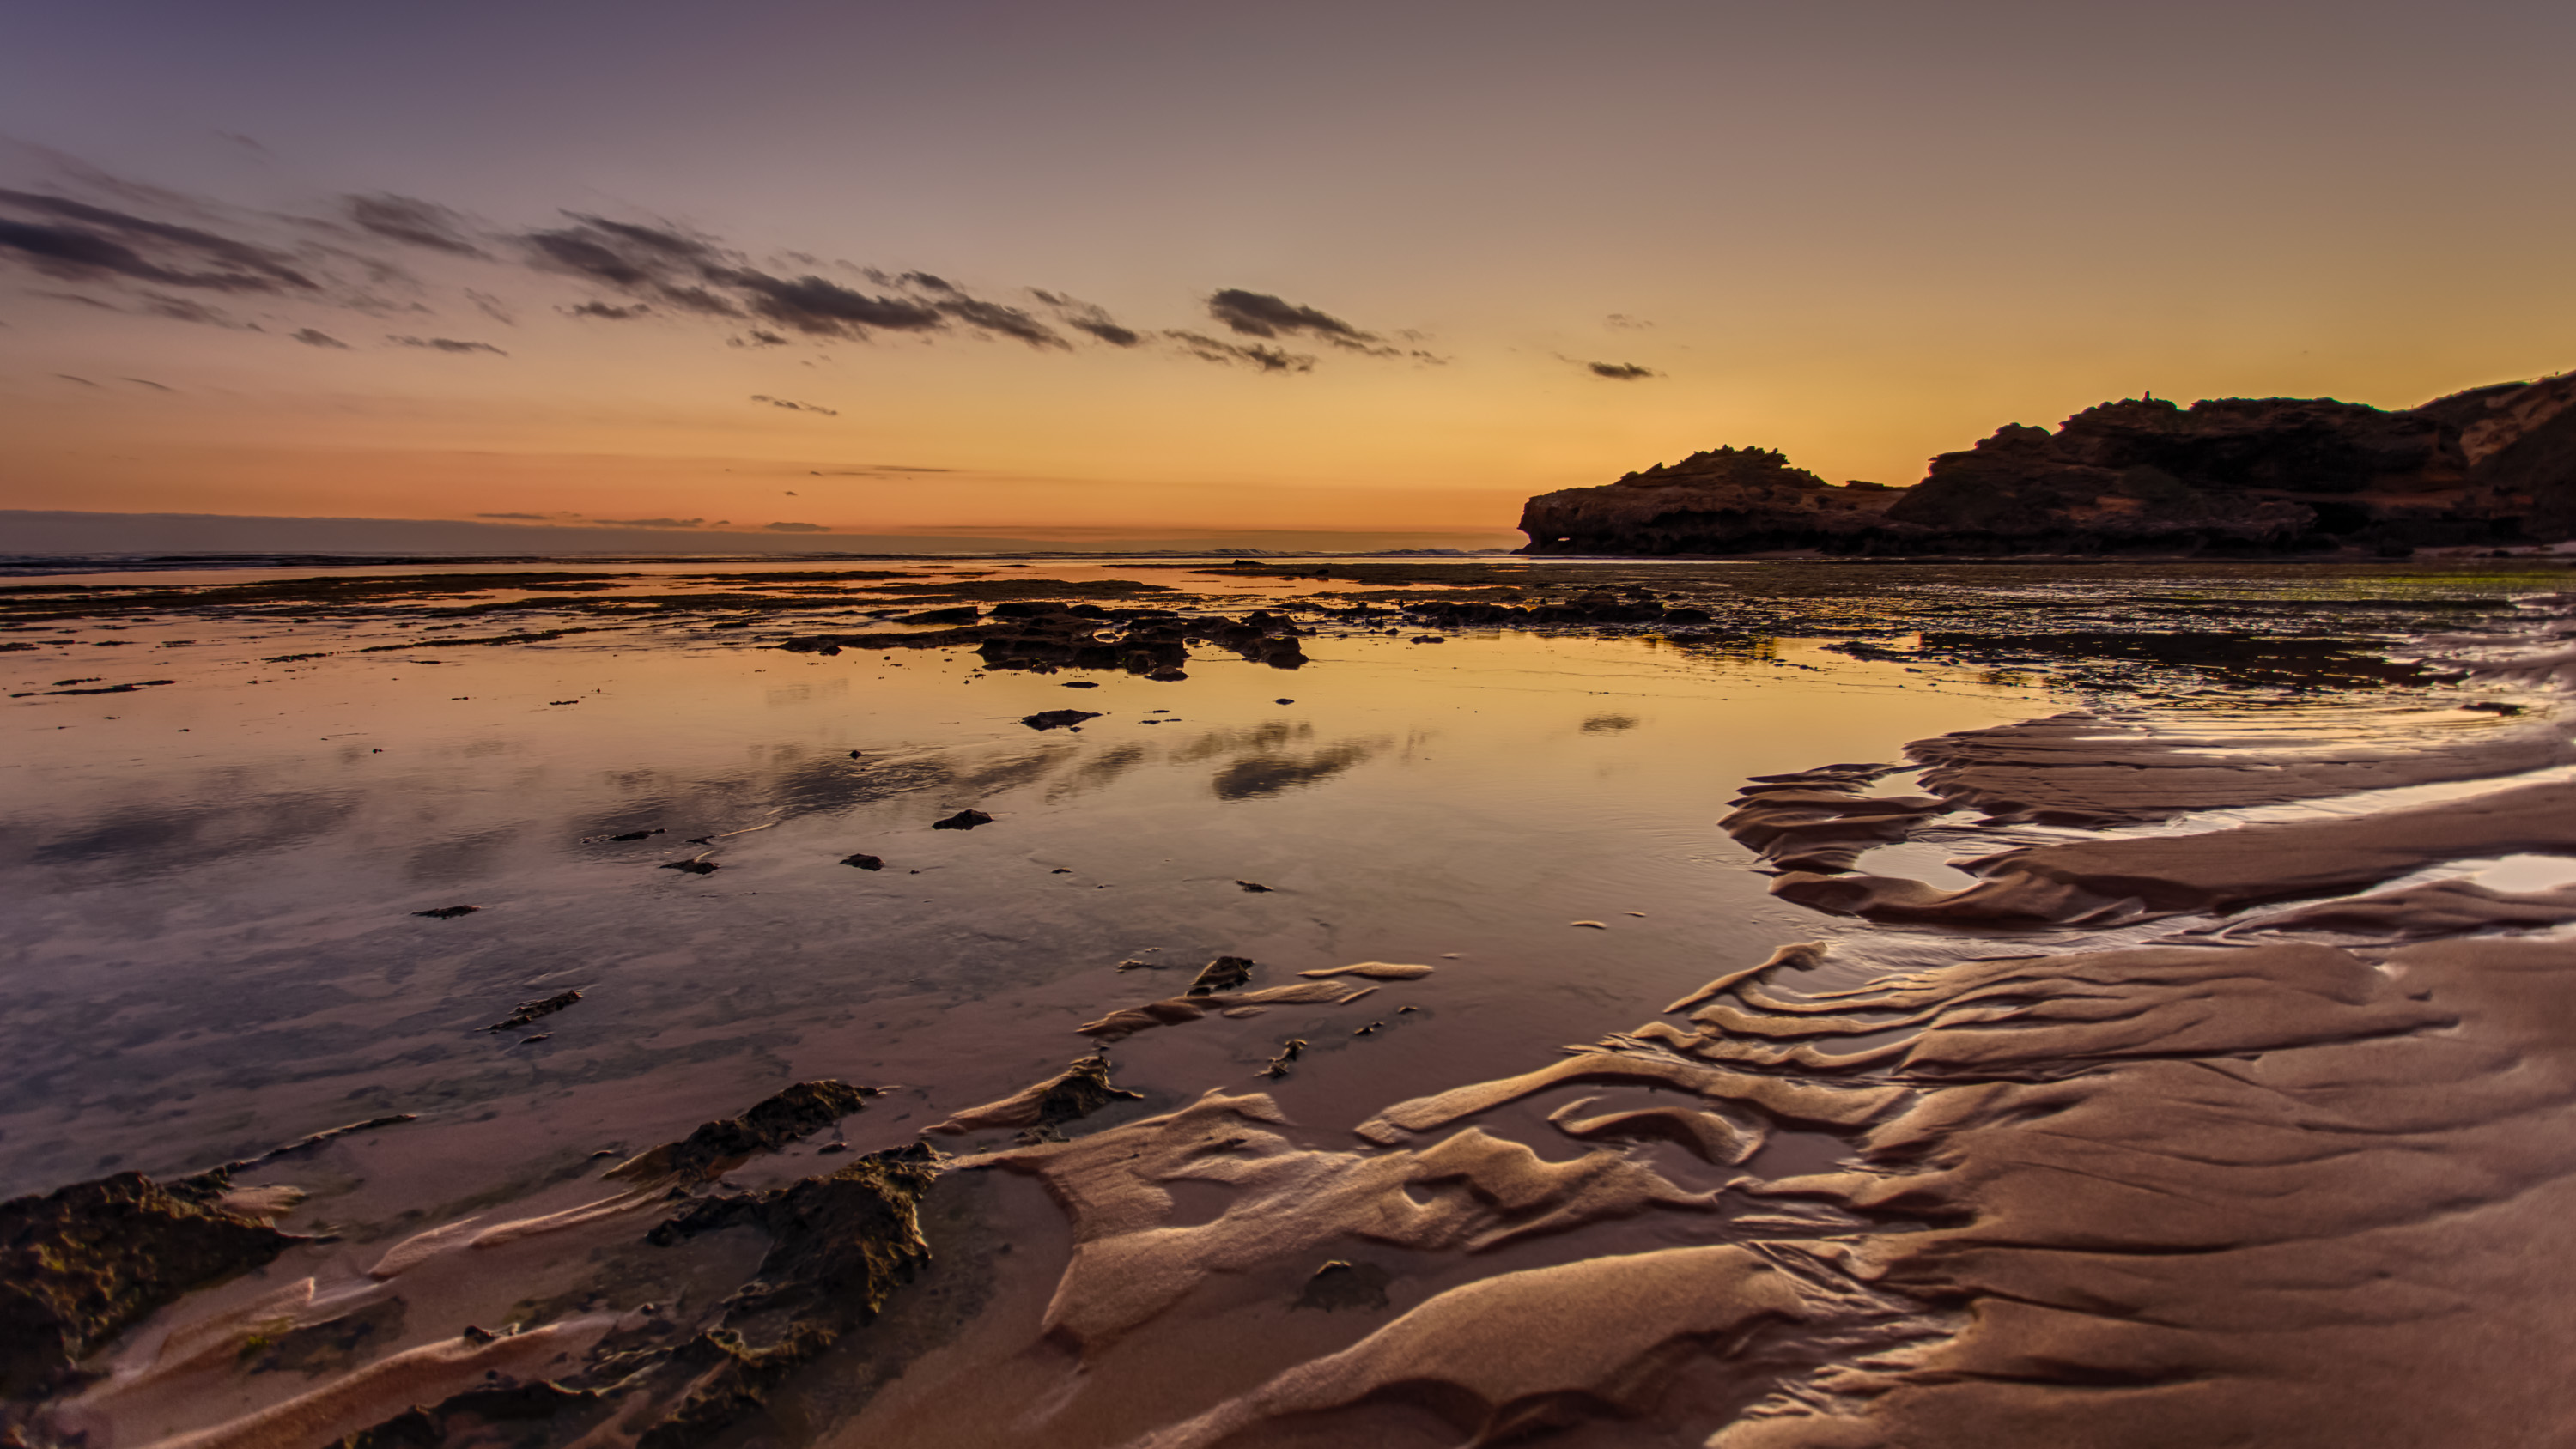
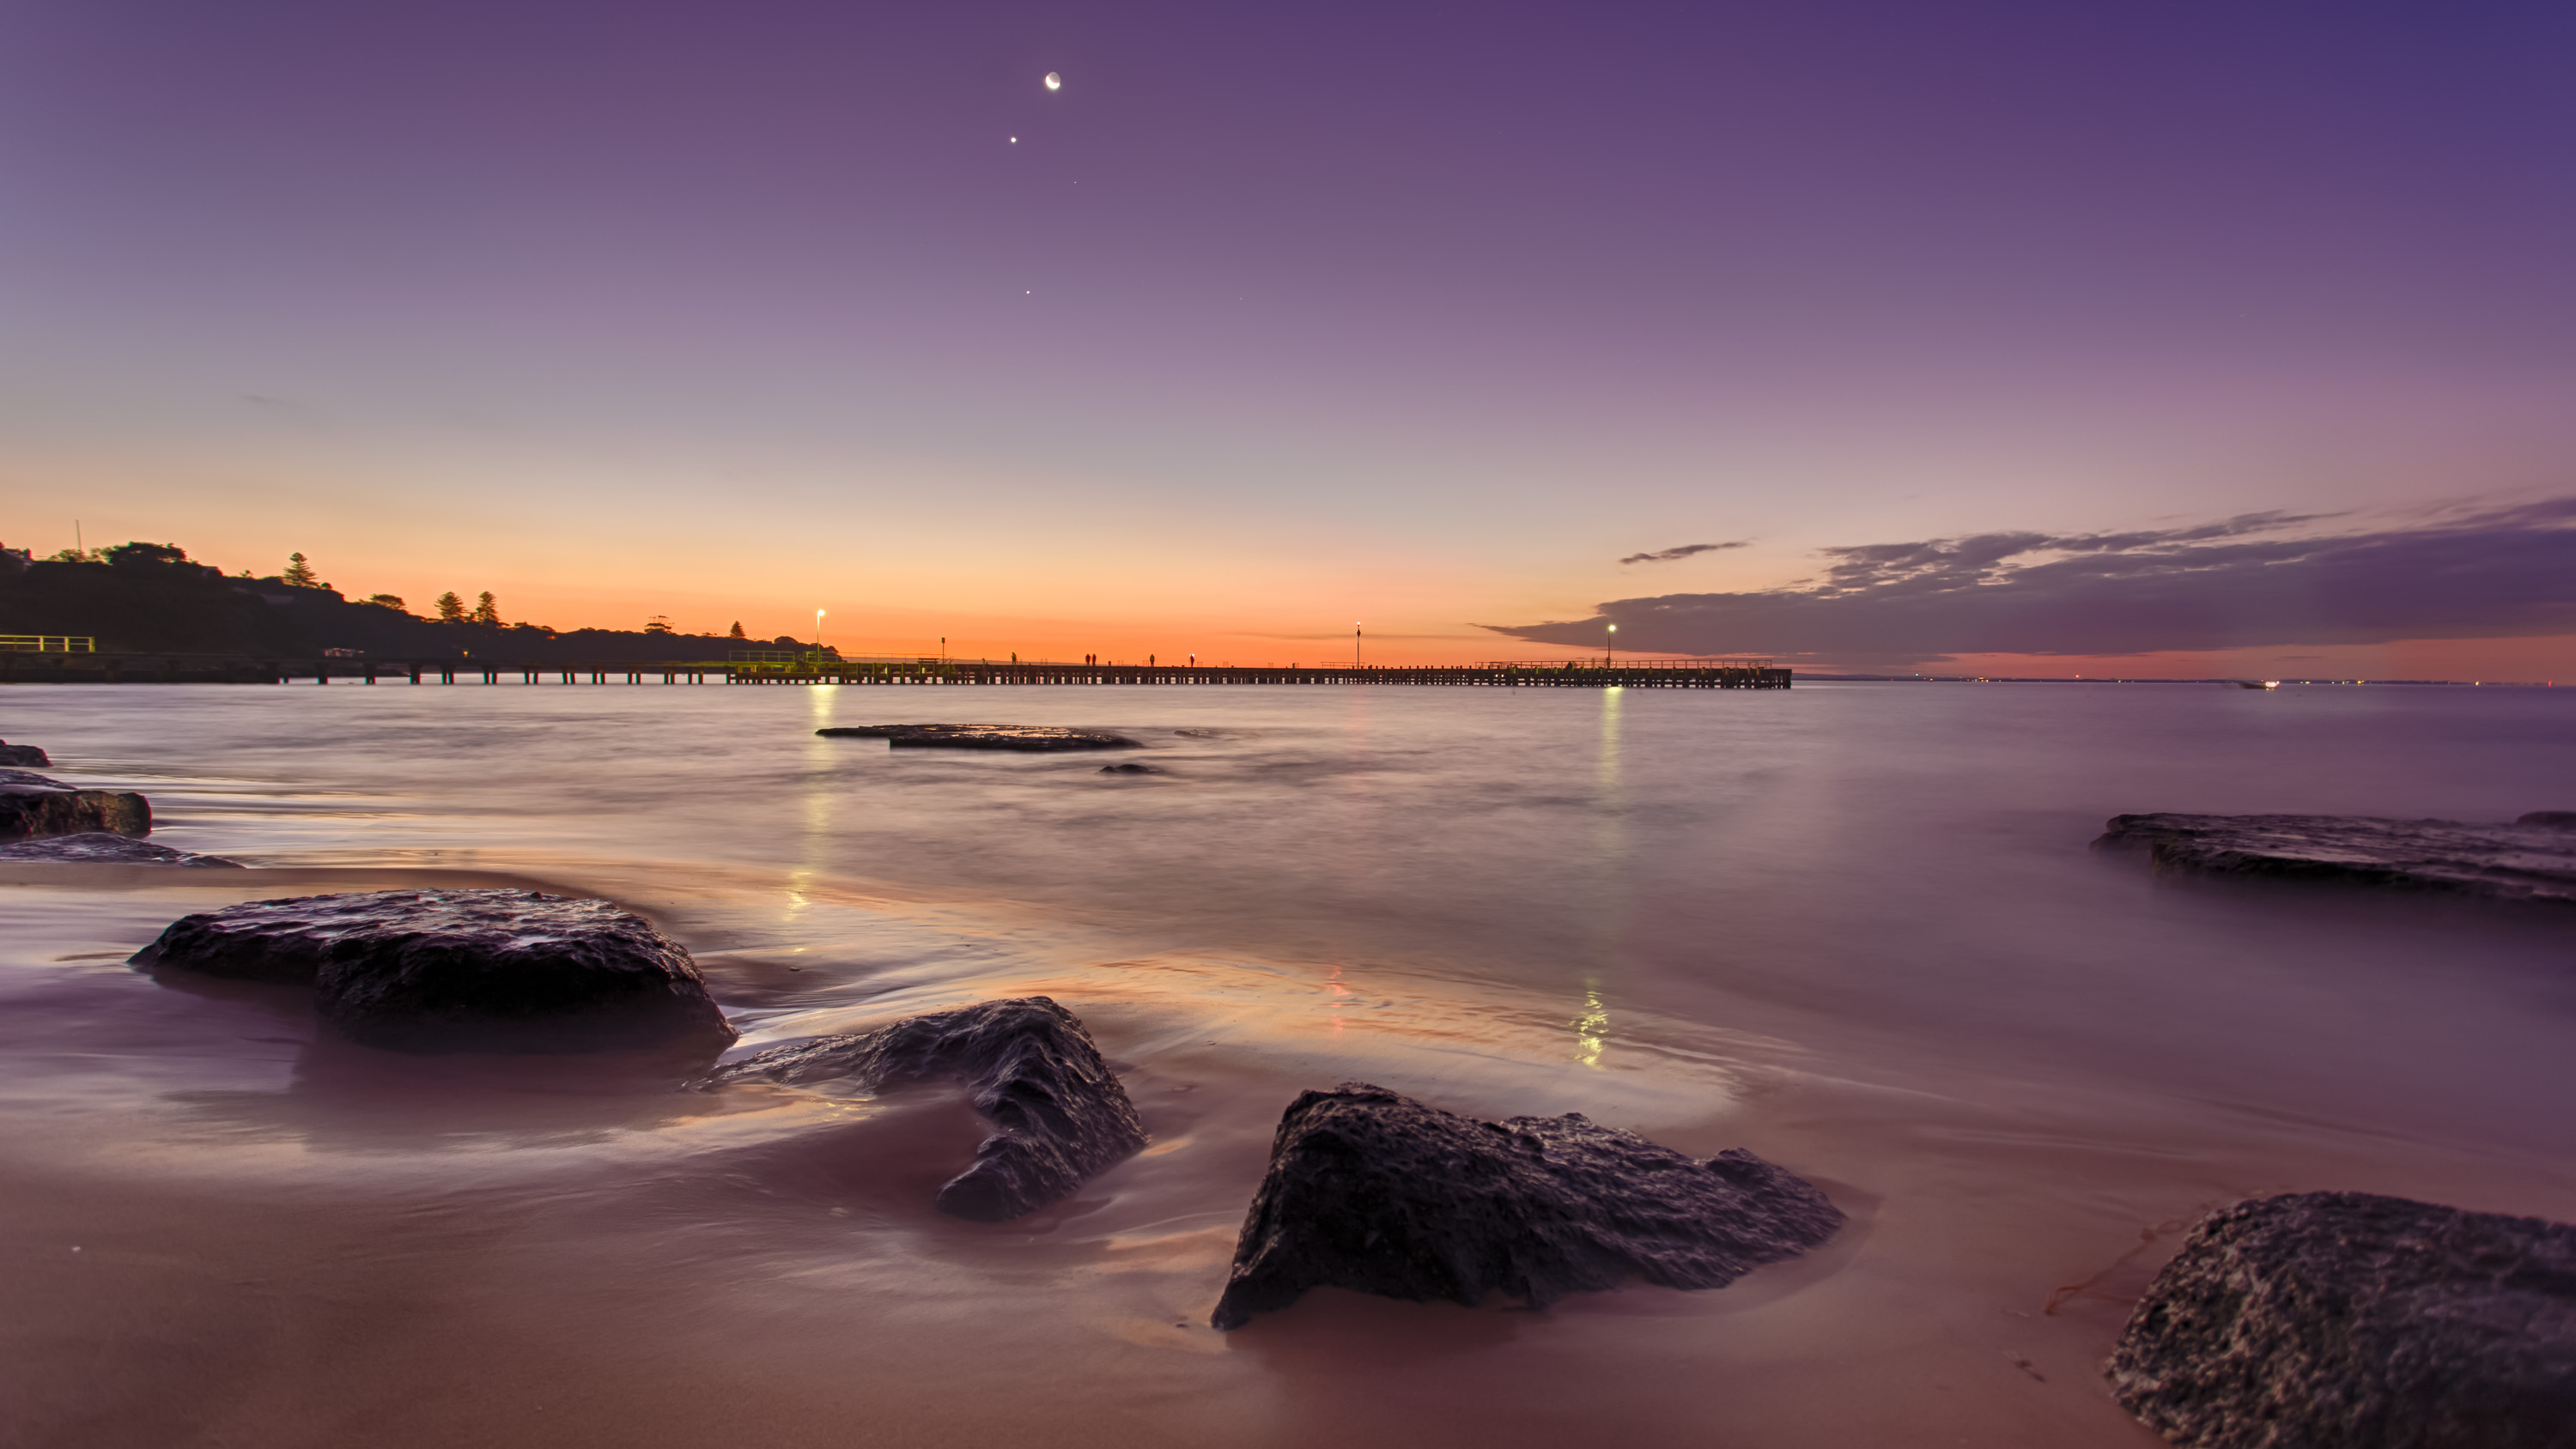
Weekend road trip to the Mornington Peninsula
This last weekend, a group of friends headed down to the Mornington Peninsula, and considering it’s only 90 minutes out of Melbourne, it’s pretty remarkable how much of a change of sights we get (and the fresh, sea air!). I mean, you know it’s going to be different, but it’s easy to forget that beautiful nature isn’t really that far away when you get stuck in a routine of work-eat-sleep-chores-socialise, then repeat. And the photos below really only represent the beachy side of things; the winery and food missions we did were awesome! Only they were more about food and boozing (um, tasting) than photography.
So, needless to say, I tried to make the most of it, and for me, that means getting up at sunrise and trying to get that beautiful glow. Walking around with my camera really is how I find my own space, and I’m always wanting to capture something different (at least for me).
And on with the photography
I hope you enjoy the random splattering of shots from the weekend below. And feel free to download them as your wallpaper – they are pretty high resolution, so just right (or option on a Mac) click and chose to ‘save link as’ for the image. Let me know what you think, share it round/up-vote on social if you dig!
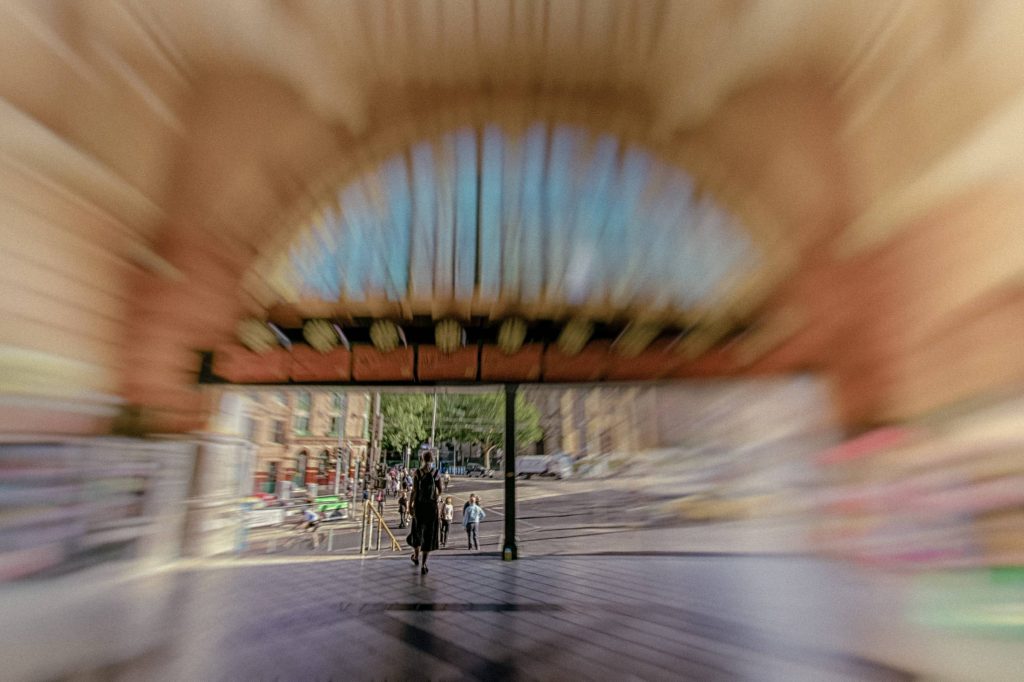
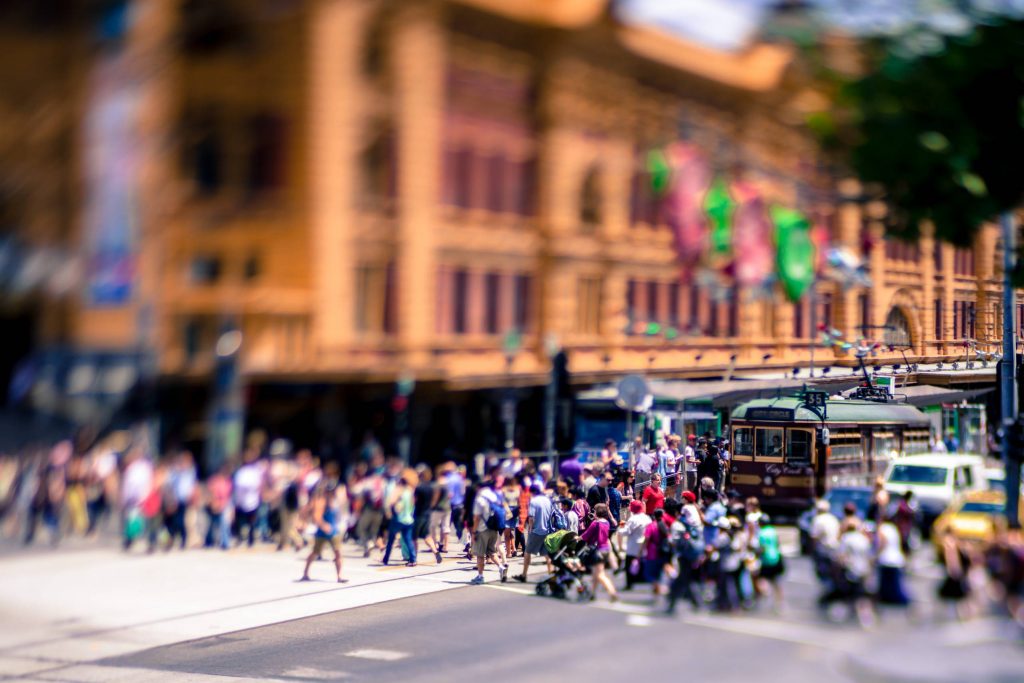
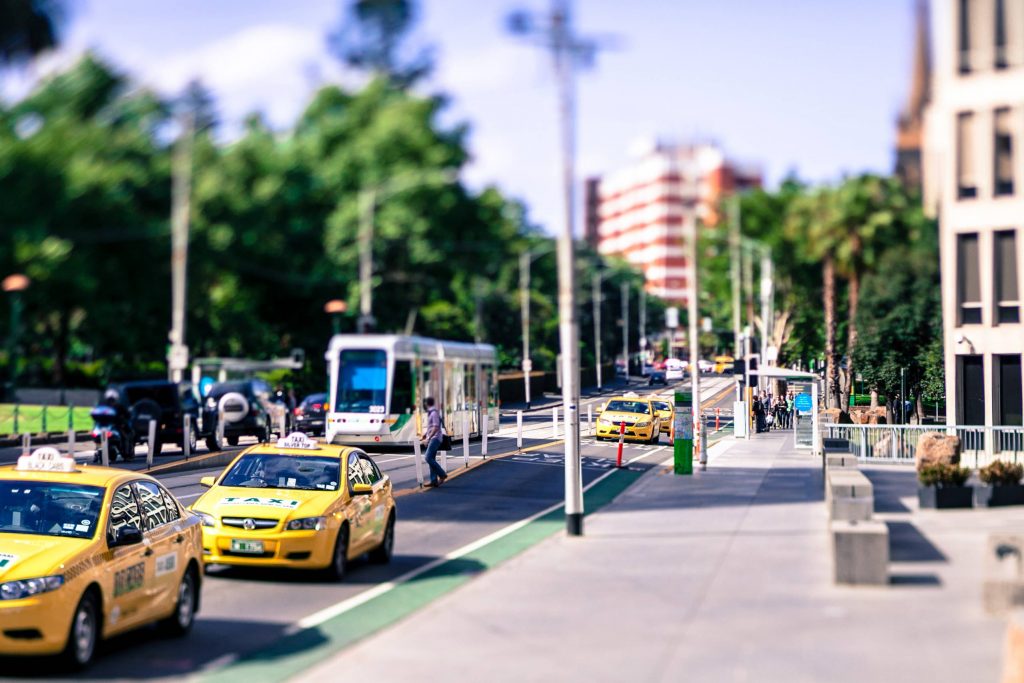
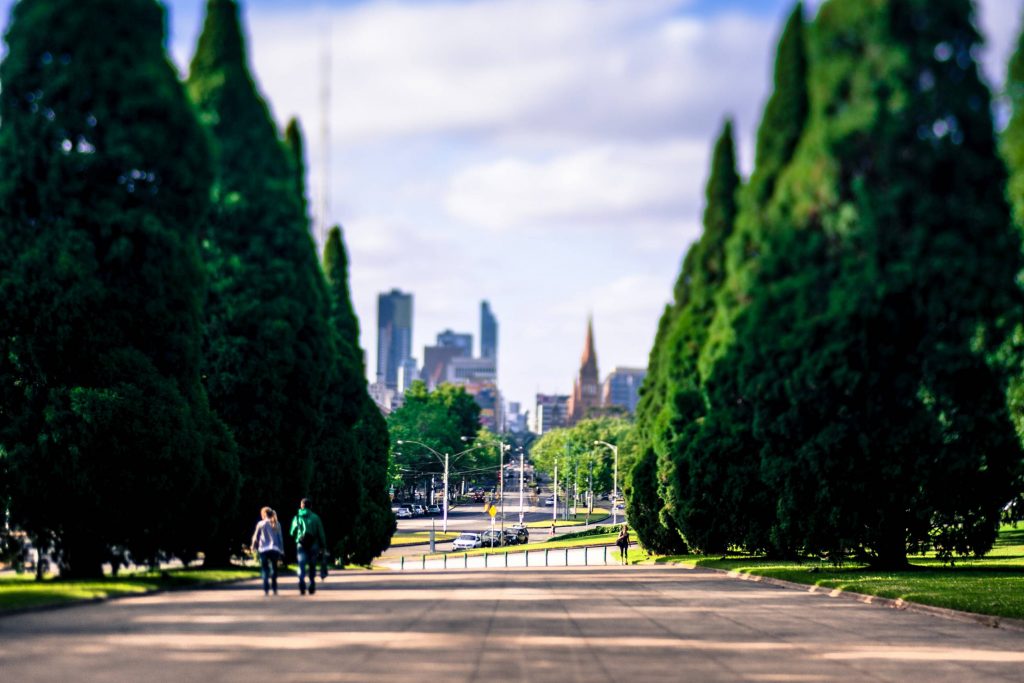
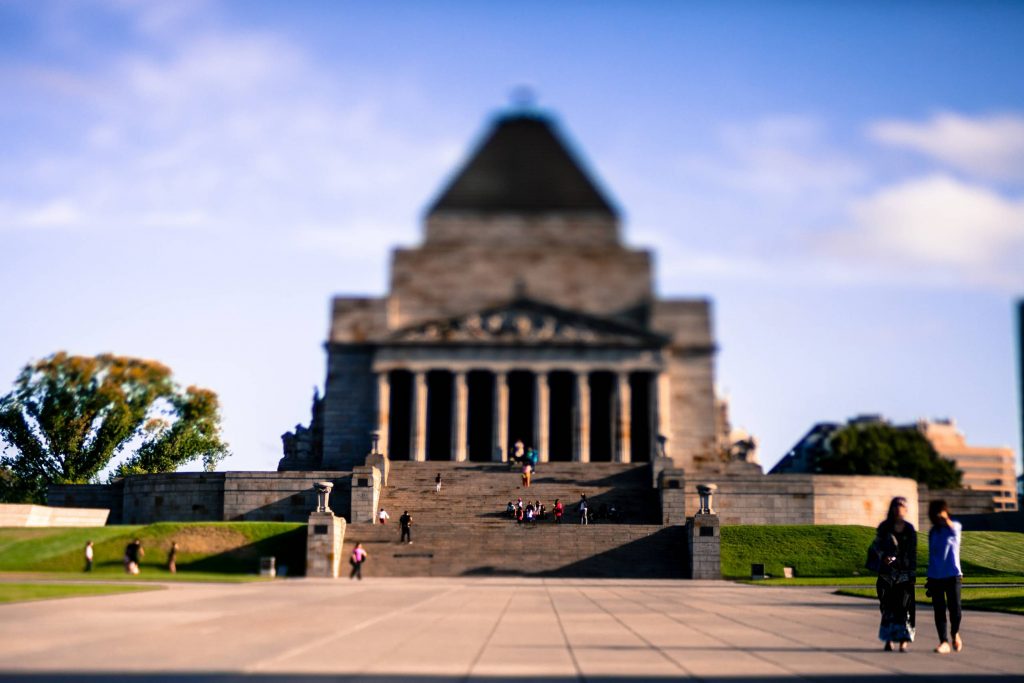
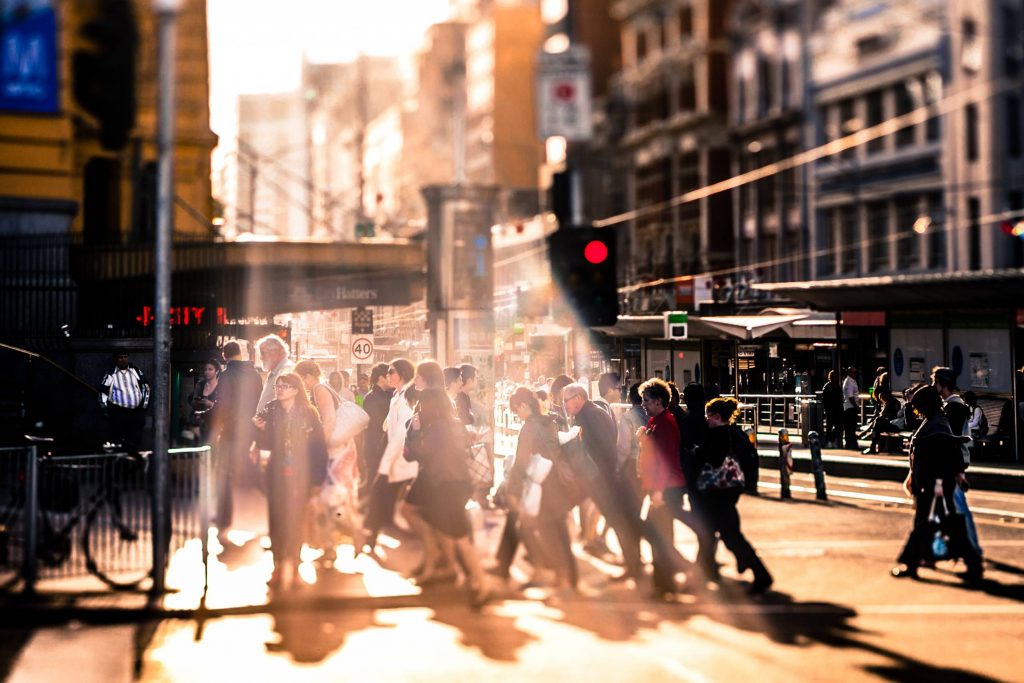
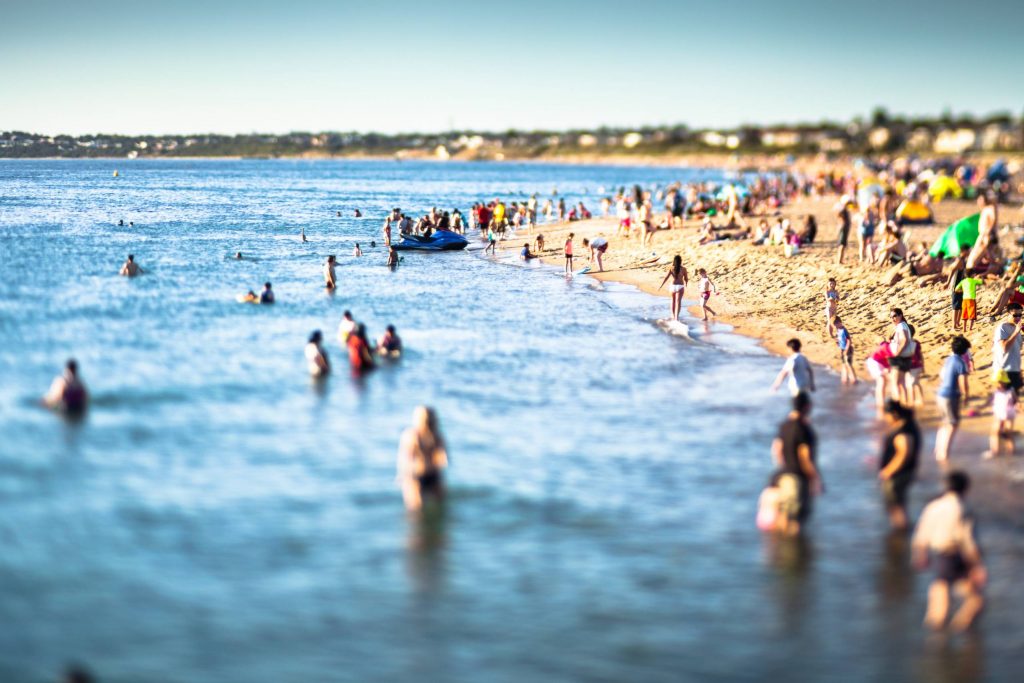
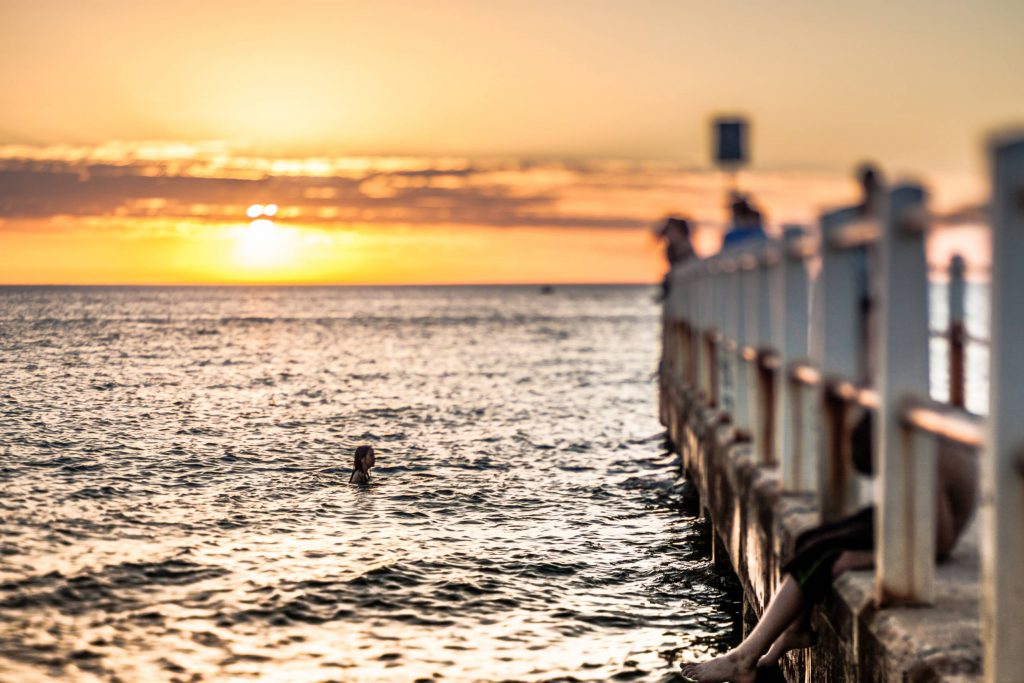
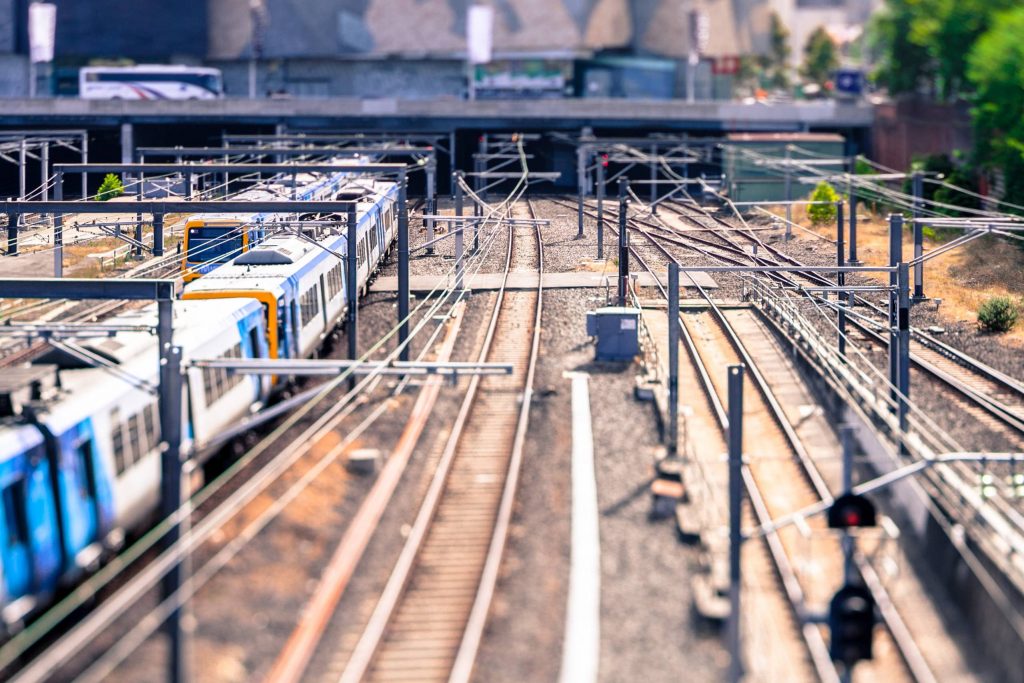
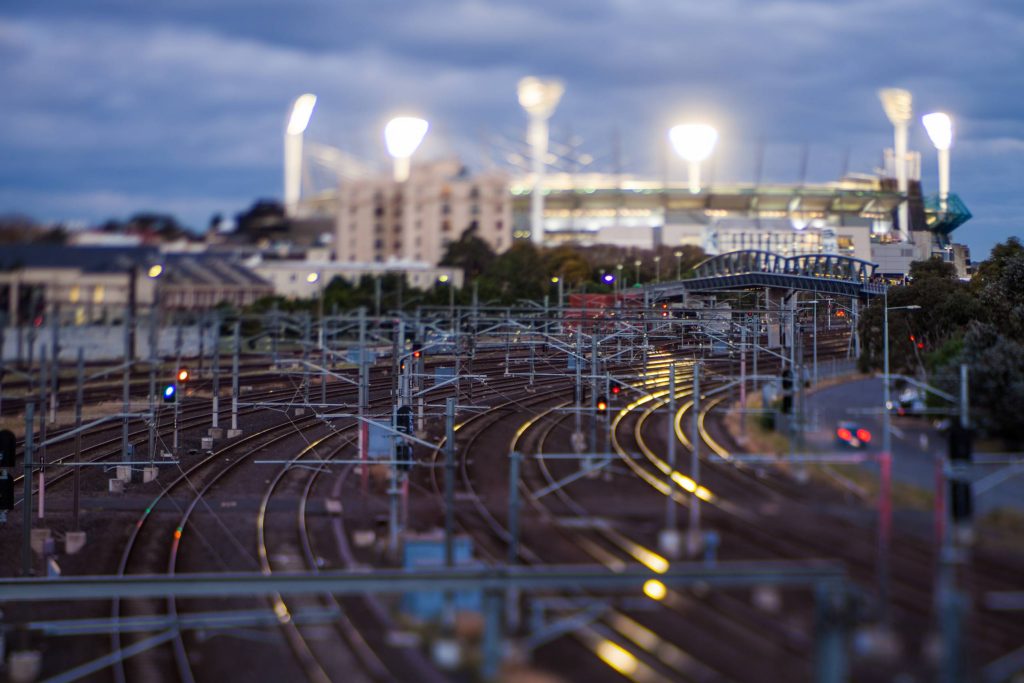
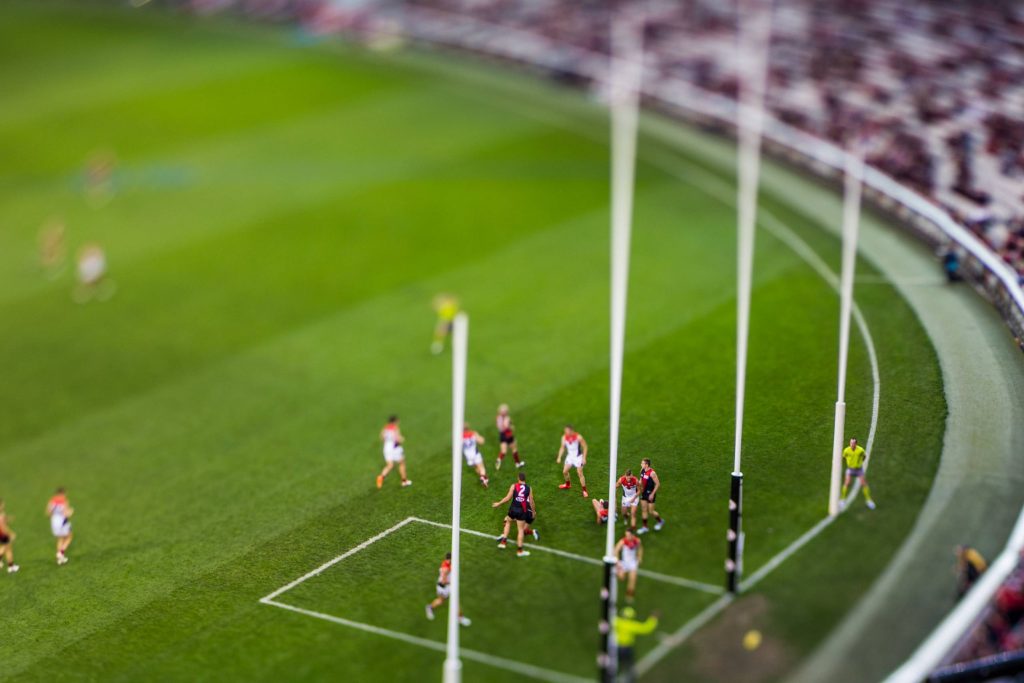
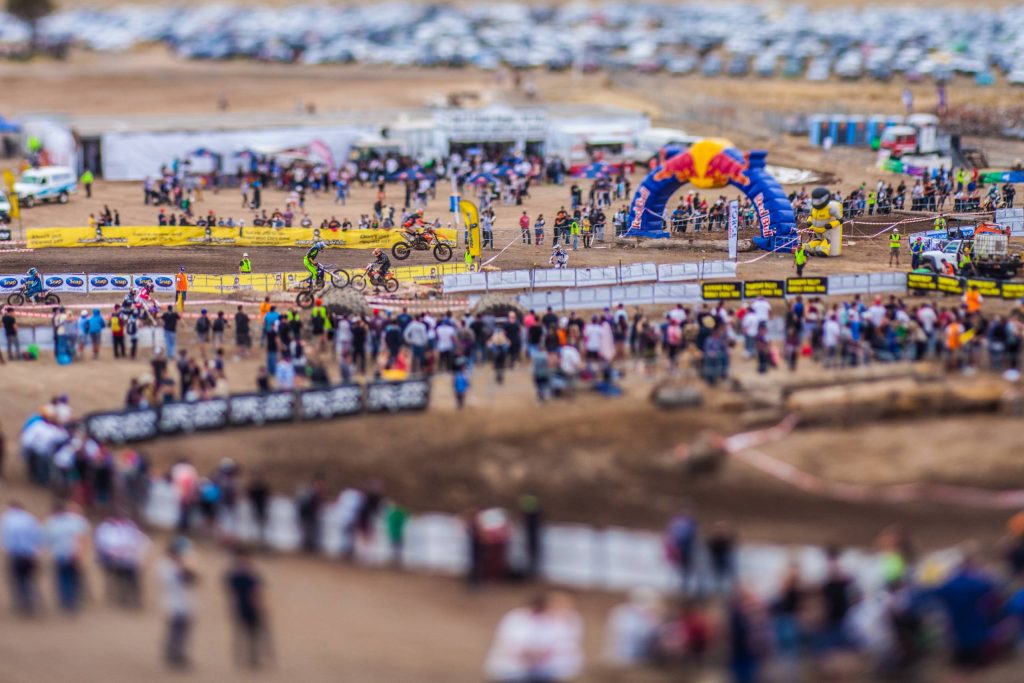
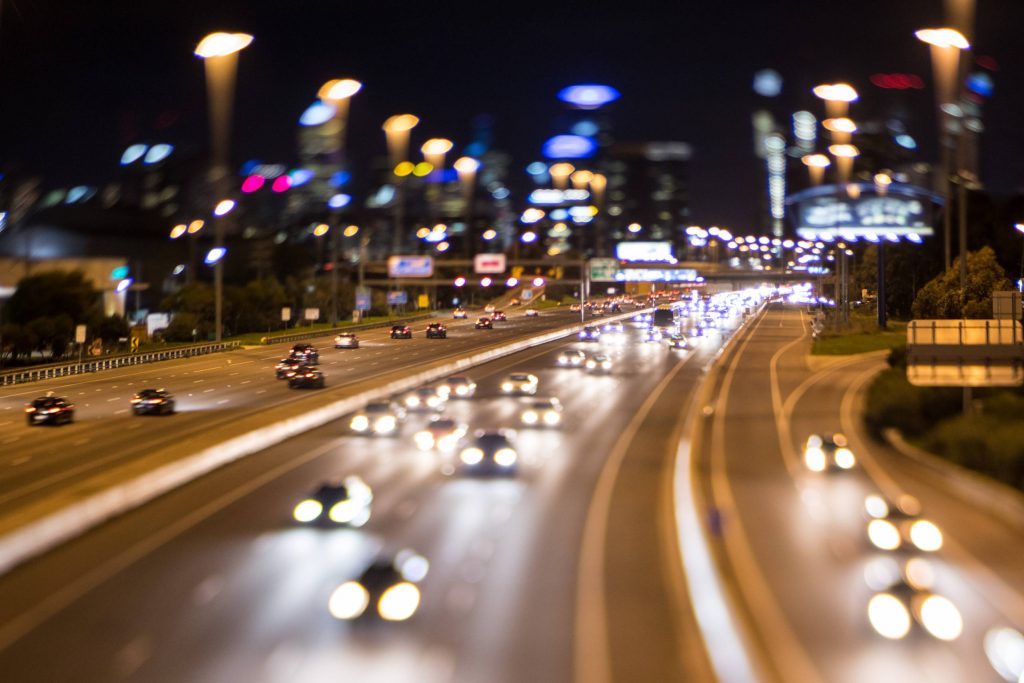
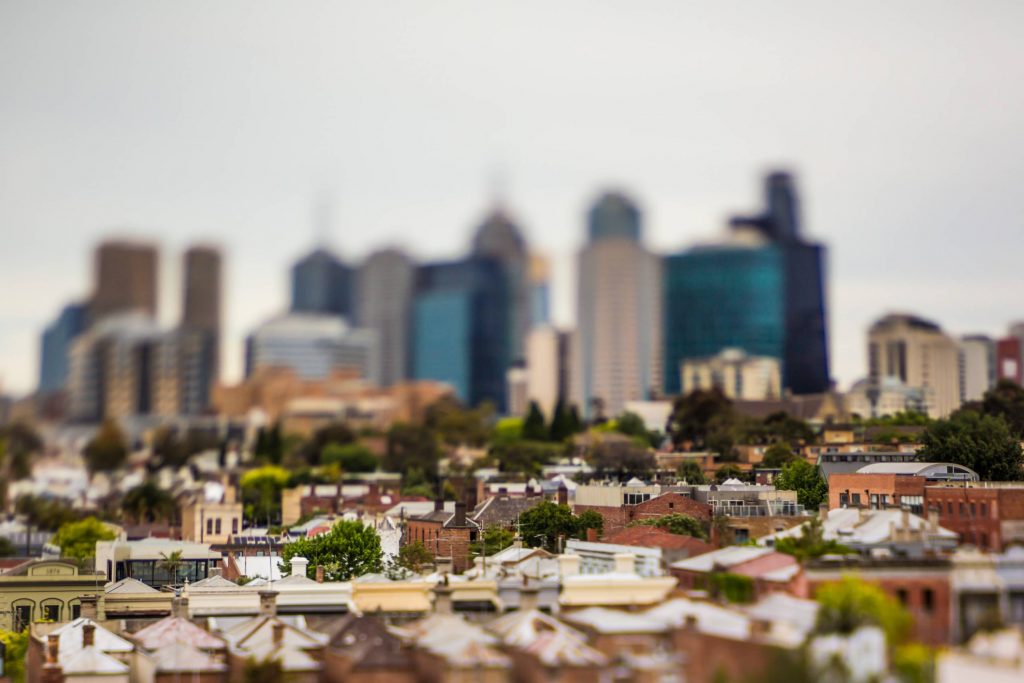
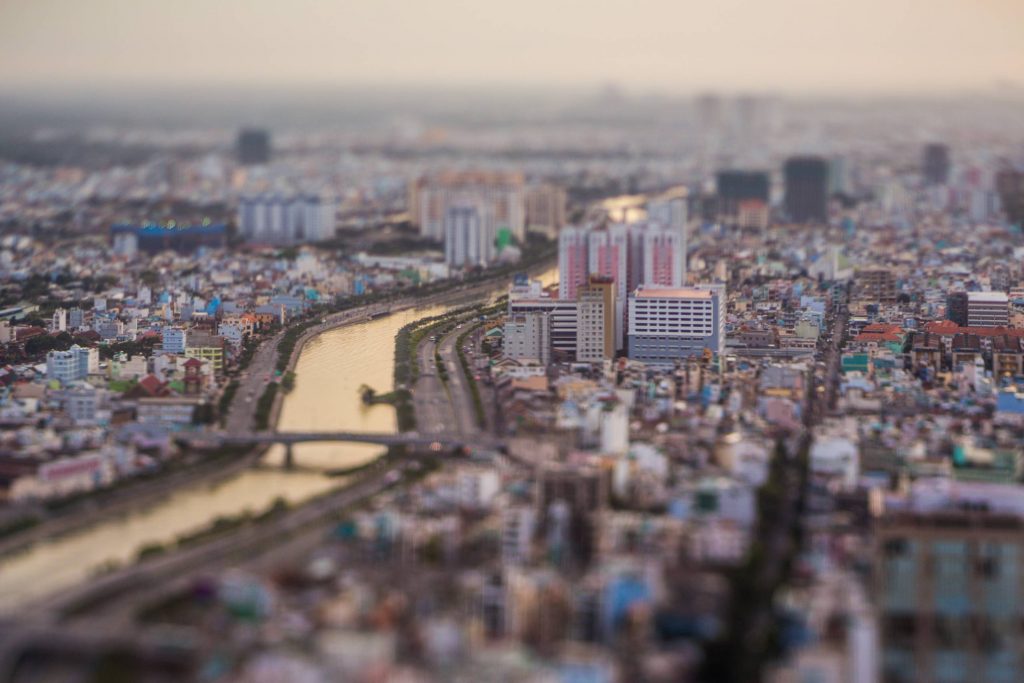
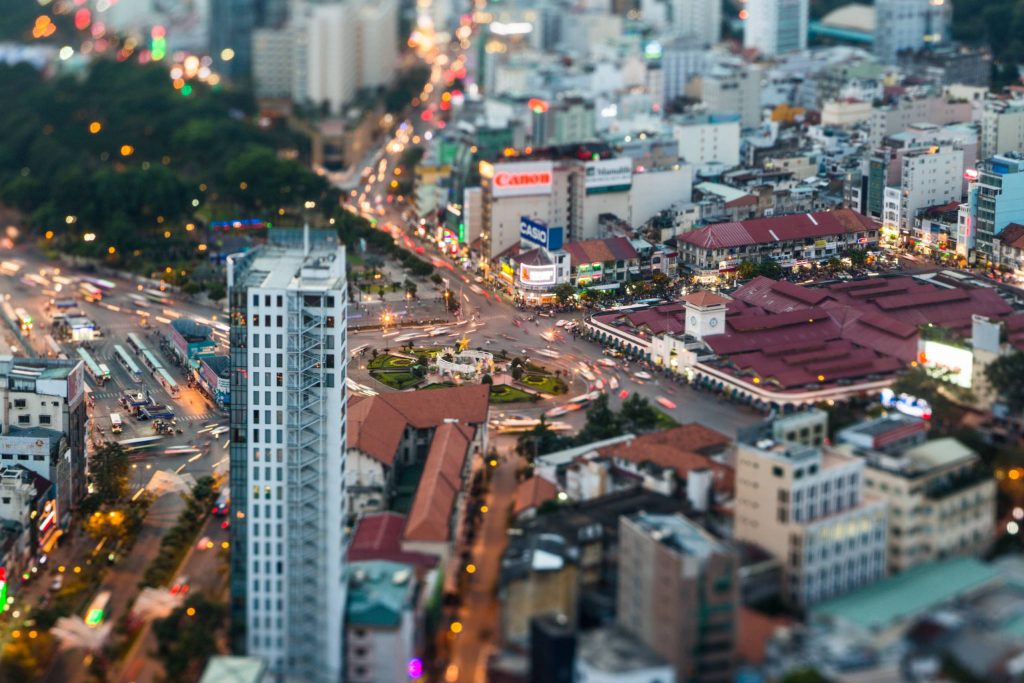
I’ve had my Lensbaby Edge 80 for around two years (at point of writing this), and I’ve never really put a group of photos together that demonstrate the kind of fun you can have with it. It’s not a lens that I’ll have with me all the time, but every now and then, it’s really cool to drag out and have a play.
In terms of how I use it, I really like to try capture a long or elevated shot, that gives the flexibility to make a tilt-shift type effect by bending the lens in its mounting (see this geeky YouTube to learn some more). It’s not something I need to do at any serious level, so the price point (compared to a tilt-shift) really makes sense, and I’m a big fan of it.
There’s something cool about doing this stuff in-camera, and the blur you get when bending it around, is very optically-real. What I mean by optically-real, is this is an effect that happens as a result of real optics changing, rather than trying to mimic the effect in Photoshop. Sure, Photoshop can do this kind of stuff, but at the same time, this lens will also work with 35mm film (I must try that!). But, who cares really, as long as you’re having some fun with it.
I hope these shots can give a little taste of what you can produce. Mostly Melbourne below, but I did recently take it with me to Vietnam for something a little different.
Walking around Southbank really is a treat. There’s so many photo opporunities, and it’s no surprise that there’s trigger happy snappers all over the joint. These shots here are from my walk home. Pretty easy to take your time when the sun is going down, and the city lights really come to life just after sunset.
When I was getting more interested in digital photography, I kept on hearing “shoot RAW, shoot RAW”. I didn’t really understand why you need RAW files, or what benefits that gave. Not only, I used to shoot JPEG because RAW files were so big, and I’d think “if I wanna shoot something decent, I’ll shoot RAW, even if I don’t really know why”. Inevitably, I forgot, and yep, I’ve got a bunch of old JPEGs I can’t do too much with from a technical standpoint (or at least, a limited amount). It actually pisses me off, still!
Why the free RAW photos
Heads up; Each RAW file is about 20Mb, so don’t download them on your mobile.
So, on the back of my history of not knowing what I was doing, and the fact I feel moderately competent now, I’m giving away 3 DNG RAW files as a bit of a starter. Something to play with, something to do what you want with, if you’re interested, and want to experiment. Of the files, I’ve got one under exposed RAW file, one over exposed raw file, and one correctly exposed raw file (according to my aperture priority settings). These are the kind of files you need to make a HDR image (some explanation below), if you want, or you can just grab the picture that you think will best suit your play-time.
What tools to use for RAW files?
Firstly, RAW files are like the negative of the digital camera, and not your normal JPEG or GIF that you’d see on the web. They are loaded with meta data that gives information on how to display the image, what gear – like lens, f-stop, etc, was used to shoot it, where it was shot (if possible), and more. Also things like white balance. If you shoot JPEG, your white balance is locked in to the file, and you’re going to struggle to fix it up, if it’s not quite right. BTW, white balance is the colour temperature, and while it’s all rather complex, don’t stress now. Look it up if you’re curious. But, needless to say, RAW files give you flexibility, but you need a tool to open them up. Equally cool with RAW files is the ability to manipulate shadows, highlights, and generally, get more from dark or over exposed shots. There’s so much data in the blacks and whites, you can often save a photo that you might think too dark or bright.
The actual tools
Warning; you’re going to need a Mac or PC for this, and to take out a trial.
I’ve only got strong experience with Apple and Adobe. I’m a former Apple Aperture (trial available) user who’s switched to Adobe Lightroom (trial available), and I’ve got no thoughts on going back. Even further back, I was using Apple iPhoto, which is also very good, and free if you’ve got a Mac.
With any of these tools, I’d suggest you just download the RAW files, load them in, and play away with the sliders. Drag up and down the exposure sliders – see how far you can push it, to the point of getting noise, or going black. Play with the highlights and shadows sliders. You can tell the program to only manipulate the white areas, or the black areas. For example, you’ve got an image that’s pretty spot on, but these a sunset which is just too white. Drag down the highlights, and you might be able to save an image.
What’s HDR?
HDR is the process of mixing a few images (in most cases) of varying exposures to really make the most of the available light. Sometimes, one photo has some area that’s just too bright or dark. If your out shooting, and you can see this at the time, taking a few photos of under, over and correct exposure, allows you can do more in post production. Tools I’ve used, and would suggest as a starters are NIK Software by Google, which includes HDR Efex Pro, as well as Photomatix. In any case, download the trials, and have a play with the RAW files I’ve supplied (or your own).
What about the sad sacks on a mobile
Fear not, mobiles have some real serious options. But you’re not going to get the same high-end results, at least for the next couple years. On mobile, you are really going struggle with RAW images (it’s possible, but right now, it sucks), and you’re going to have live with JPEGs. Don’t stress, though. I’m increasingly doing mobile edits, and I’m constantly surprised with the results. Personally, I’m using Snapseed (for Android, and iPhone/iOS), and often with a final touch in VSCOCam (Android and iPhone/iOS).
Snapseed does some neat HDR stuff, from a single JPEG, and it’s pretty cool. In fact, download one of the pics below (or tap here for a hi res JPEG) and have a play for some mobile edit joy… If you do, let me know!
Last thing about HDR
There’s a tonne of haters on HDR. Personally, I don’t like the photos that are too-far-pushed. That’s totally subjective, but just do whatever makes you happy.
This first shot below is the result of the bottom three photos. Those bottom three photos are pretty much ‘straight out of camera’ (but made JPEGs for the web). You can download the RAW files and, depending on how you go with your own process, come up with something similar to what I’ve done. That’s not to say you should, but this was my idea.
I’ll give you a high level overview, but not the exact process. Try have a play, yourself. But basically, I modified the white balance of all three files in Lightroom. I wanted more blue. then I did some minor tweaks to highlights and shadows, and applied some lens corrections. From there, I decided to export it for HDR work in HDR Efex Pro. It’s pretty simple, and very easy to go overboard. That doesn’t matter, just play around. When I was happy enough, I saved the output file and got it back to Lightroom for some final touches. Here, I increased the contrast, toggled the clarity and vibrance, and buggered around with the saturation for longer than I should. But, that’s basically it.
Last note
Much of what I’ve stated above wont make sense until you start playing with the tools. This isn’t a tutorial, but if you really wanna have a crack, feel free to ask me in the comments below. Google tutorials, find your own way. The way I have approached photography is really by touch and break. It’s not for everyone, but that’s just my two cents.
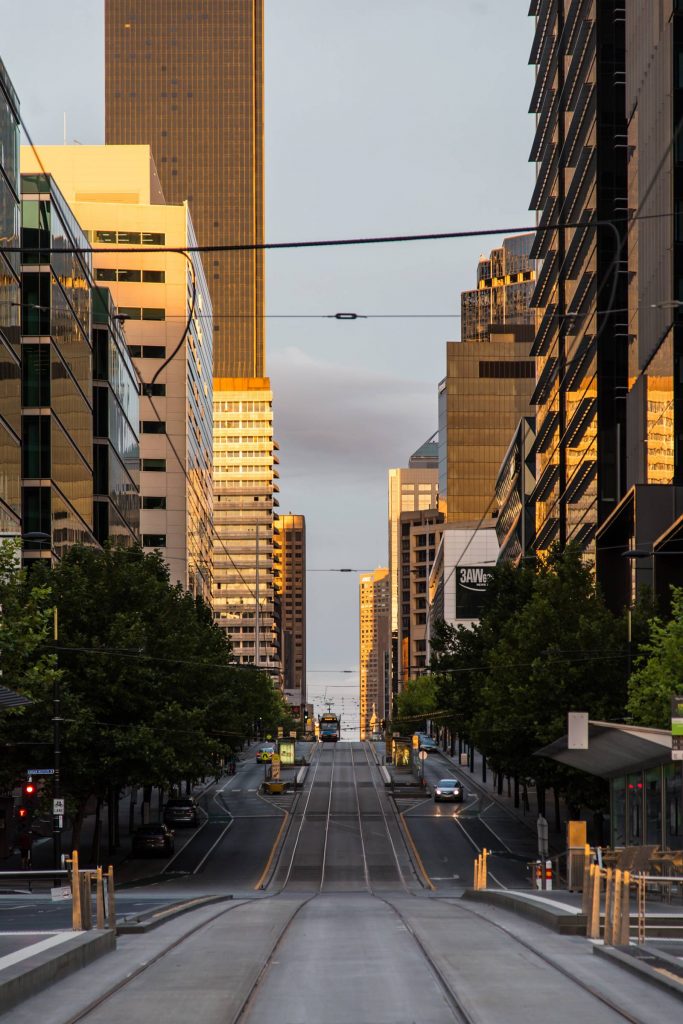
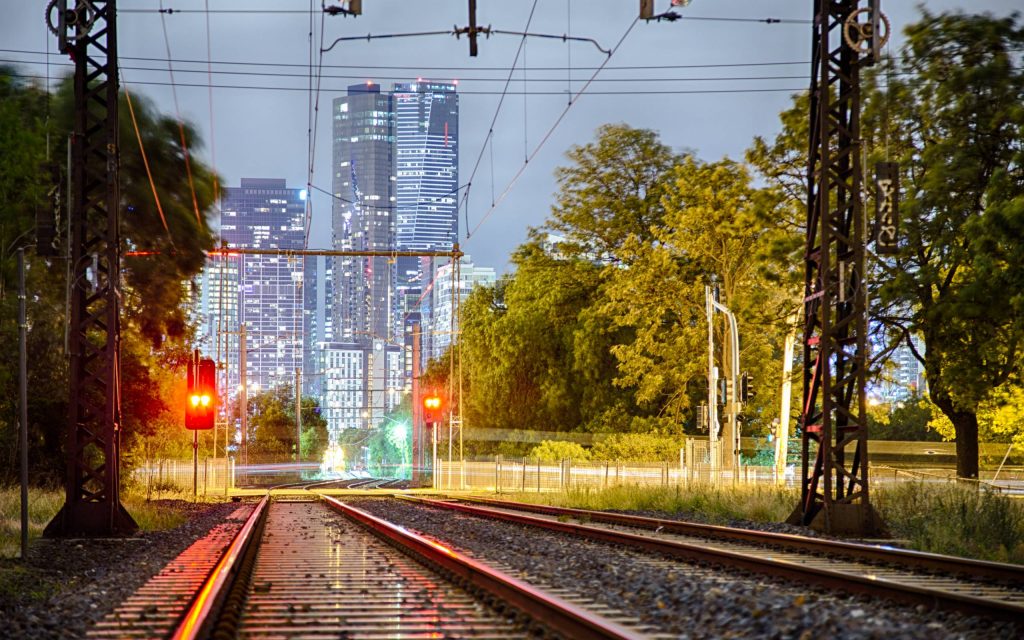
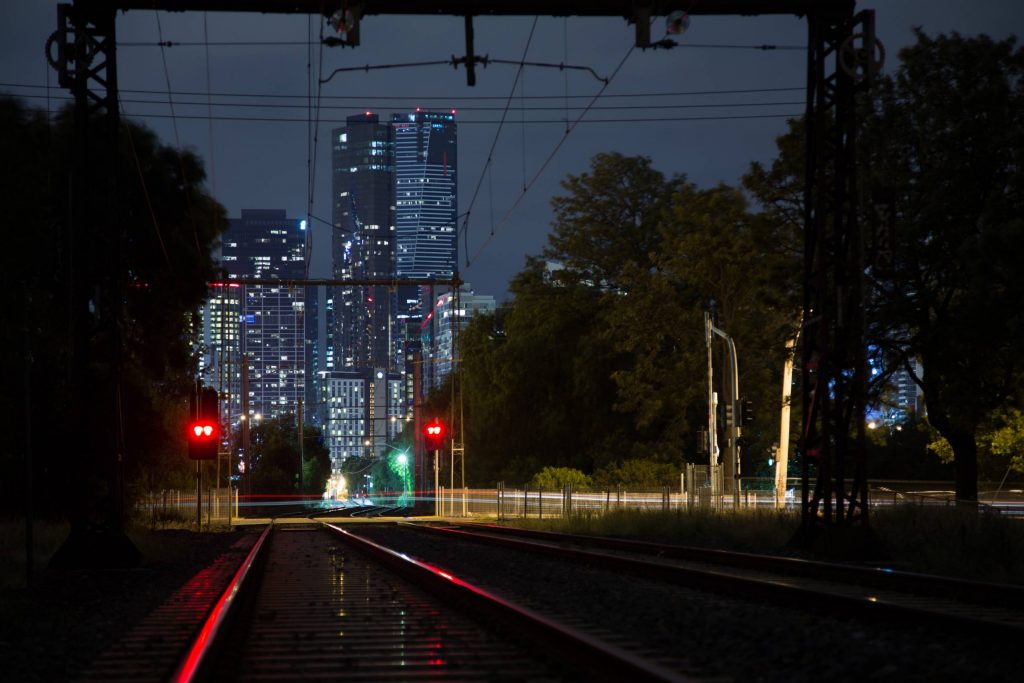
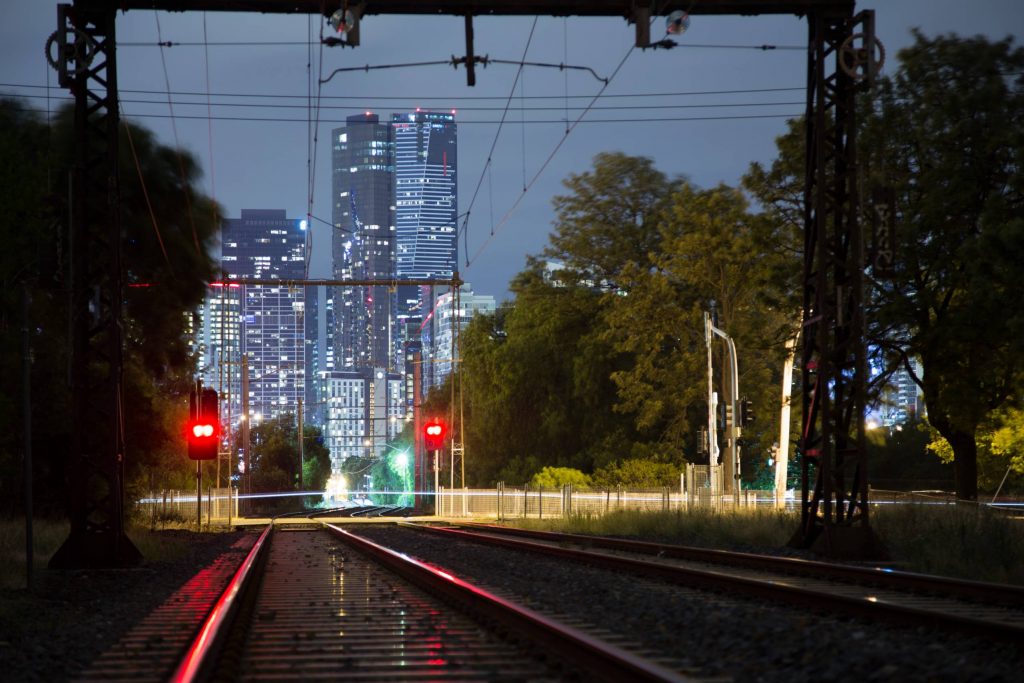
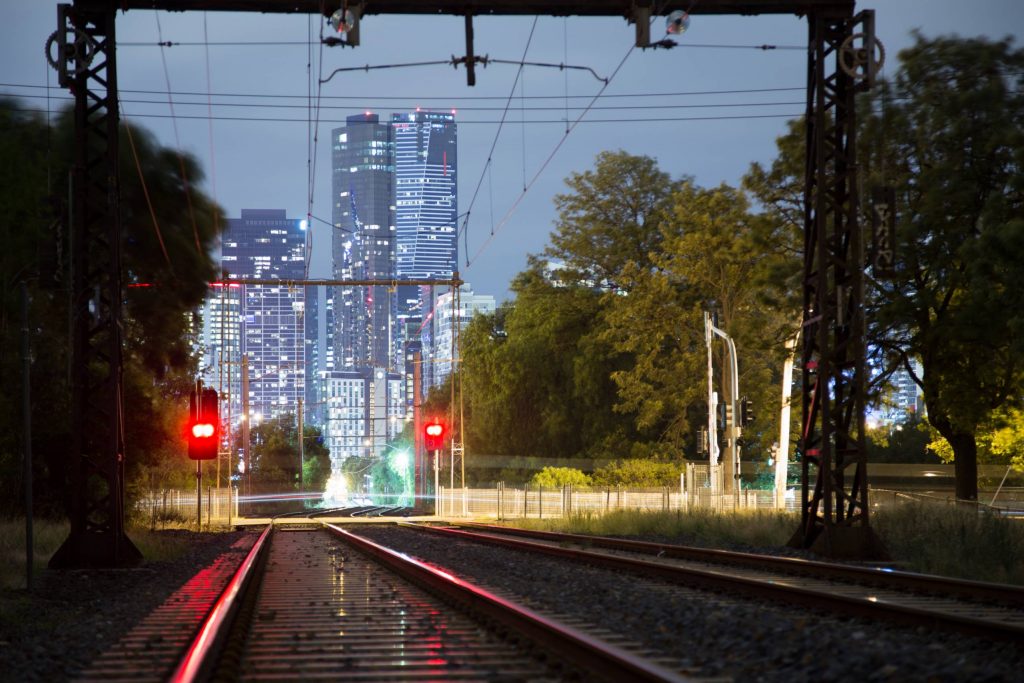
Melbourne on the rails. HDR shot from three exposures; 8 seconds, 20 seconds and 30 seconds.
8 seconds, f4, ISO 100 – The darkest of the lot.
20 seconds, f4, ISO 100 – The ‘correctly’ exposed shot.
30 seconds, f4, ISO 100 – The lightest of the lot
And if you like this kind of post / give away, please give me a little share / thumbs up / comment below. Whatever way works for you 🙂
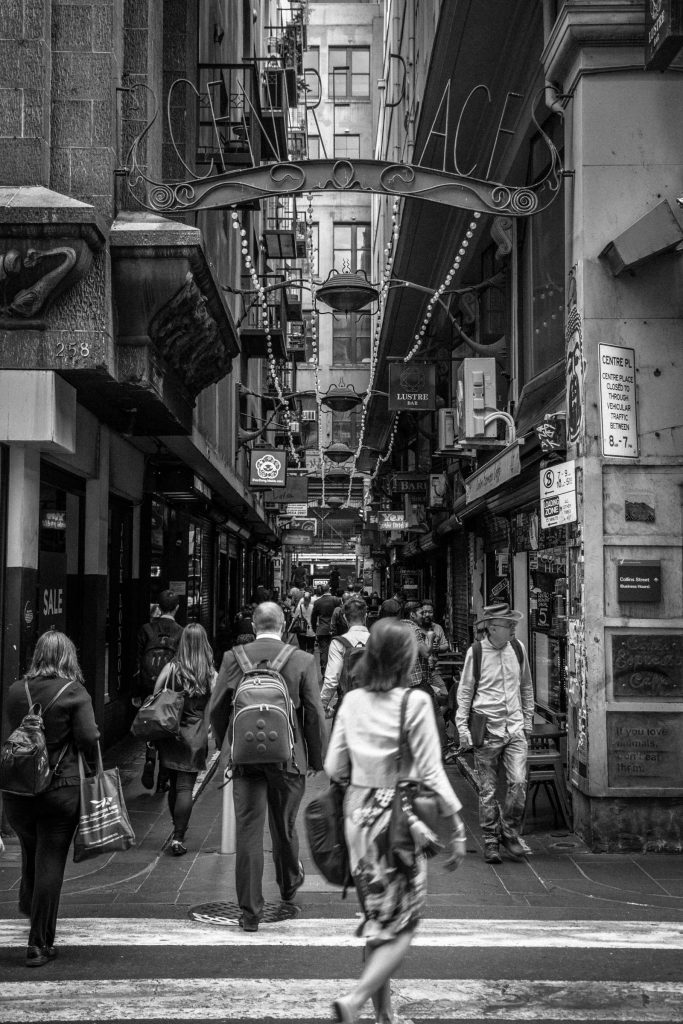
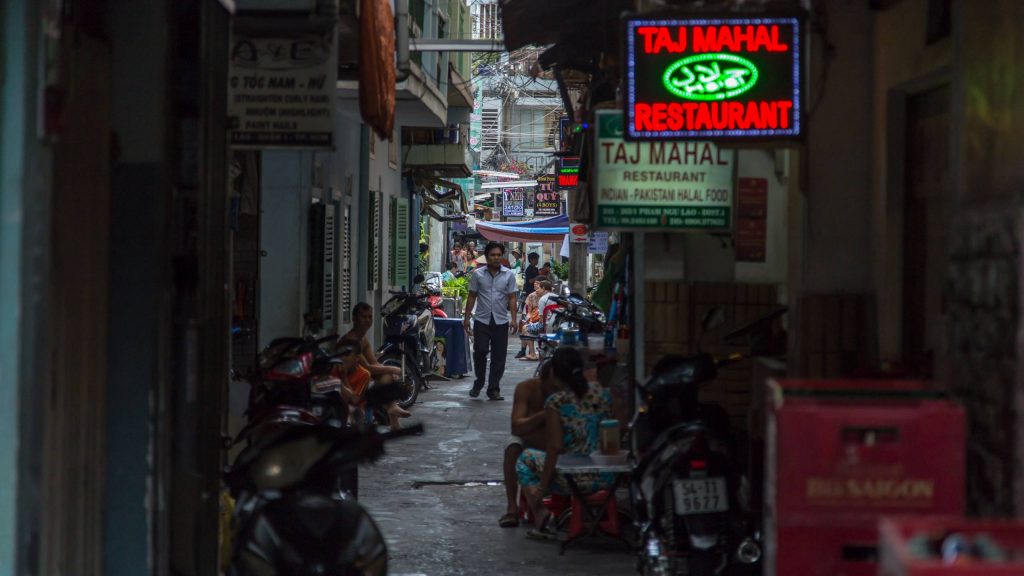
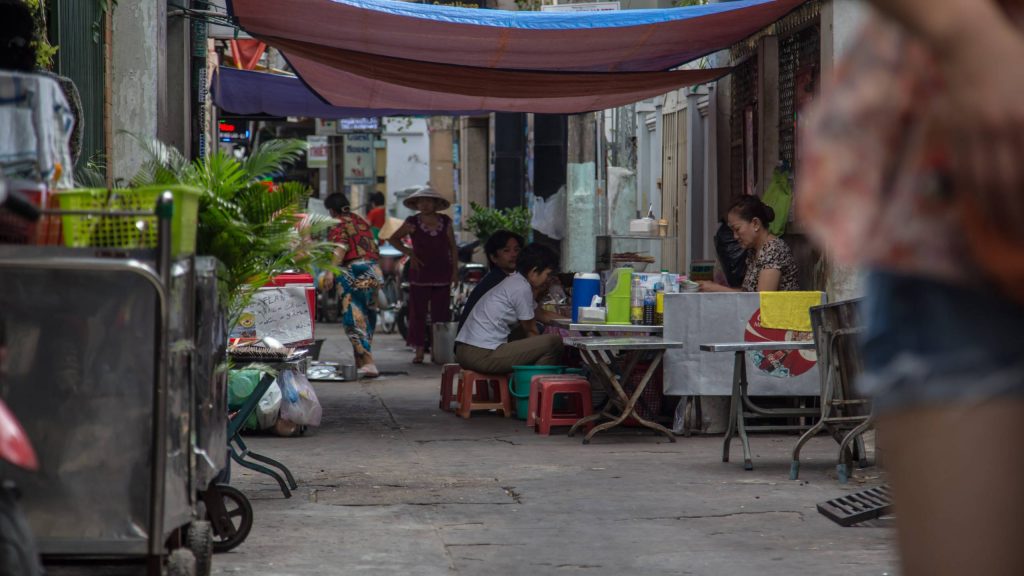
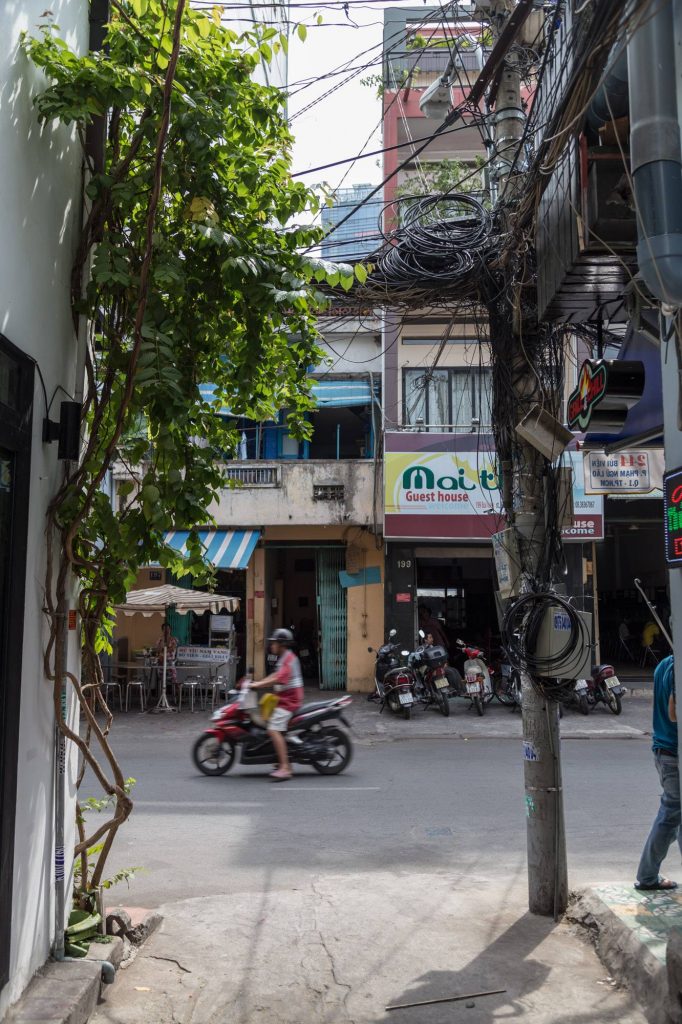
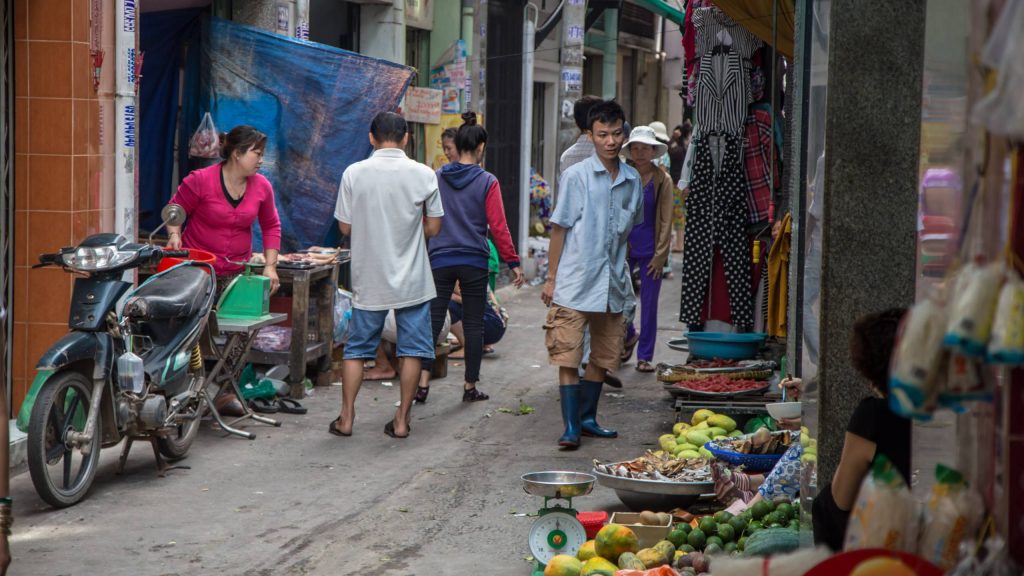
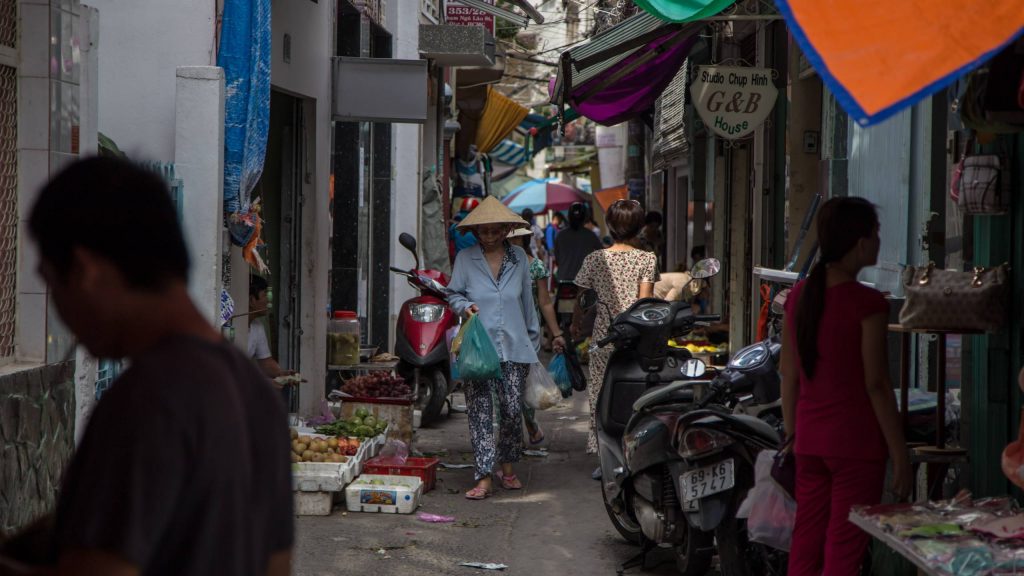
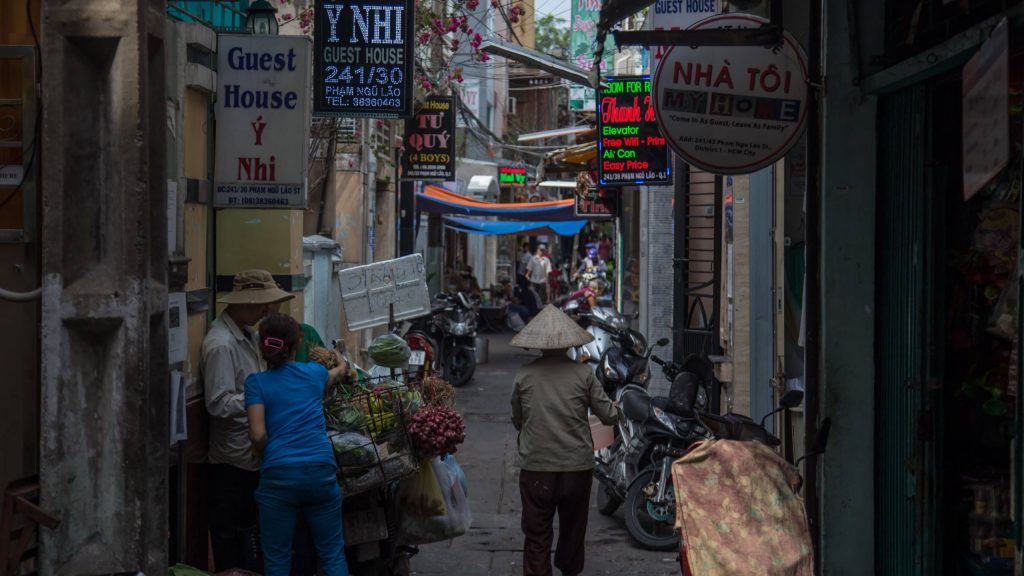
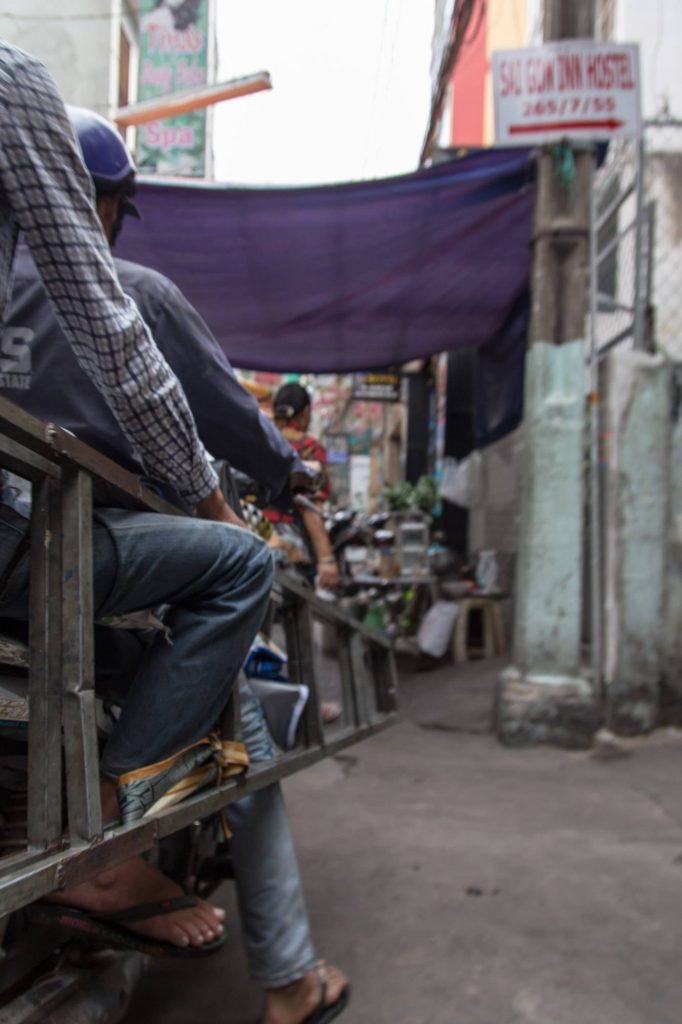
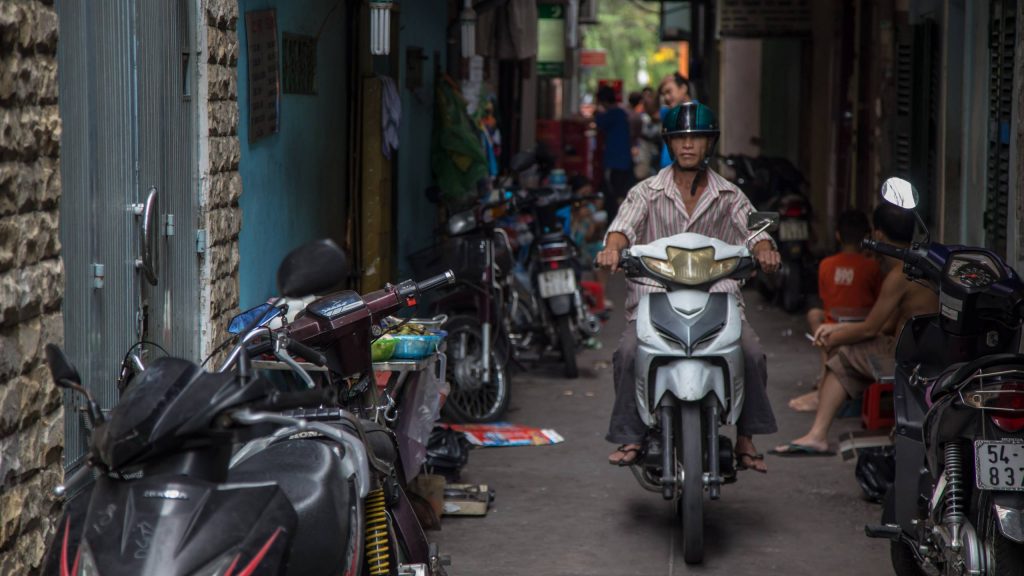
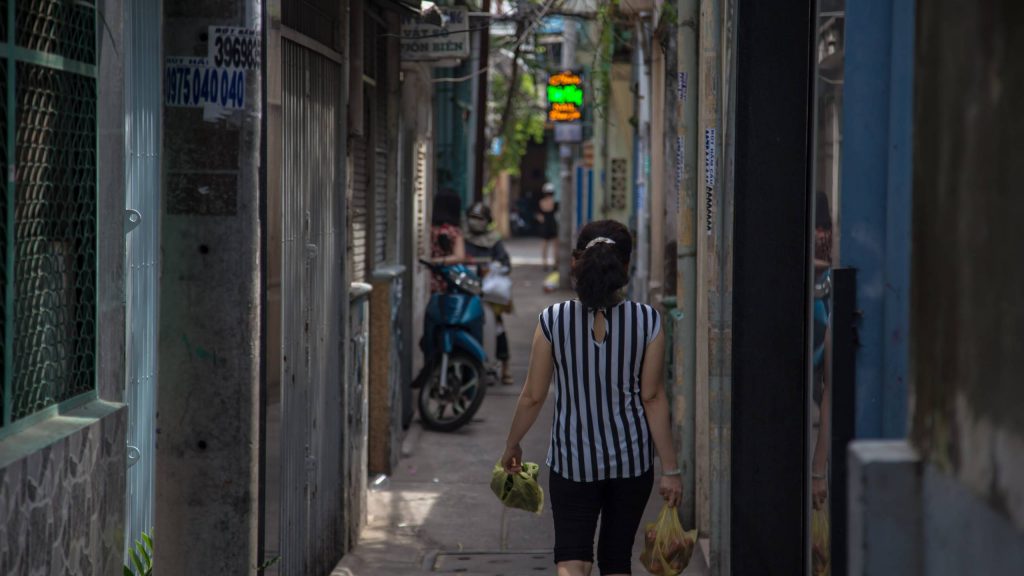
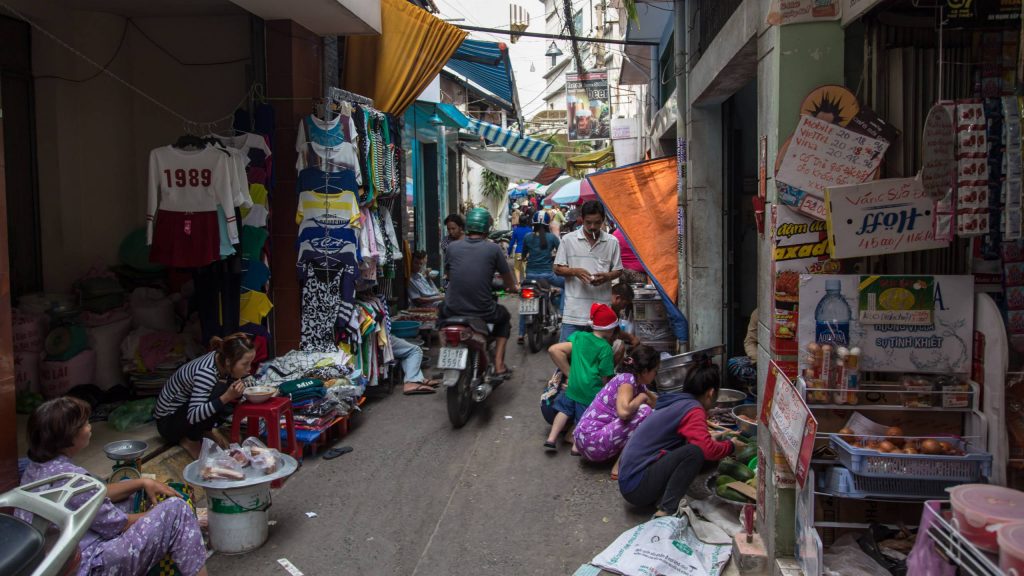
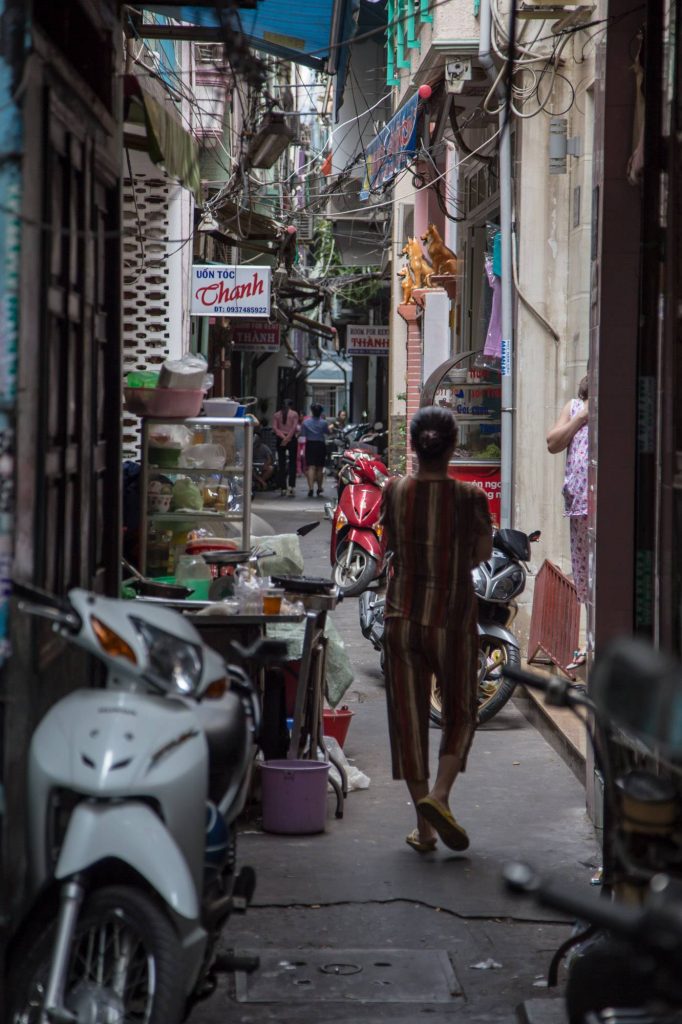
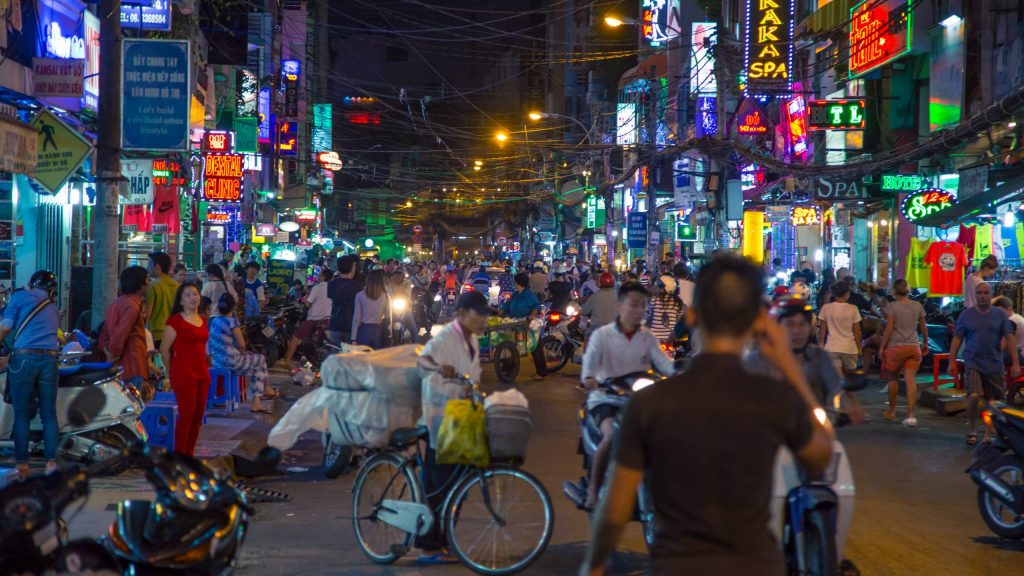
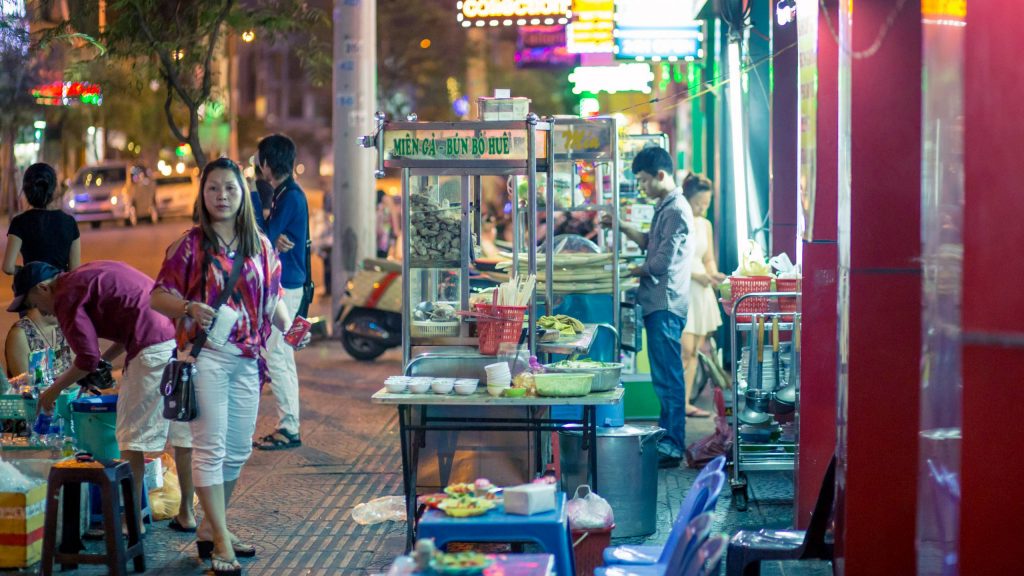
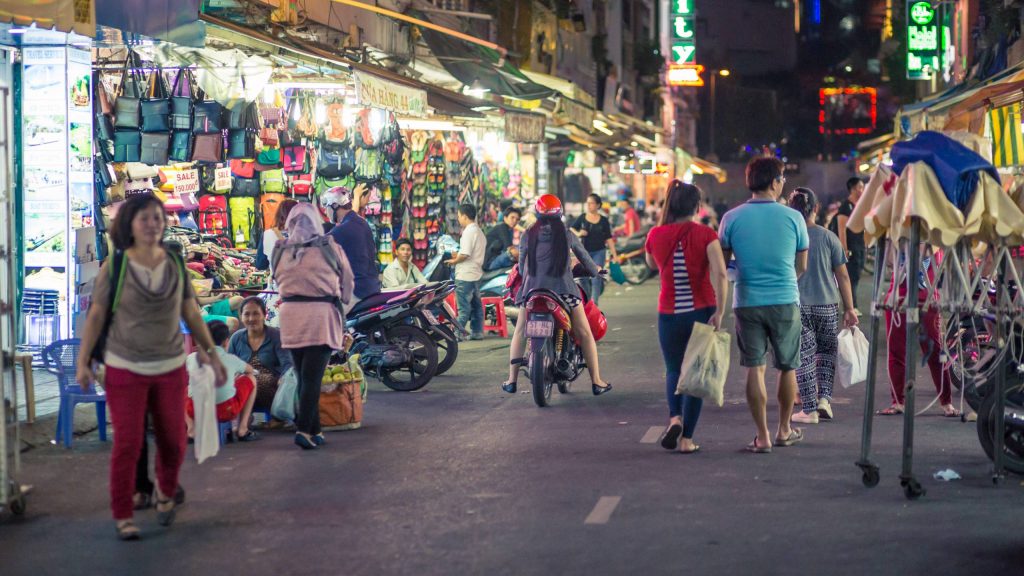
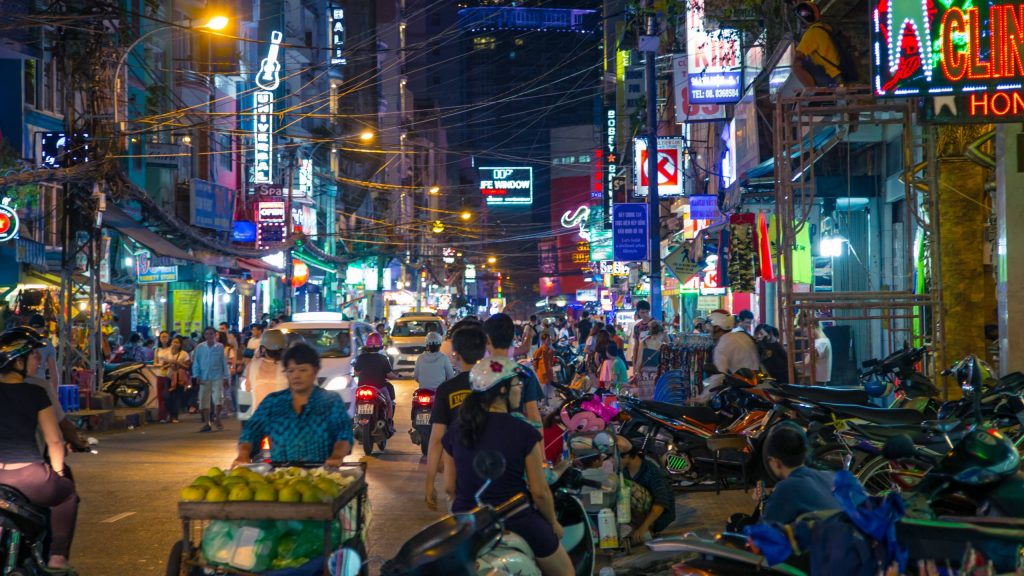
Ho Chi Minh City (i.e. Saigon) is wild. The roads are a sea of scooters, where the scooters swim like a school of fish, but between the main roads, there are connecting pathways which allow for a much calmer way of life.
Coming from Melbourne, Australia, Laneways are just an iconic part of the city, and as much as Ho Chi Minh couldn’t be more different, the back streets and laneways share some similarities. They’re more relaxed, while still being a place to eat; just not as mainstream. You still get traffic, you still get a bunch of people, but for something so close, you see something very different at a much calmer pace.
In terms of exploring, the laneways tend to keep tourists away for some reason. I think it’s got to do with the tribal mentality of ‘hanging out where my people are’, but that doesn’t seem to matter for locals. It just allows curious people to get a bit more of a real look at the daily life. And it’s really cool.
While in Vietnam, I shot a tonne of streets, people, laneways, traffic, etc, but with this post, I’ve tried to put a little more focus on people in the environment. As for a look at broader crazy traffic or specific shots people, those posts and pics will coming soon.
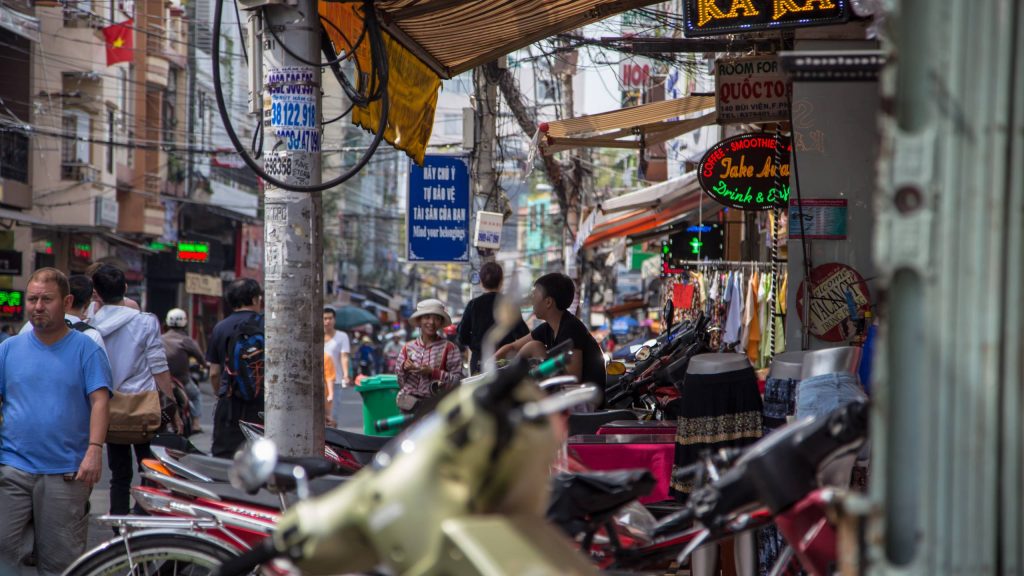
And just for good measure, there’s a few photos of some of the busier streets with people mixed in.