Building my own Raspbery Pi time-lapse camera system
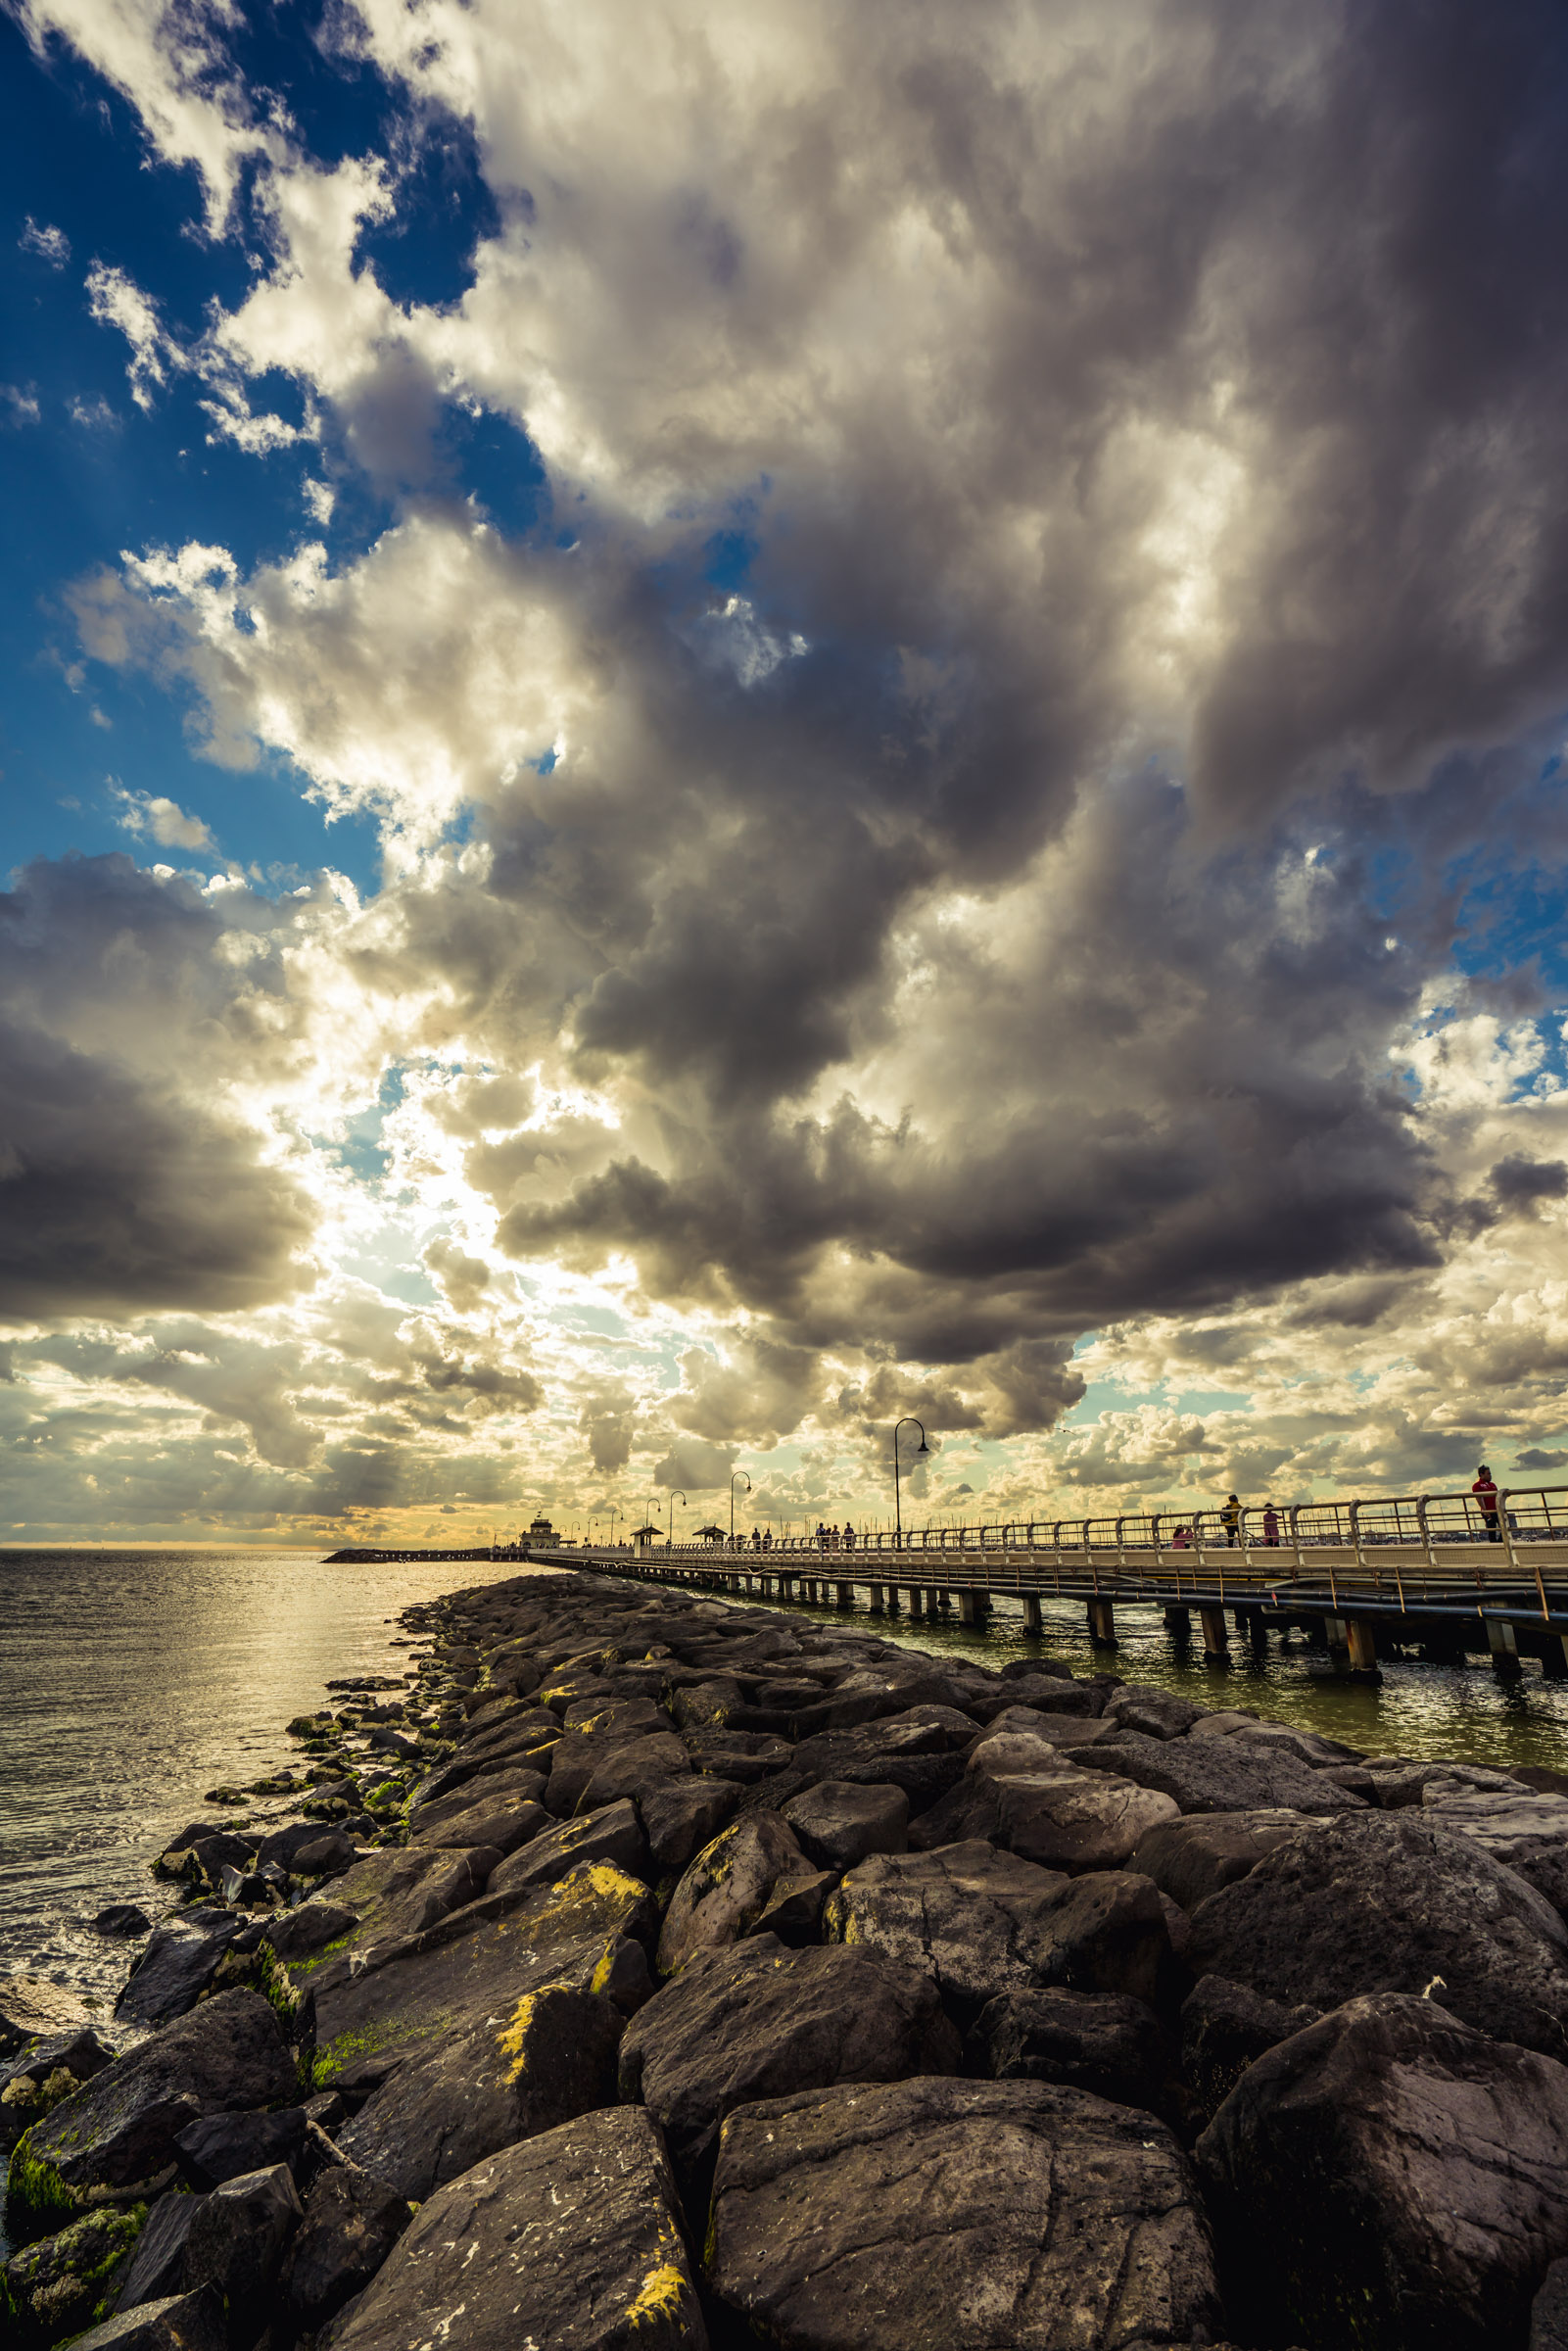
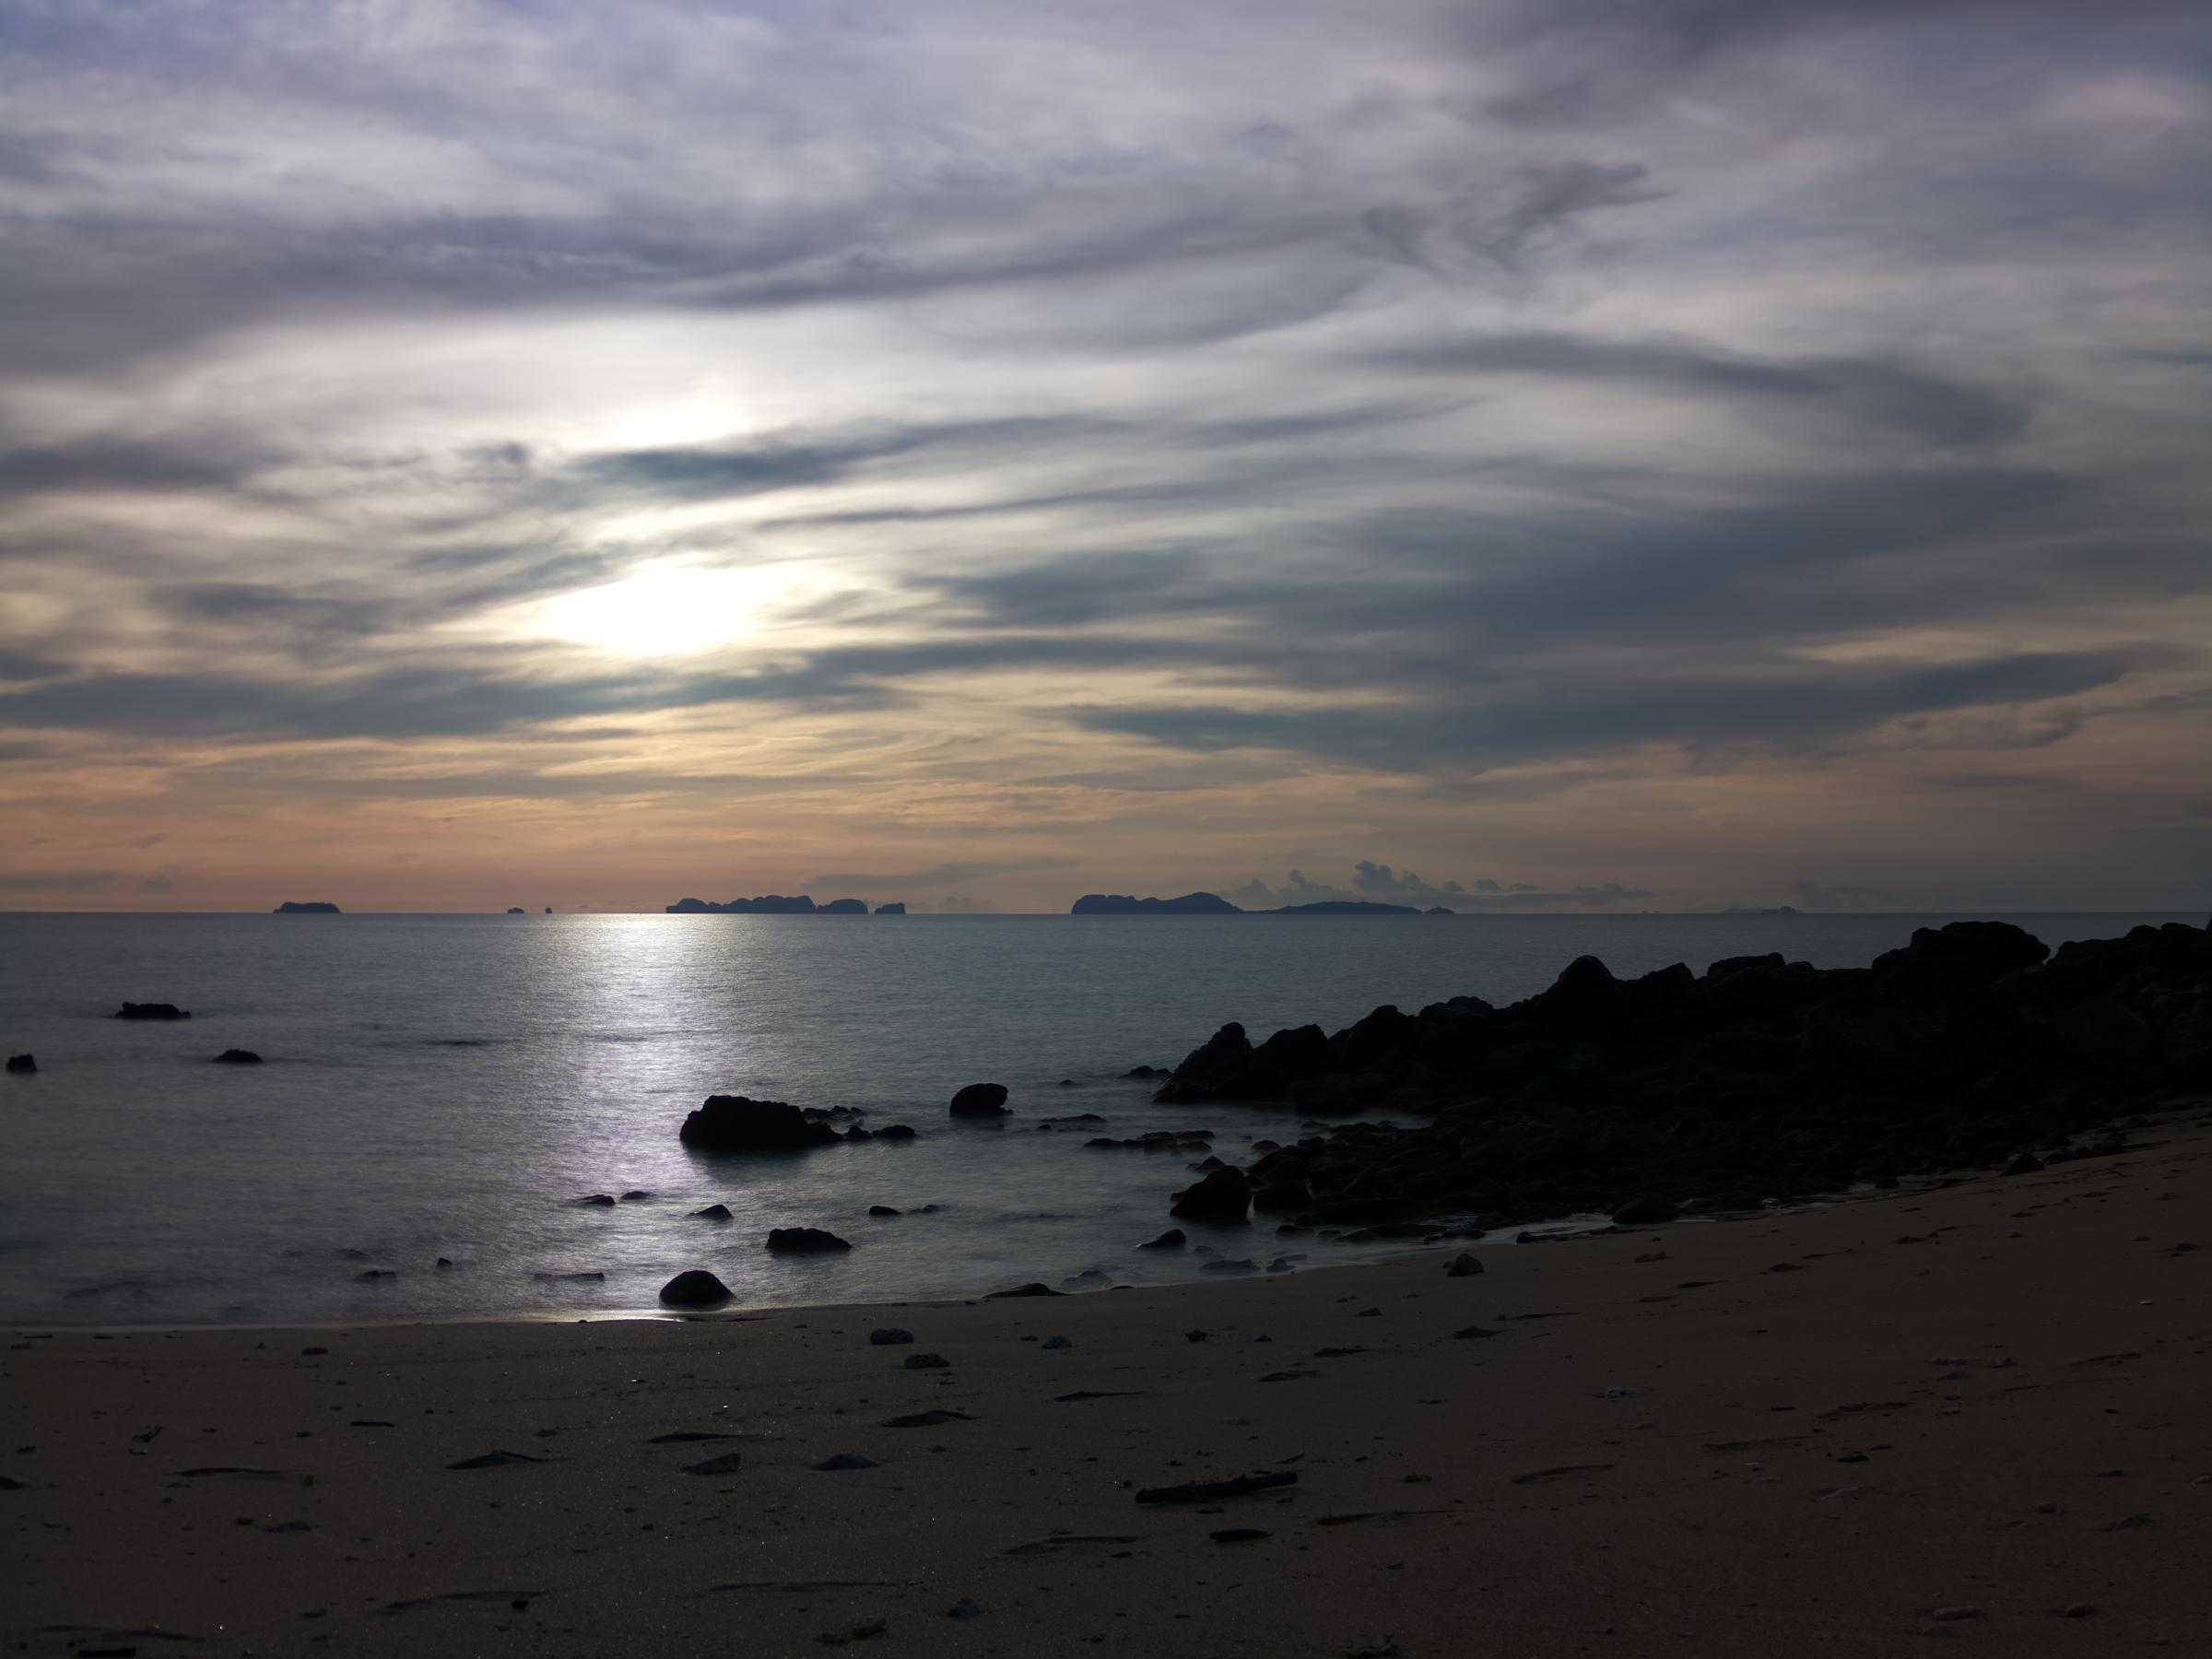
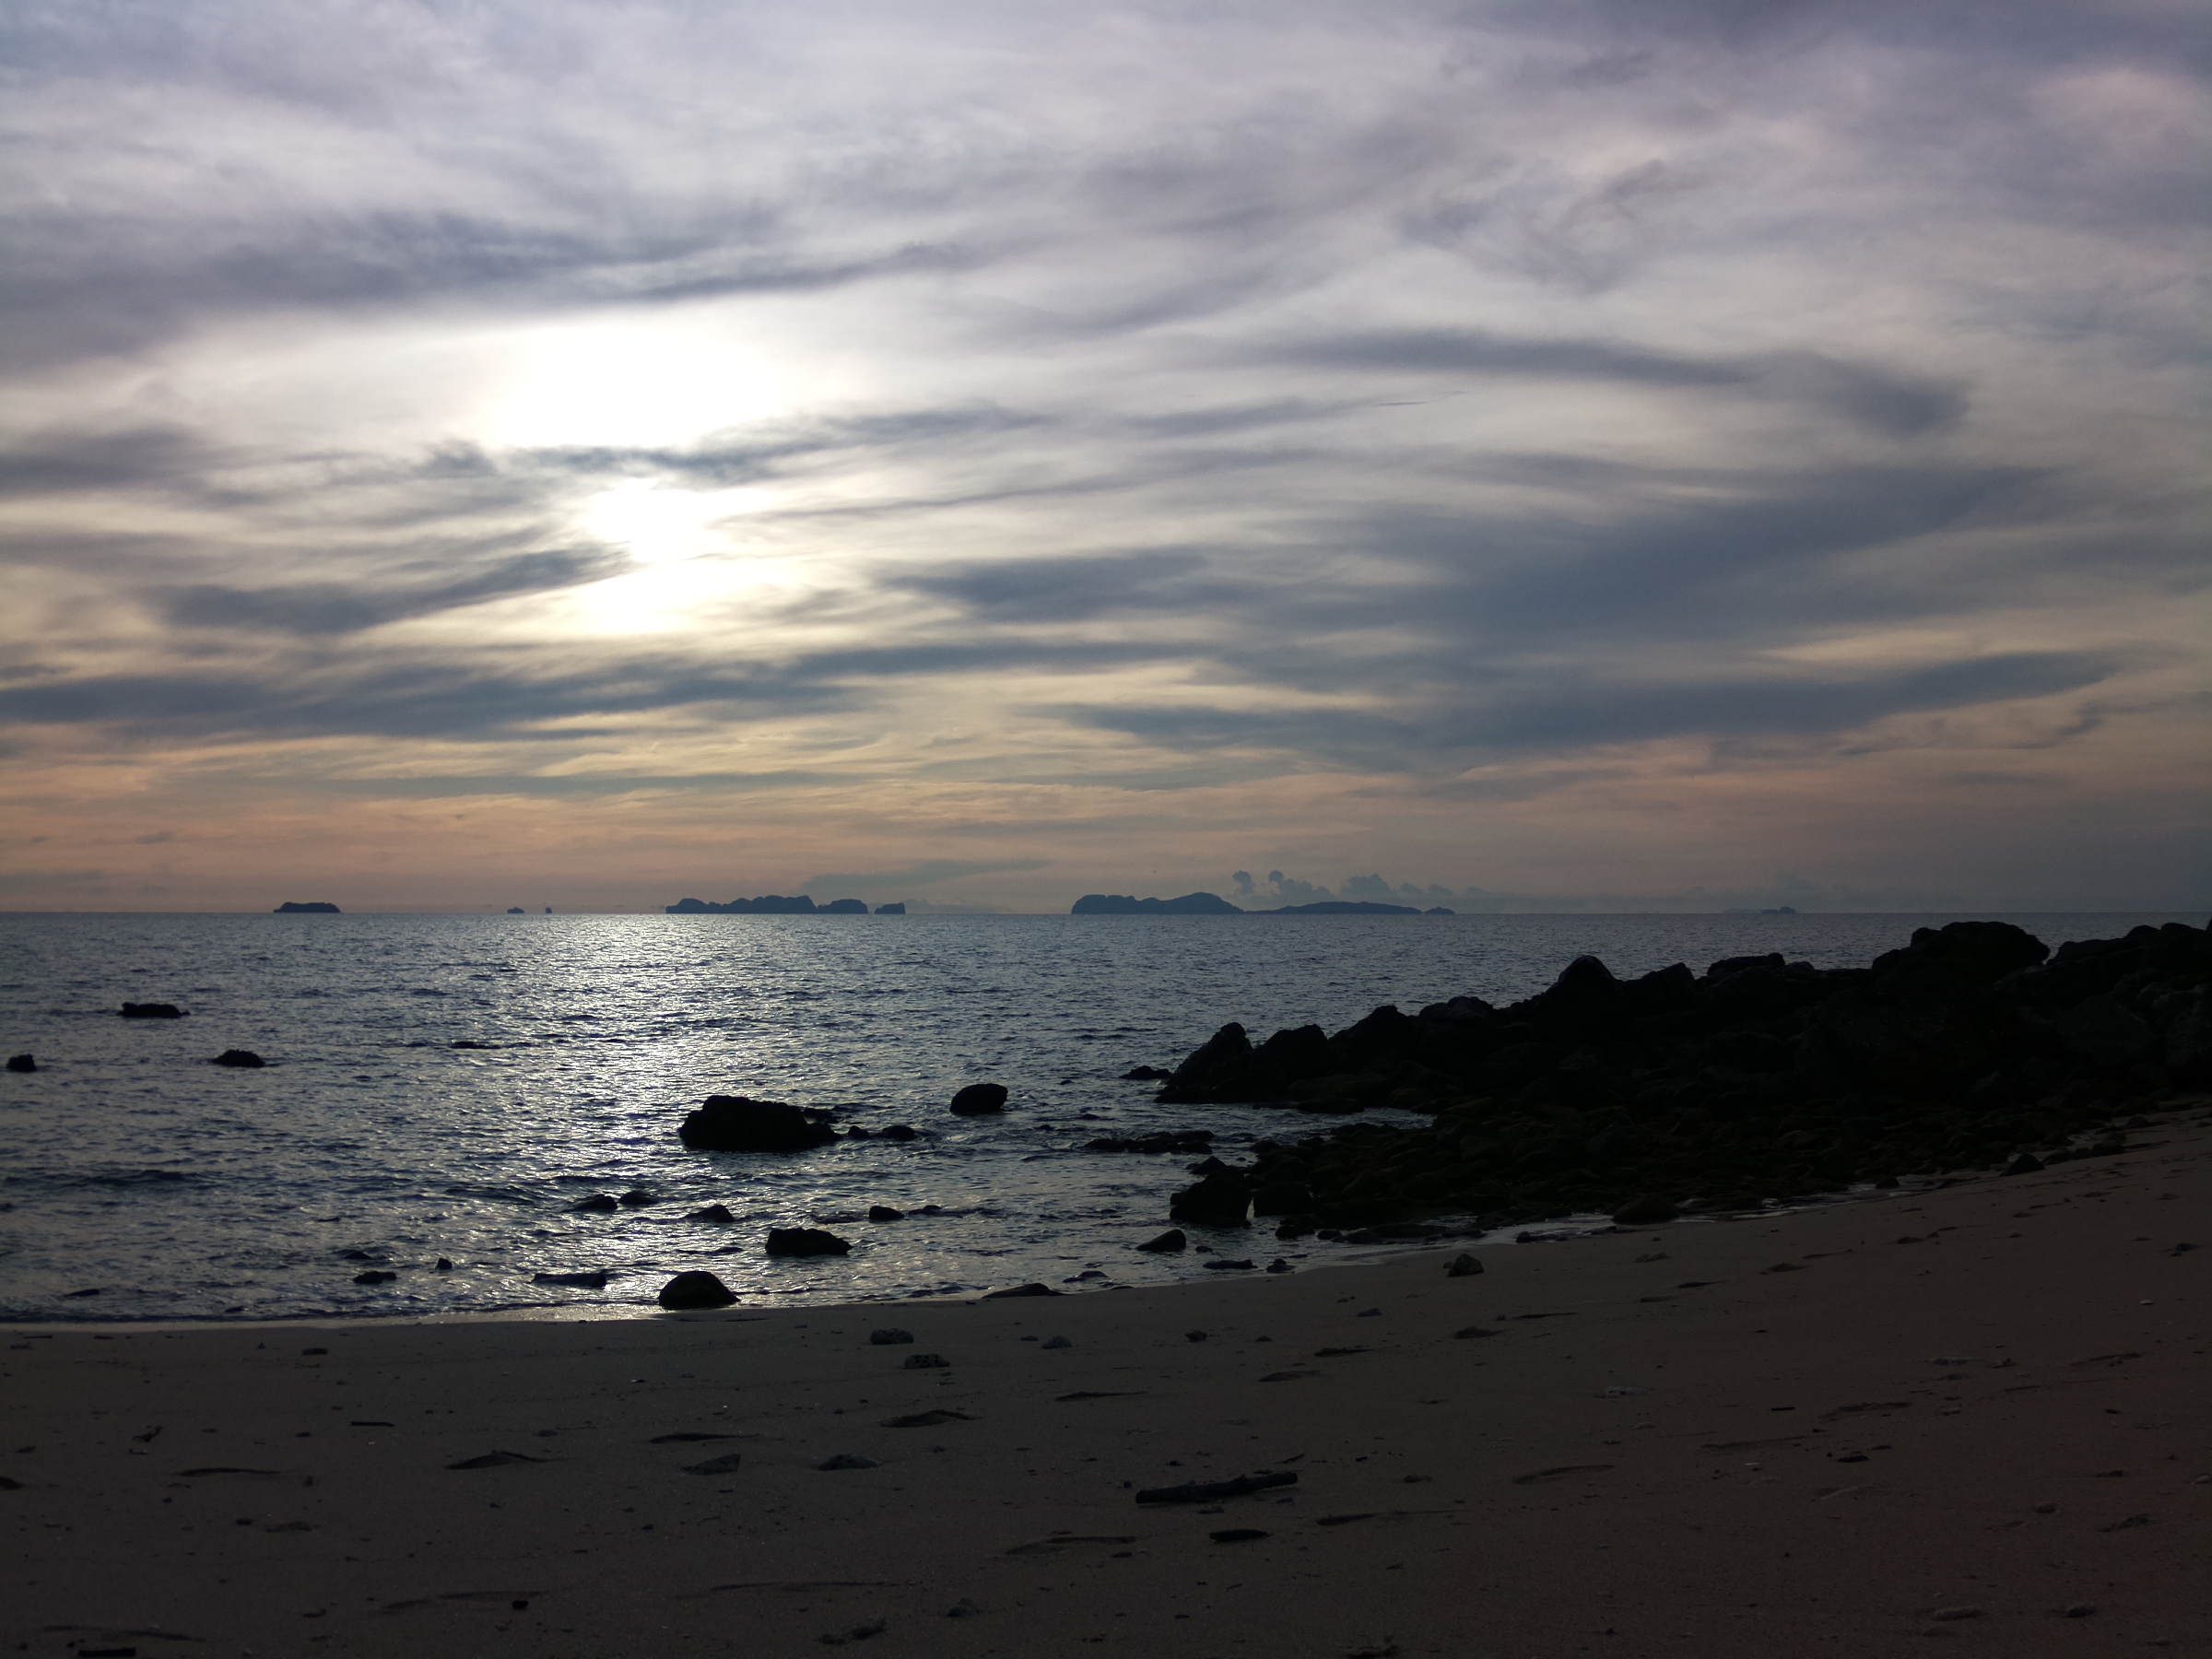
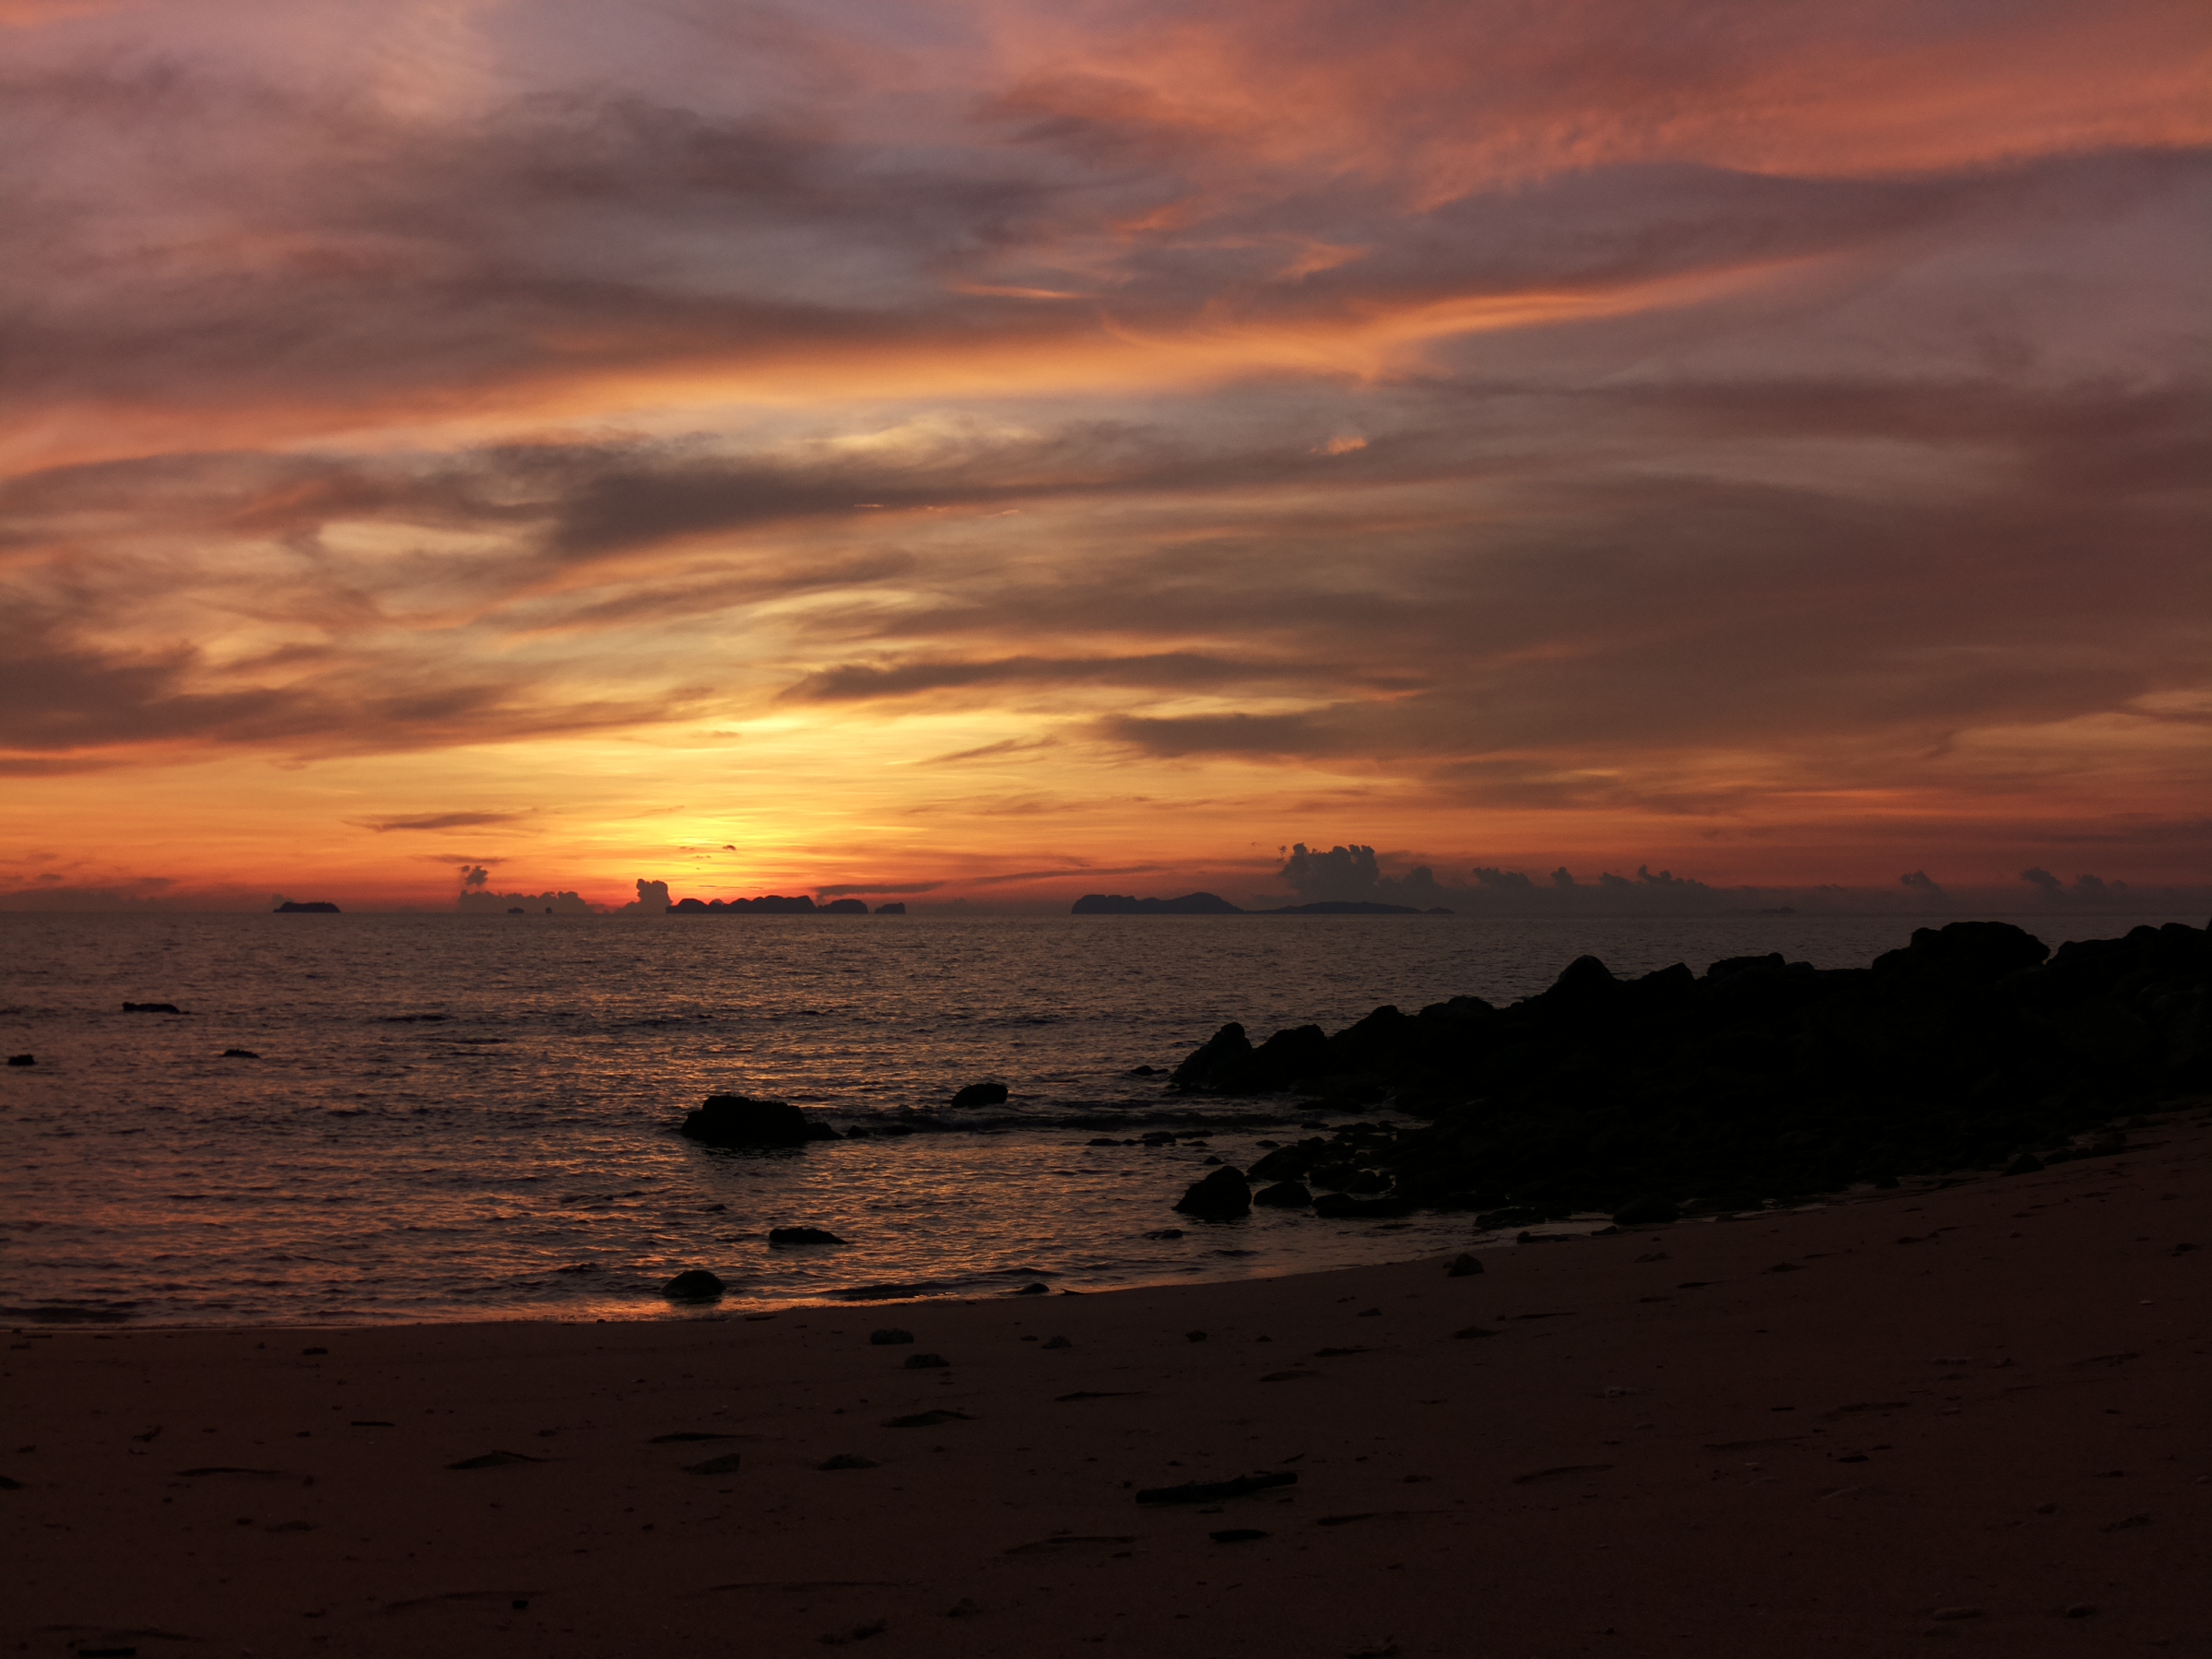
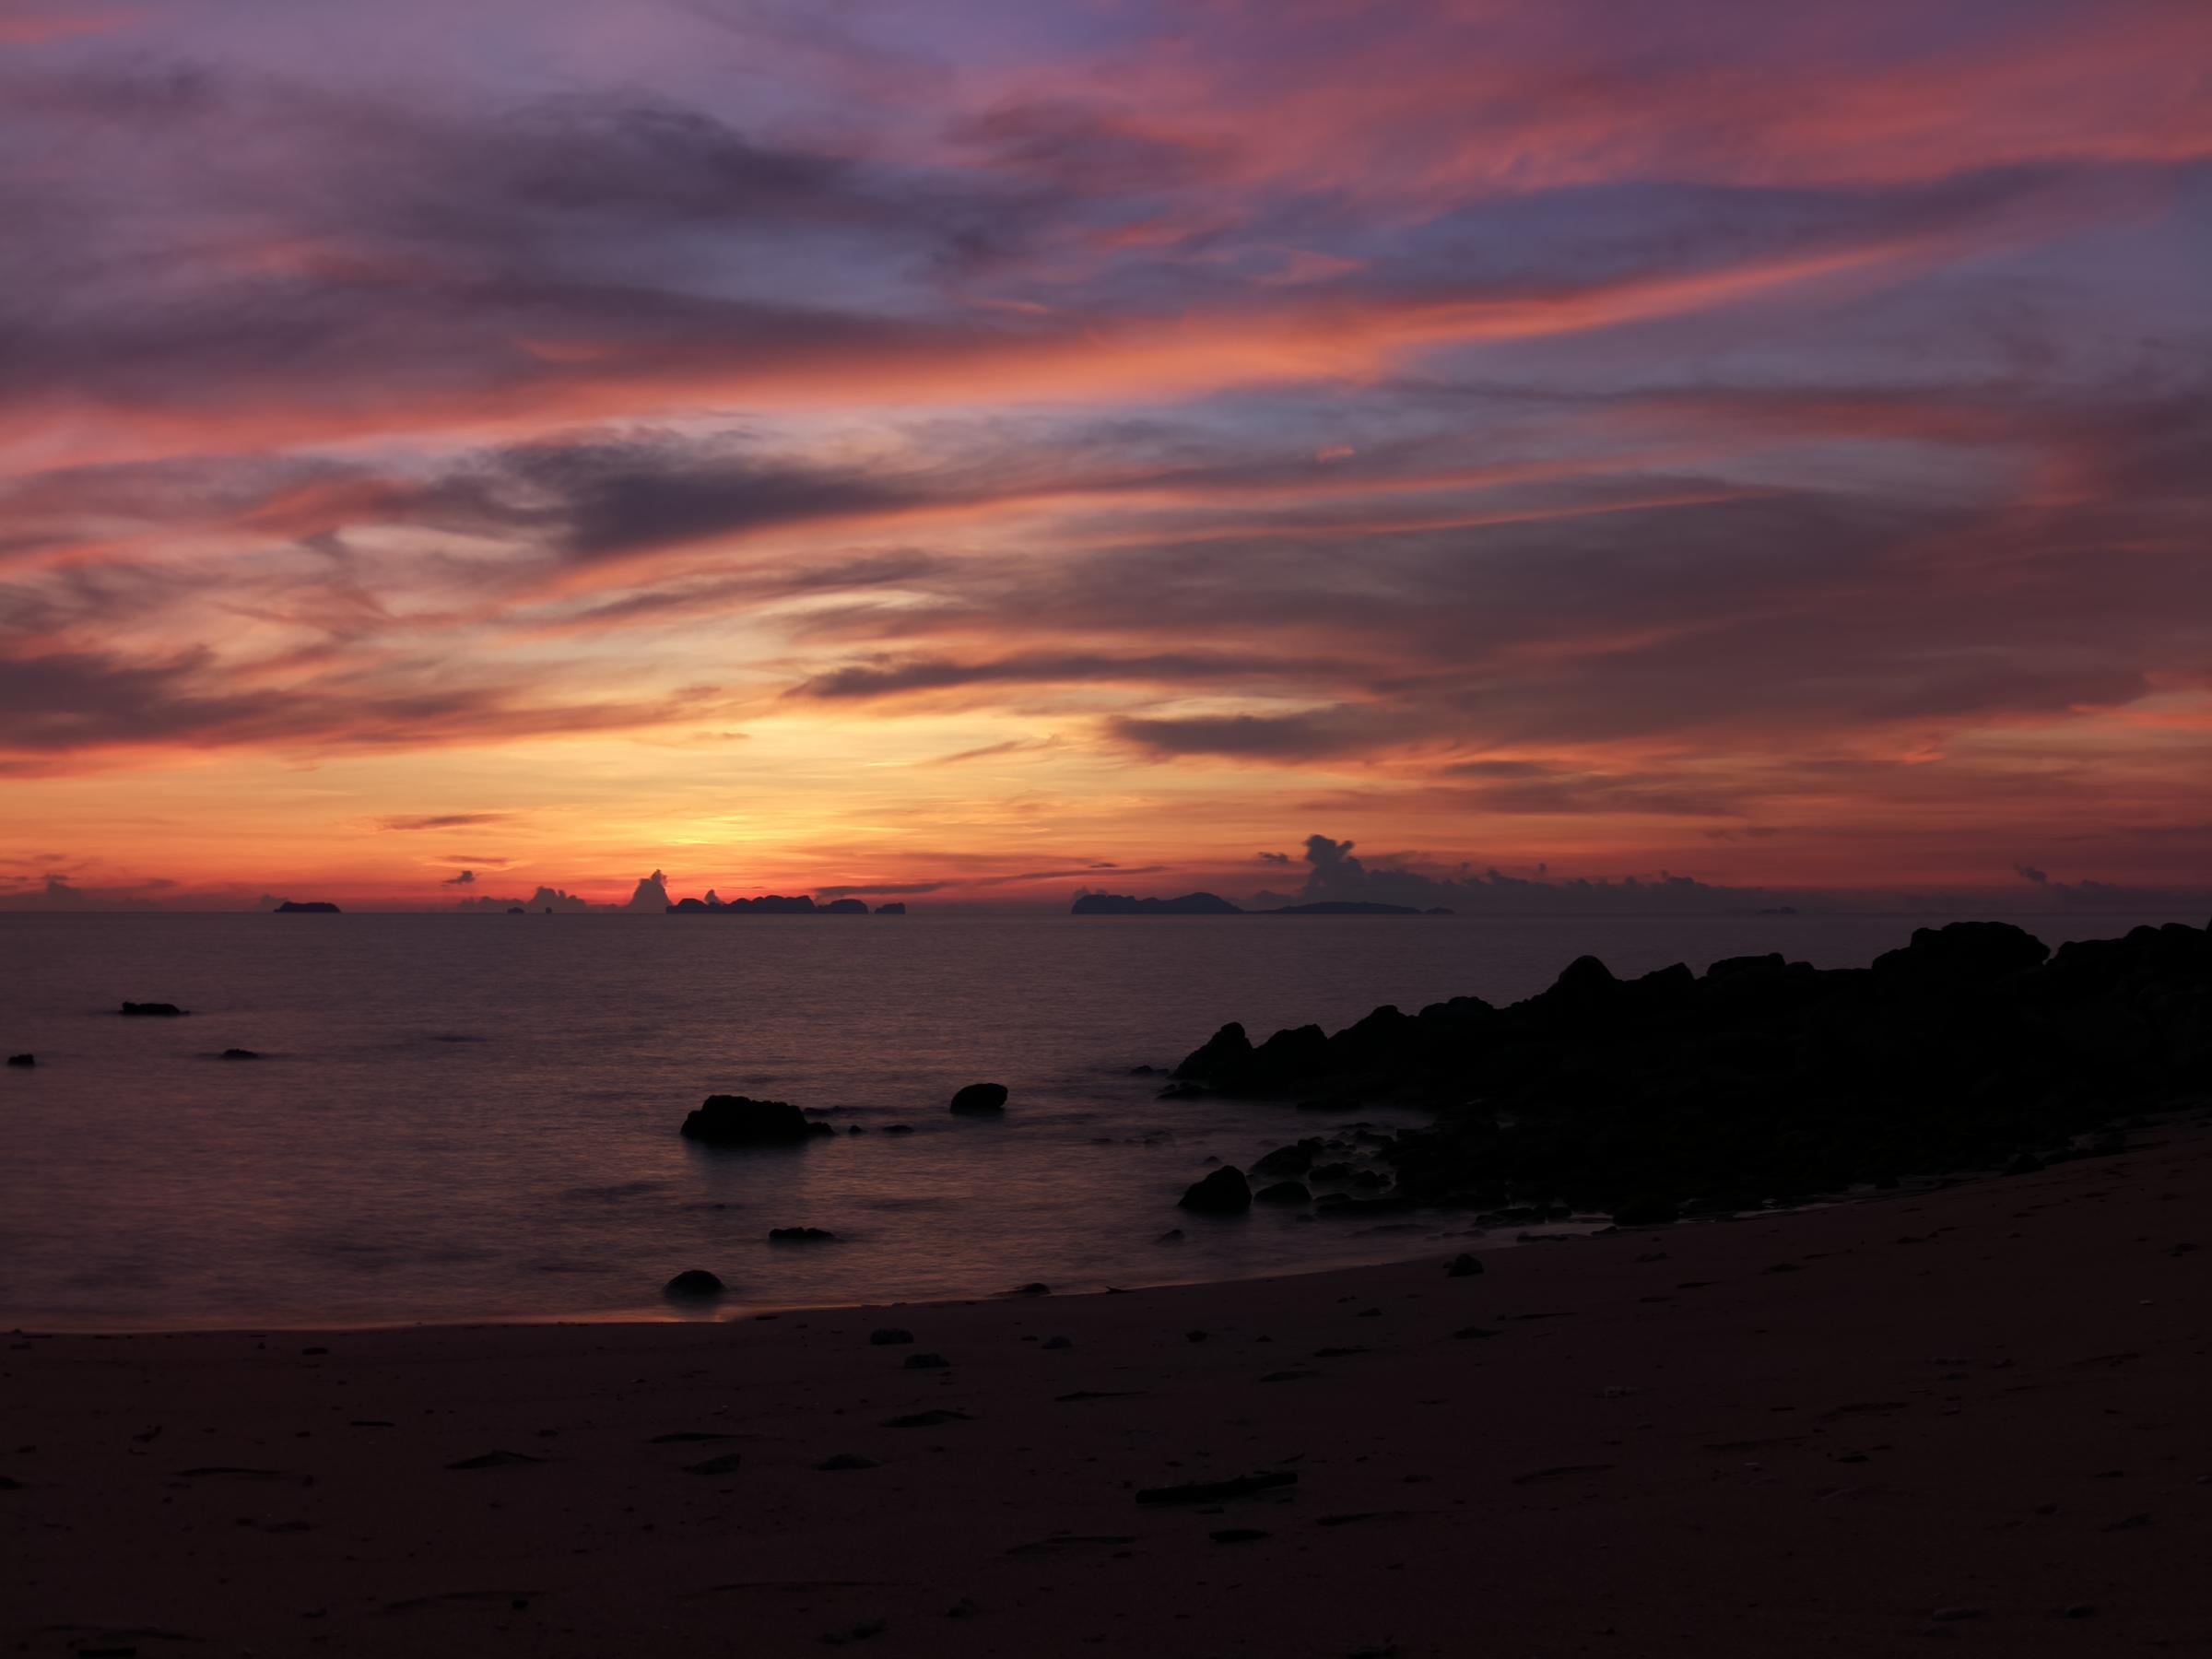
Something about capturing time is a slight obsession of mine. Watching the tides come and go, clouds forming and blowing in different directions depending on their altitude. The blue sky transitioning to the dark night-sky. Or an oncoming storm, bringing lightning, howling winds and massive energy. It’s the cyclical theater of nature, and the crazy calmness of it being speed up to makes for its own dramatic impact.
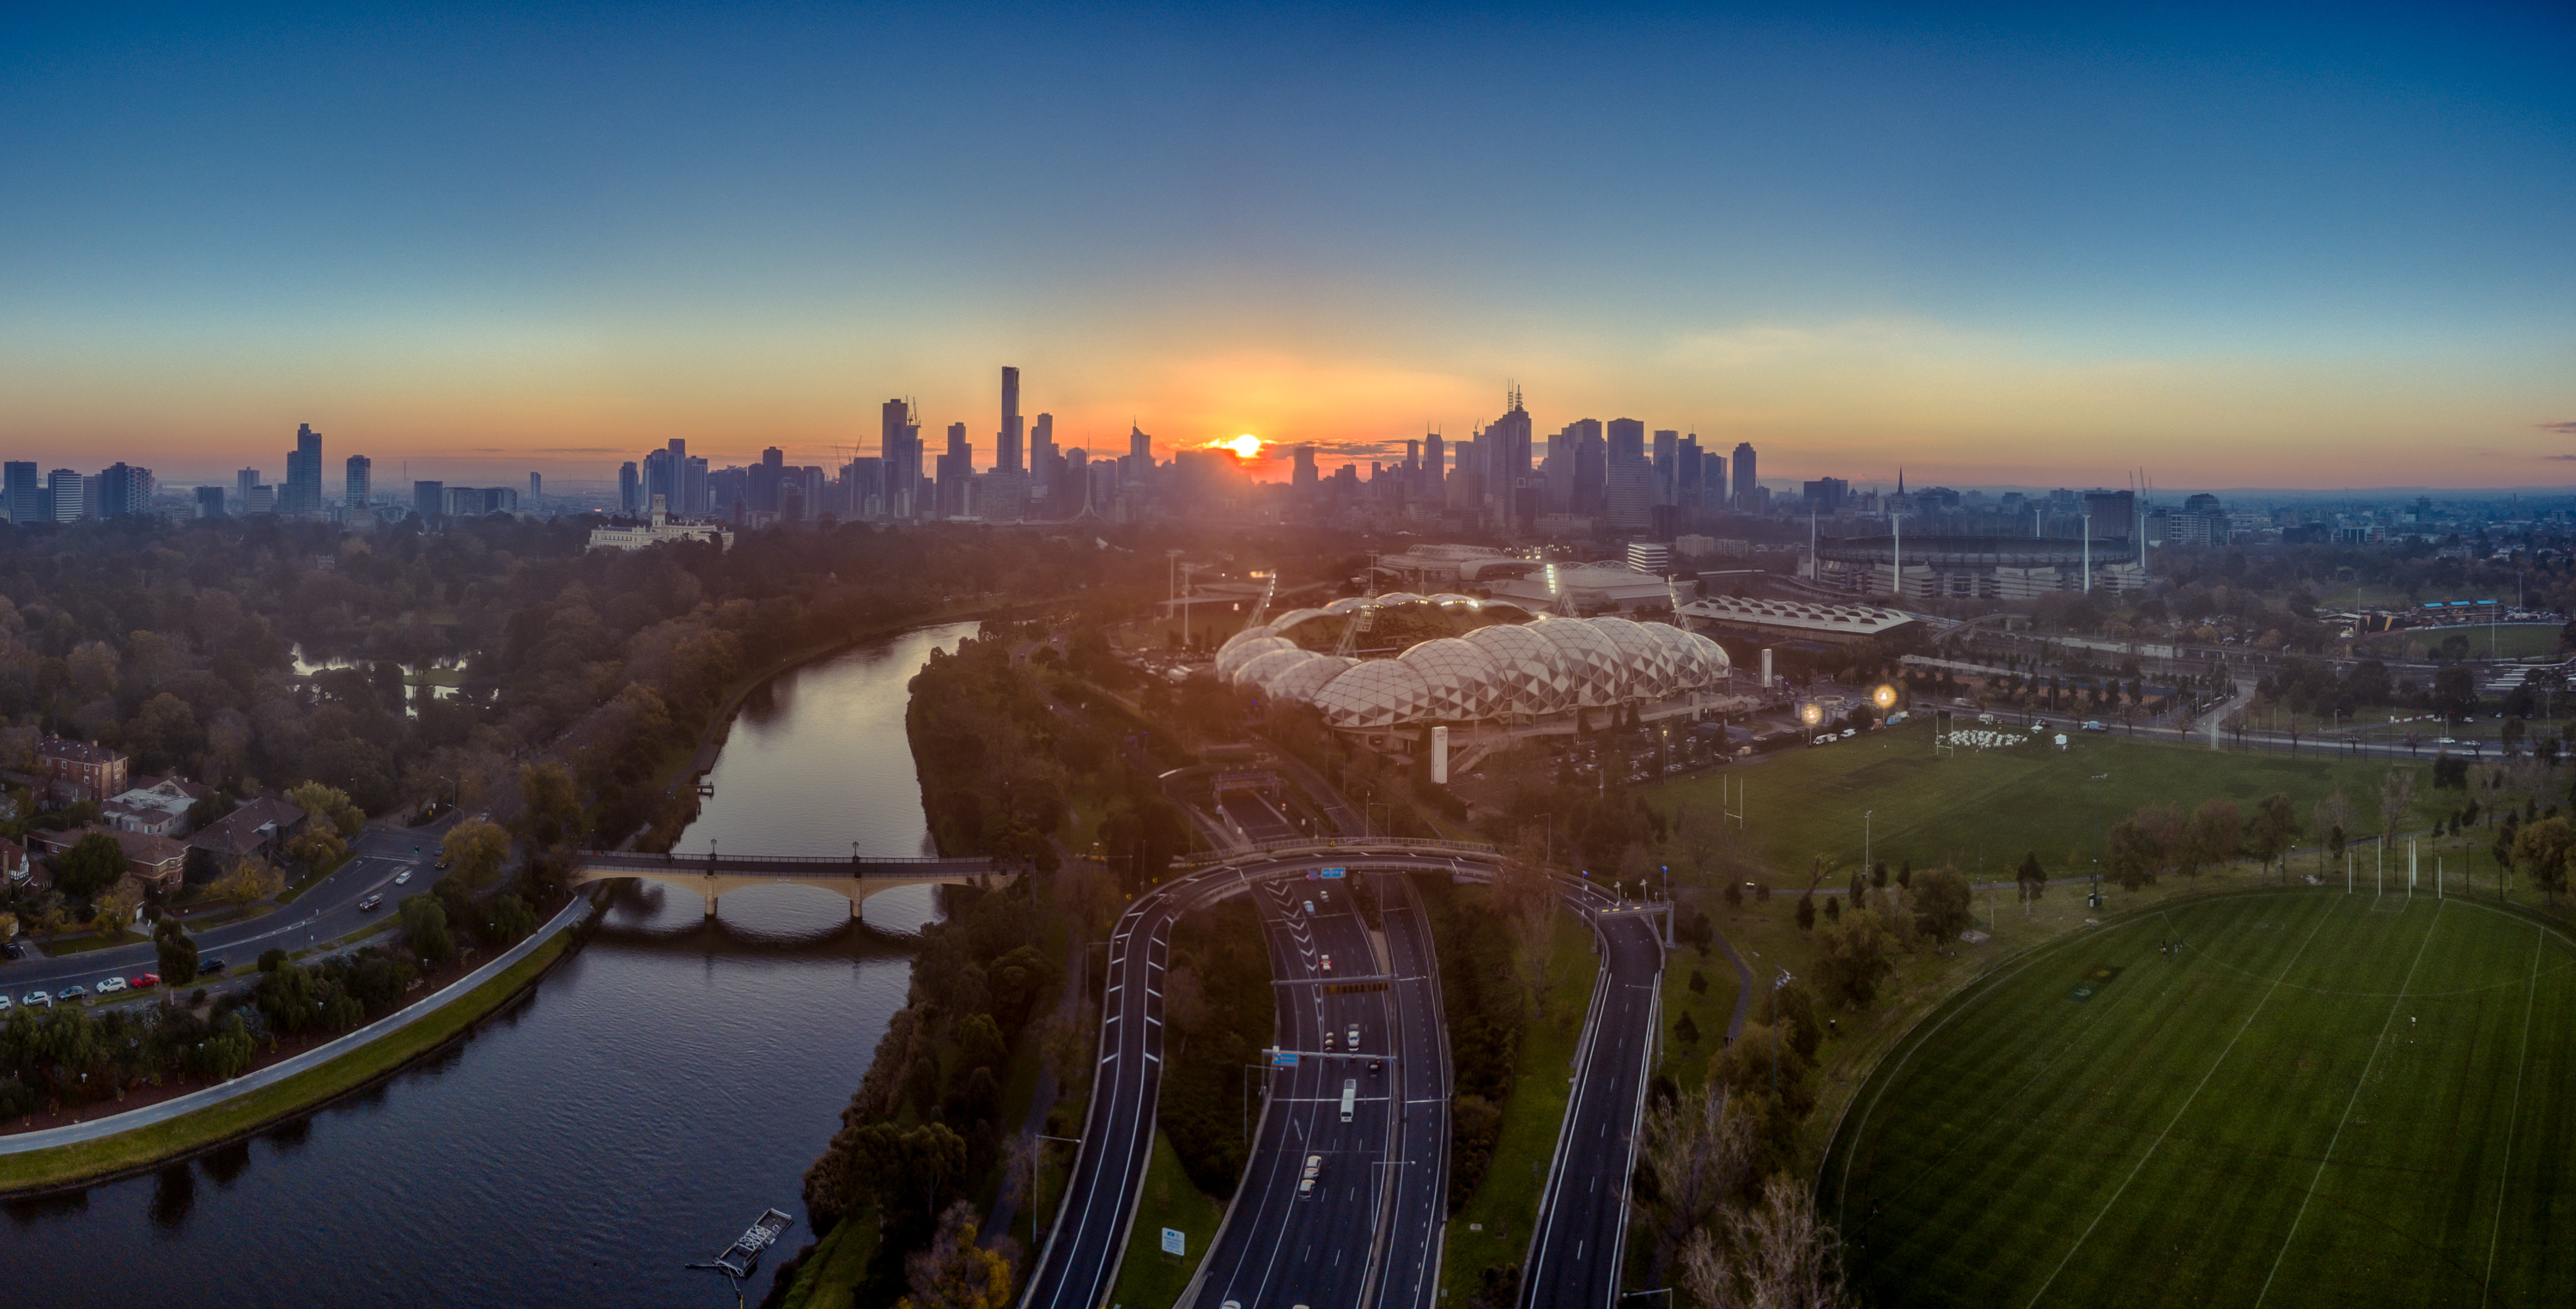
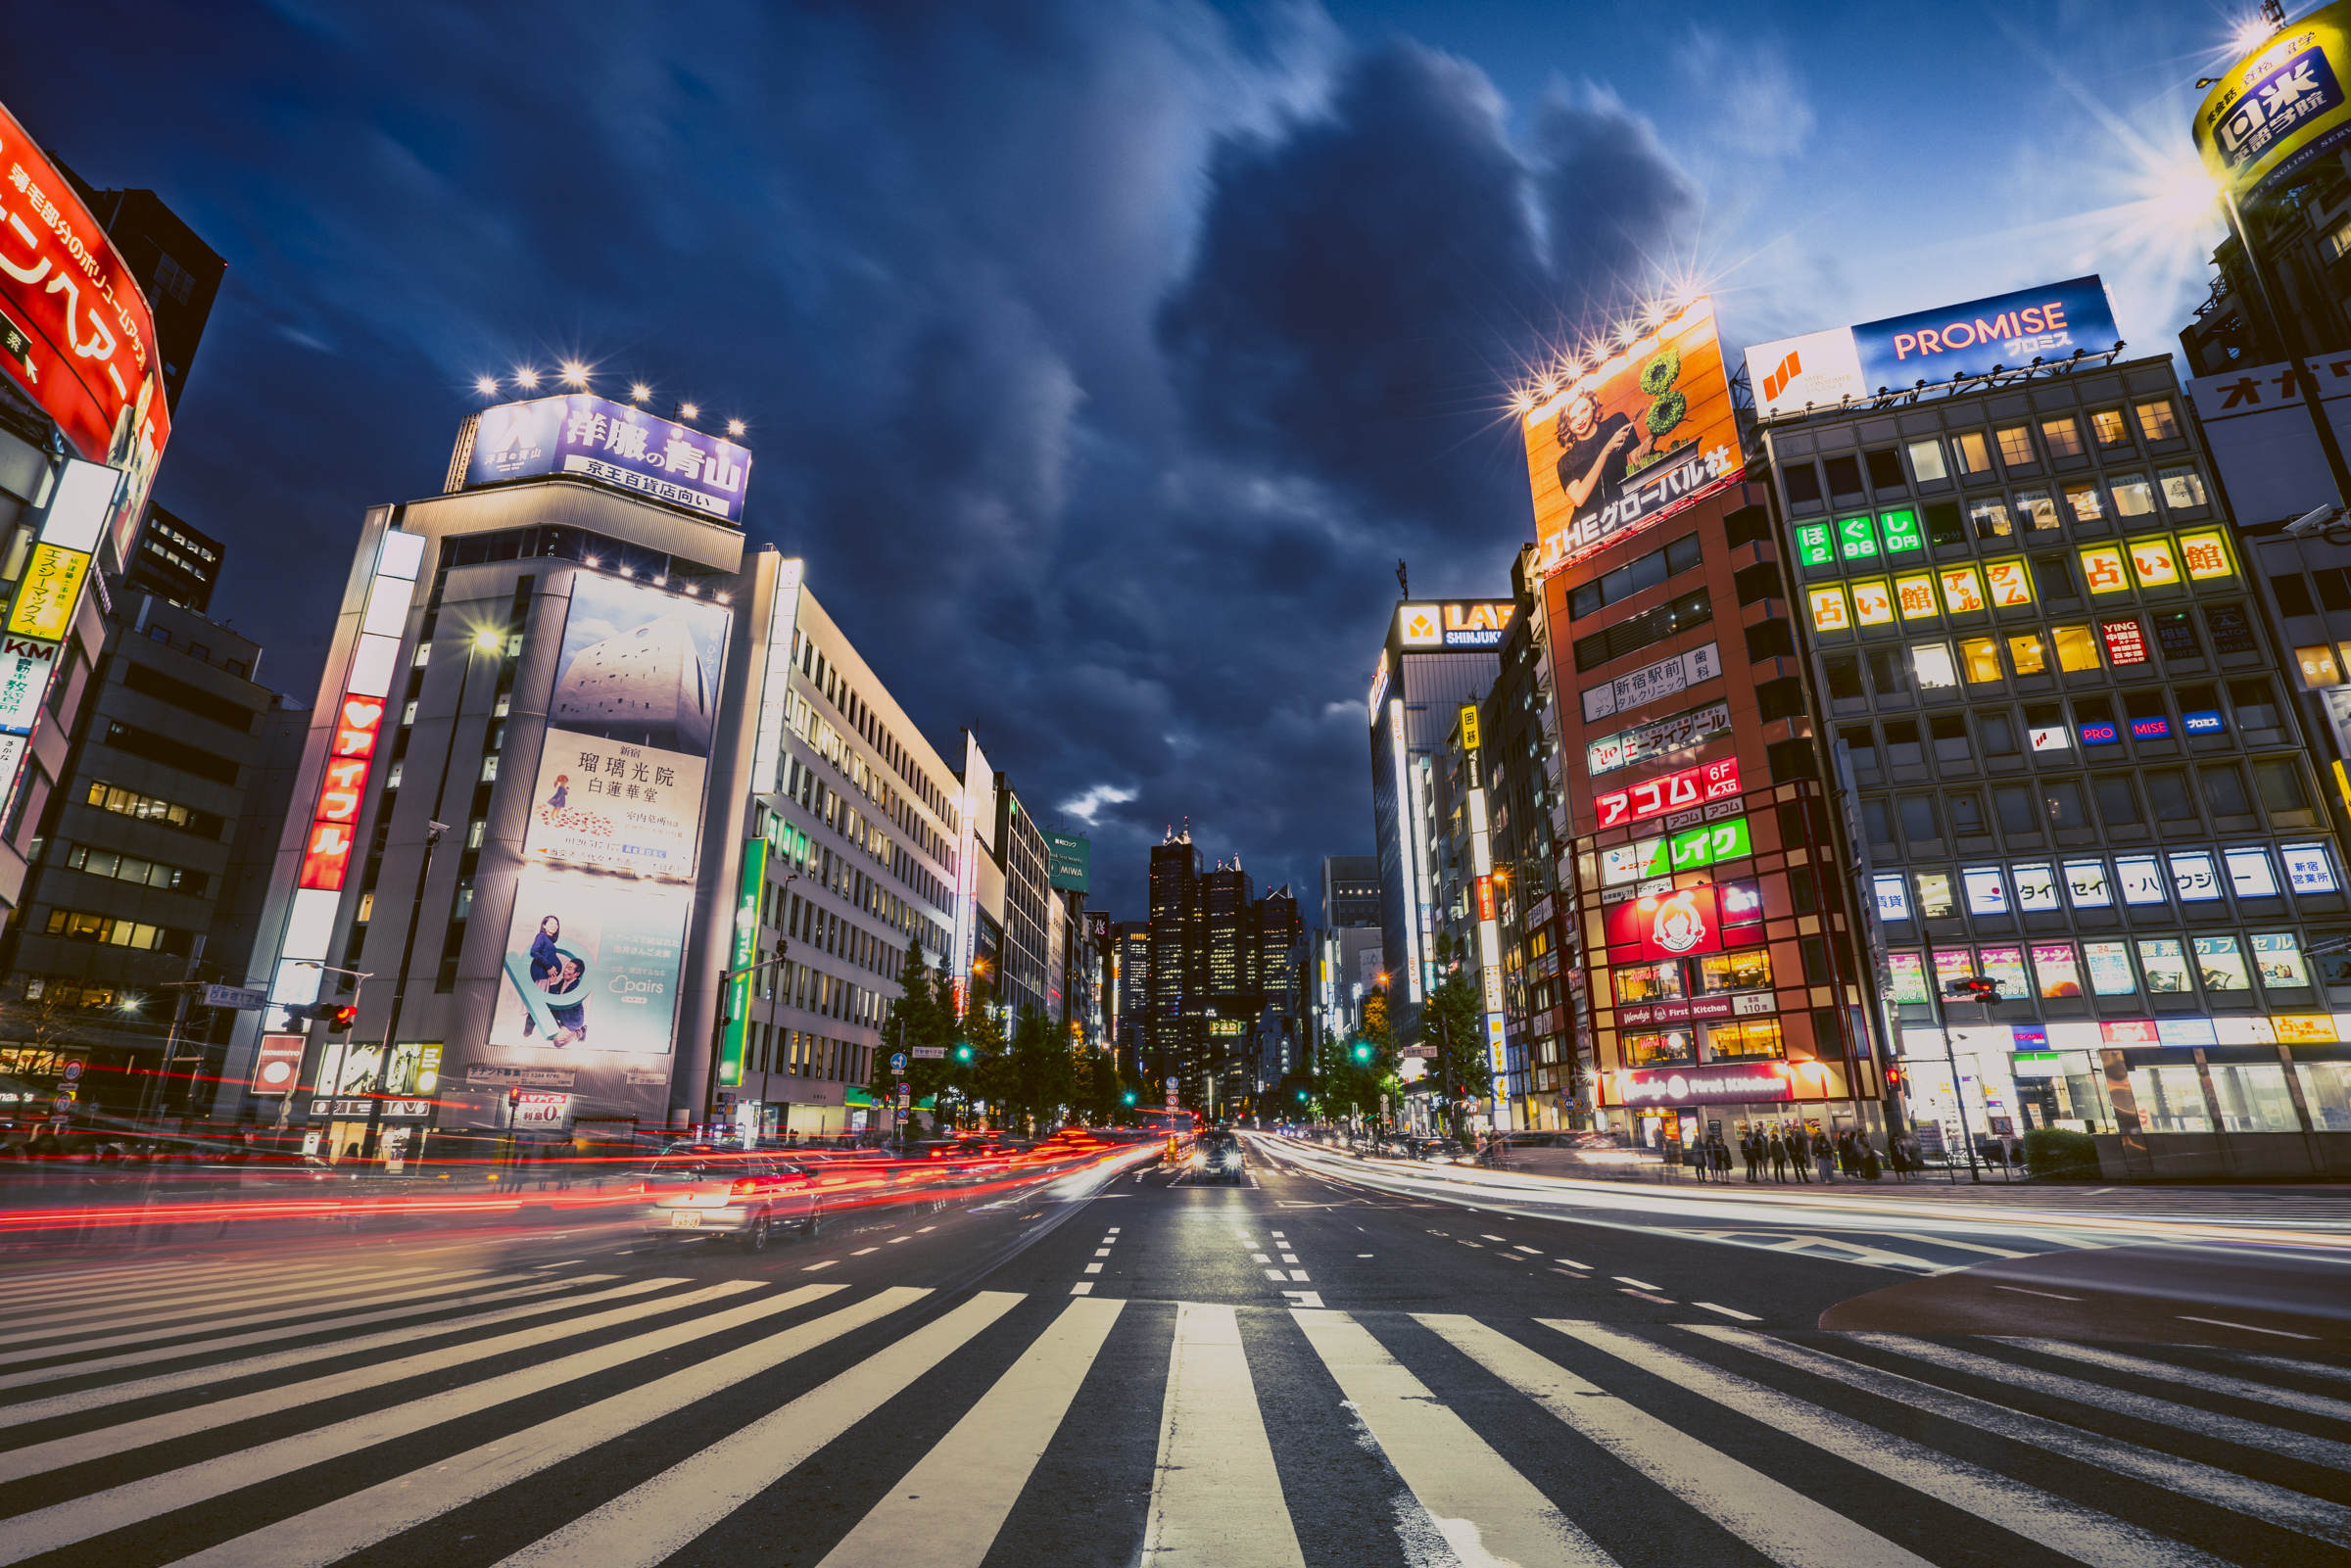
Prior to this project, the longest time-lapse sequence I had captured was about 8 hours. And honestly, that was a big project in-itself. Supplying power, having the right storage, getting consistent images for smooth playback. A few years ago, it was difficult and the niche market for this means it’s not your standard type of shoot. The goal of this project was to build a camera that could capture days and days of images, which could then be sped up a warm speed to show a full day in under a minute. Or faster, if I wanted. So, here’s my first crack at a little montage.
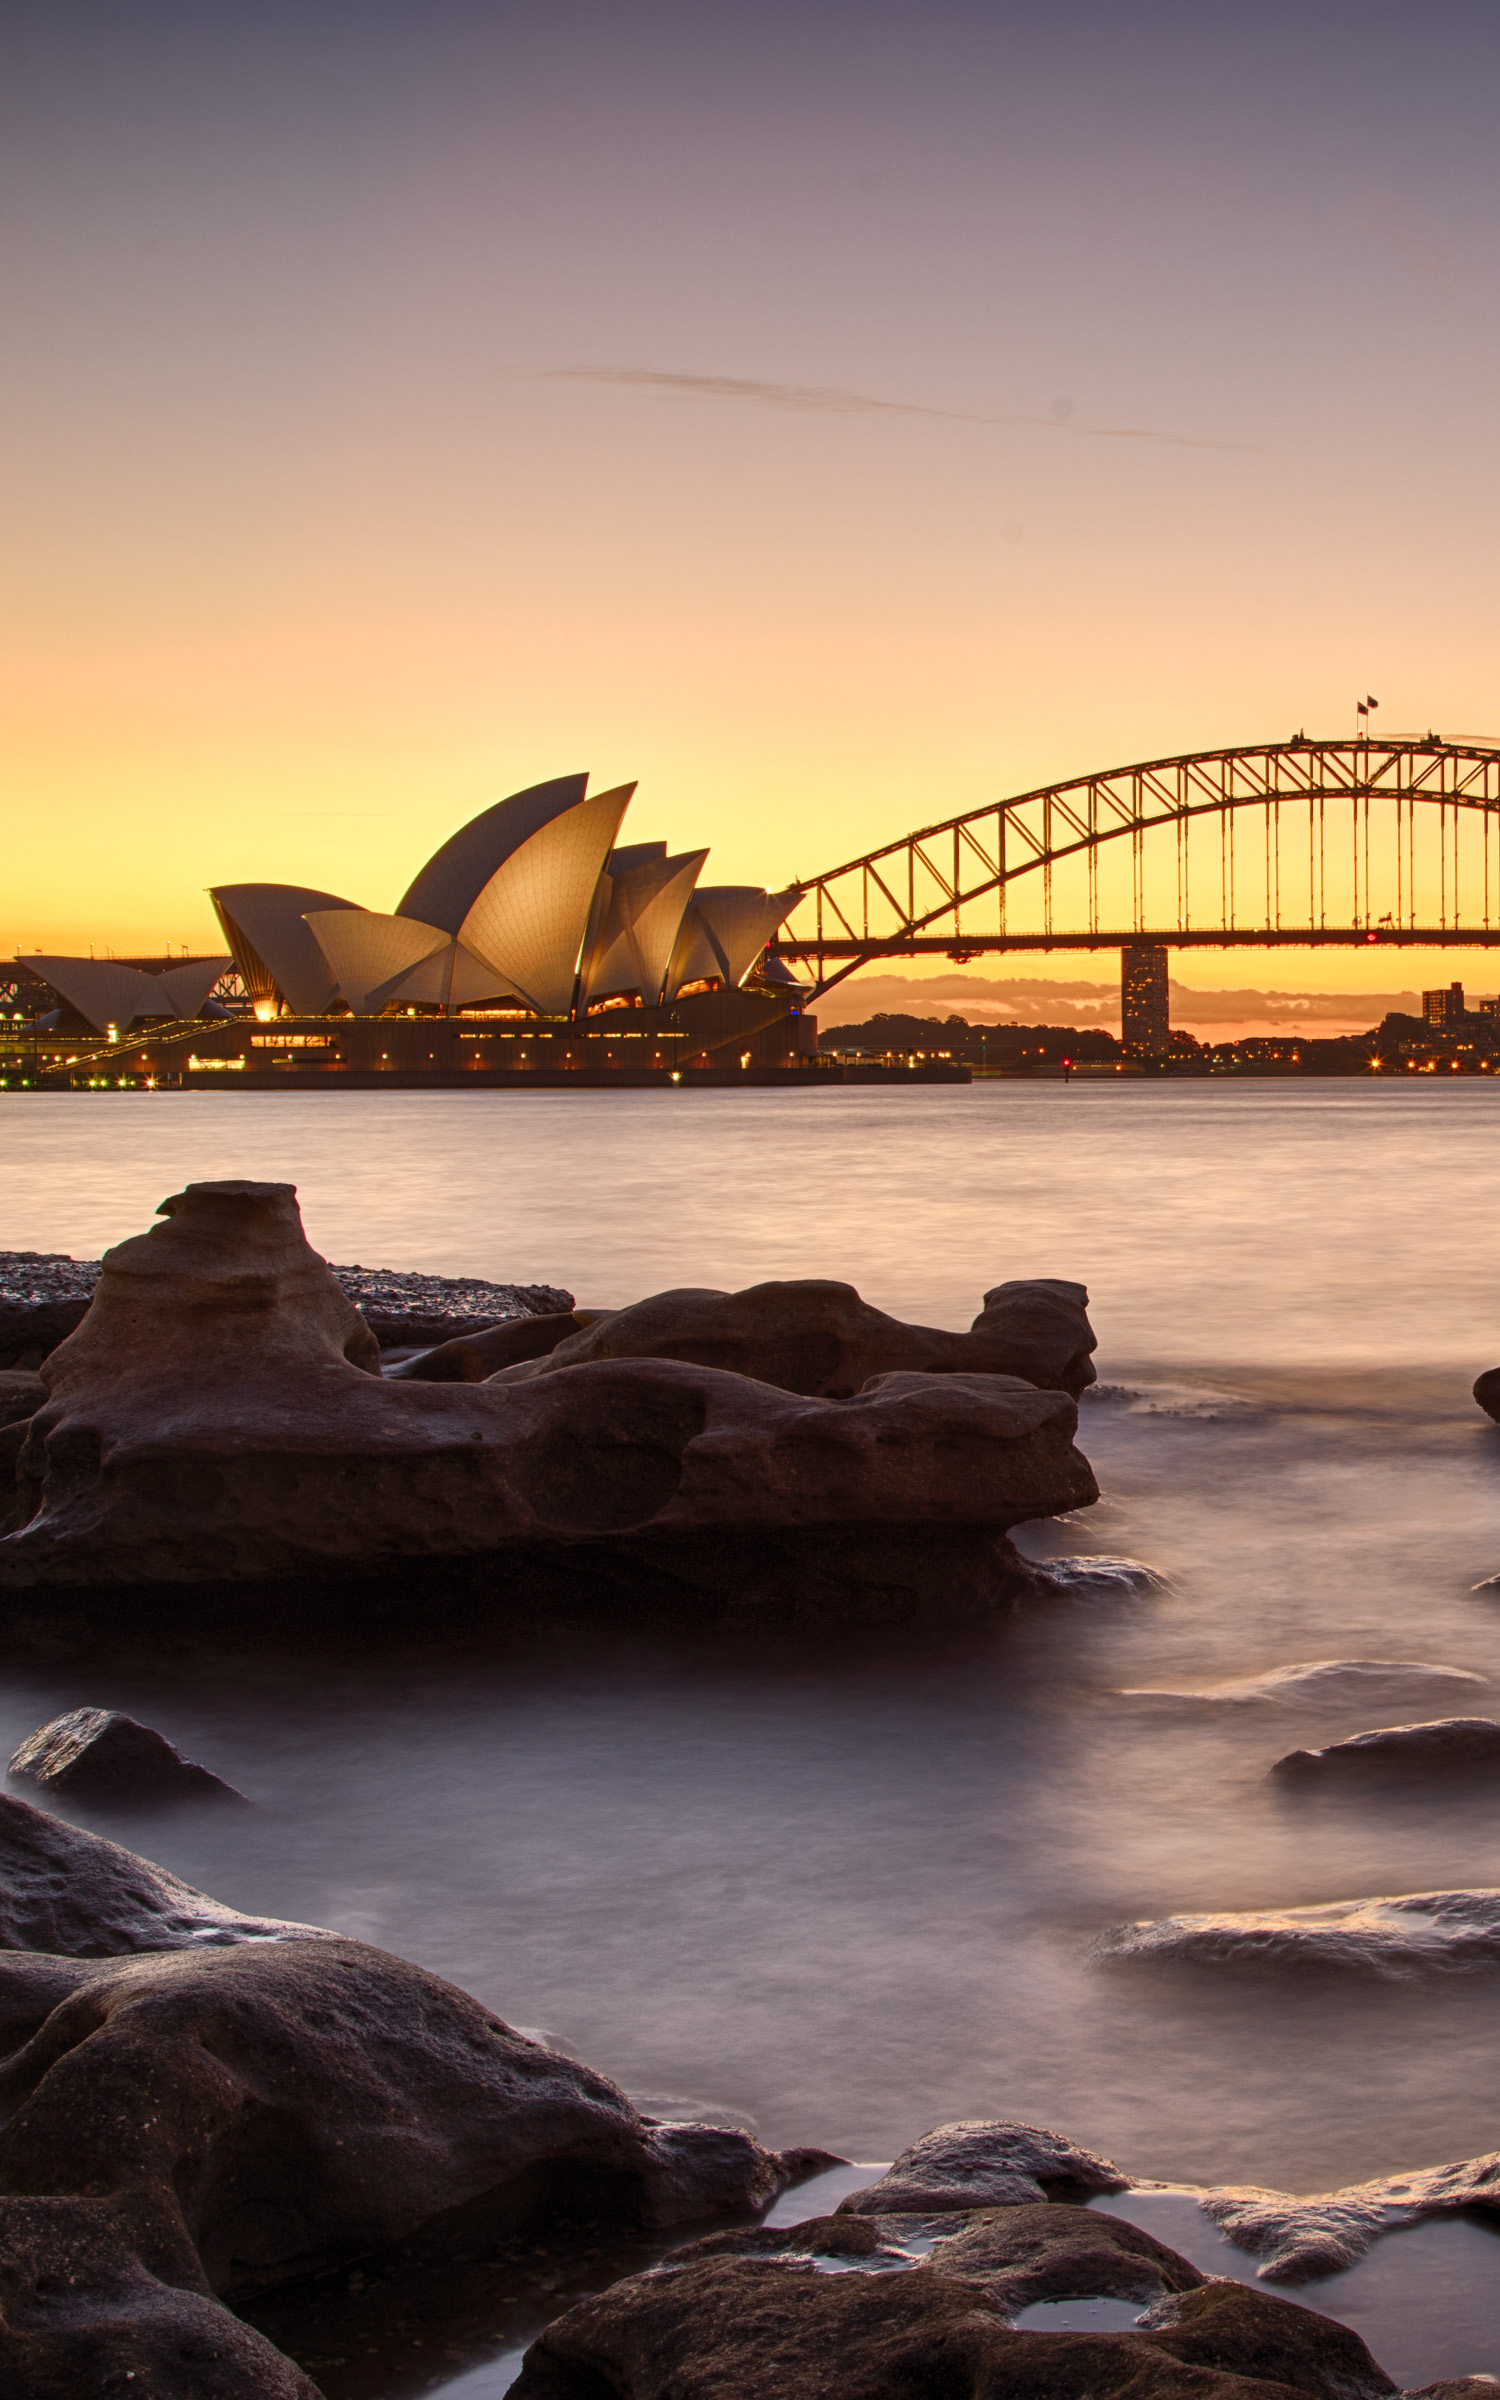
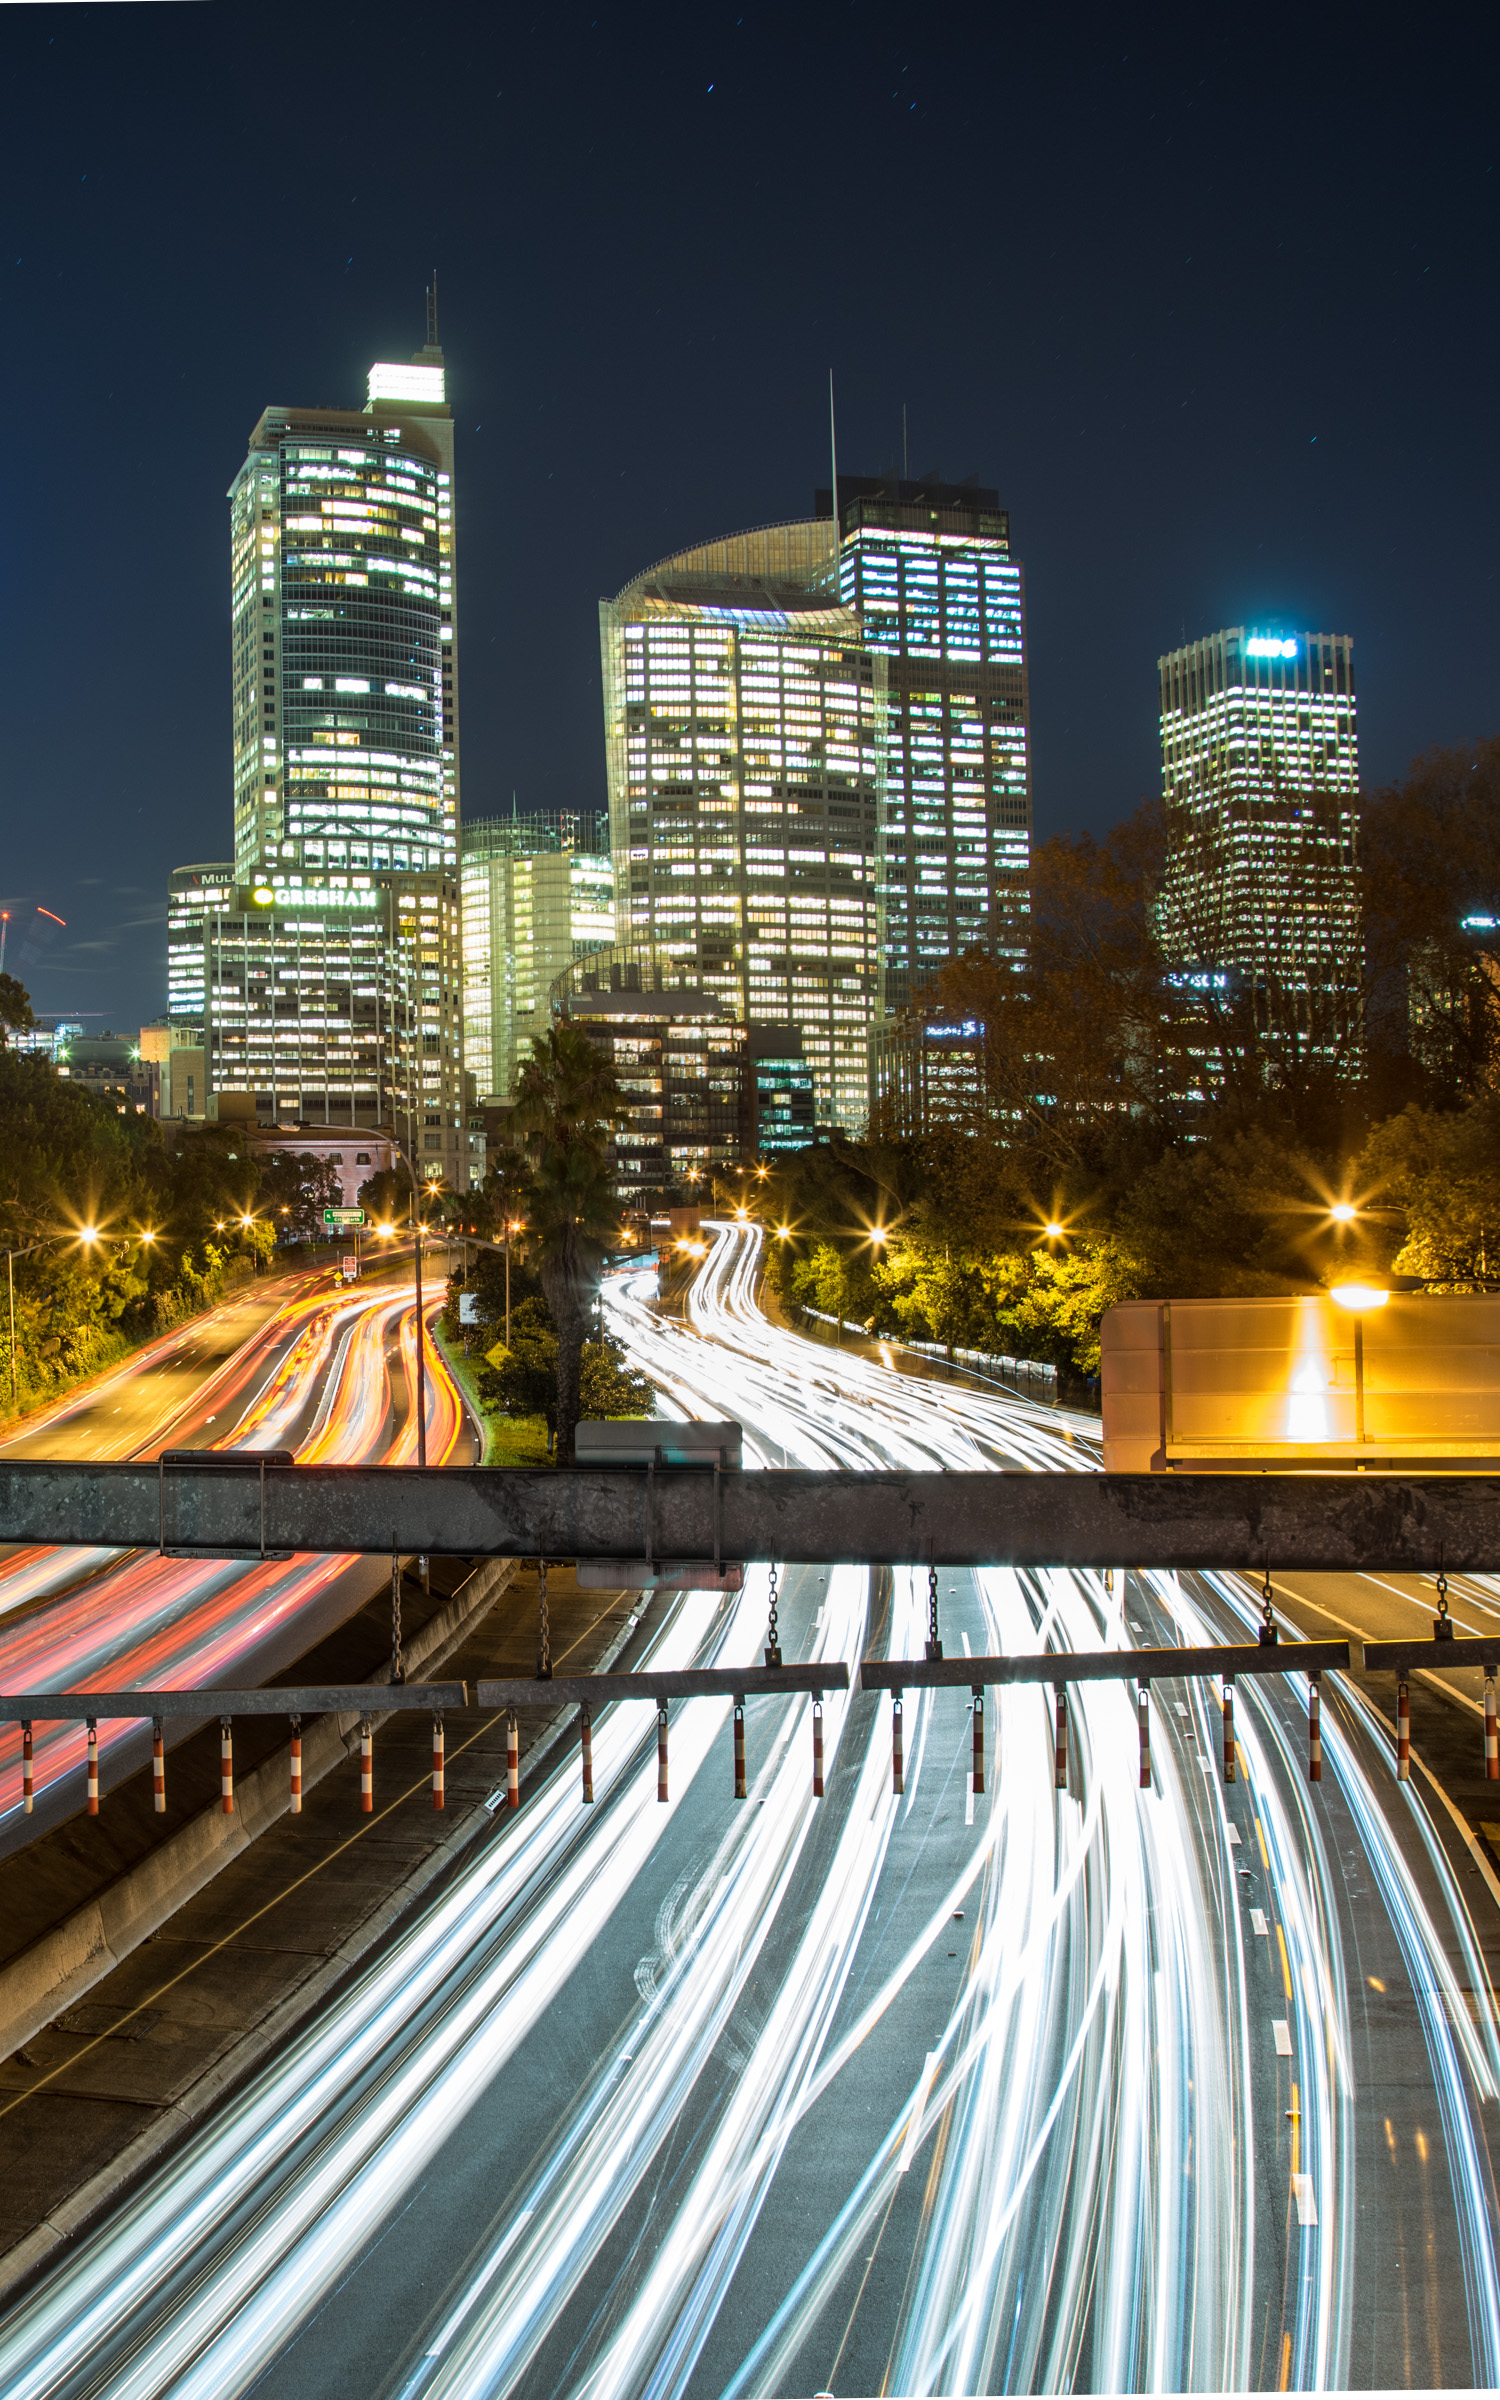
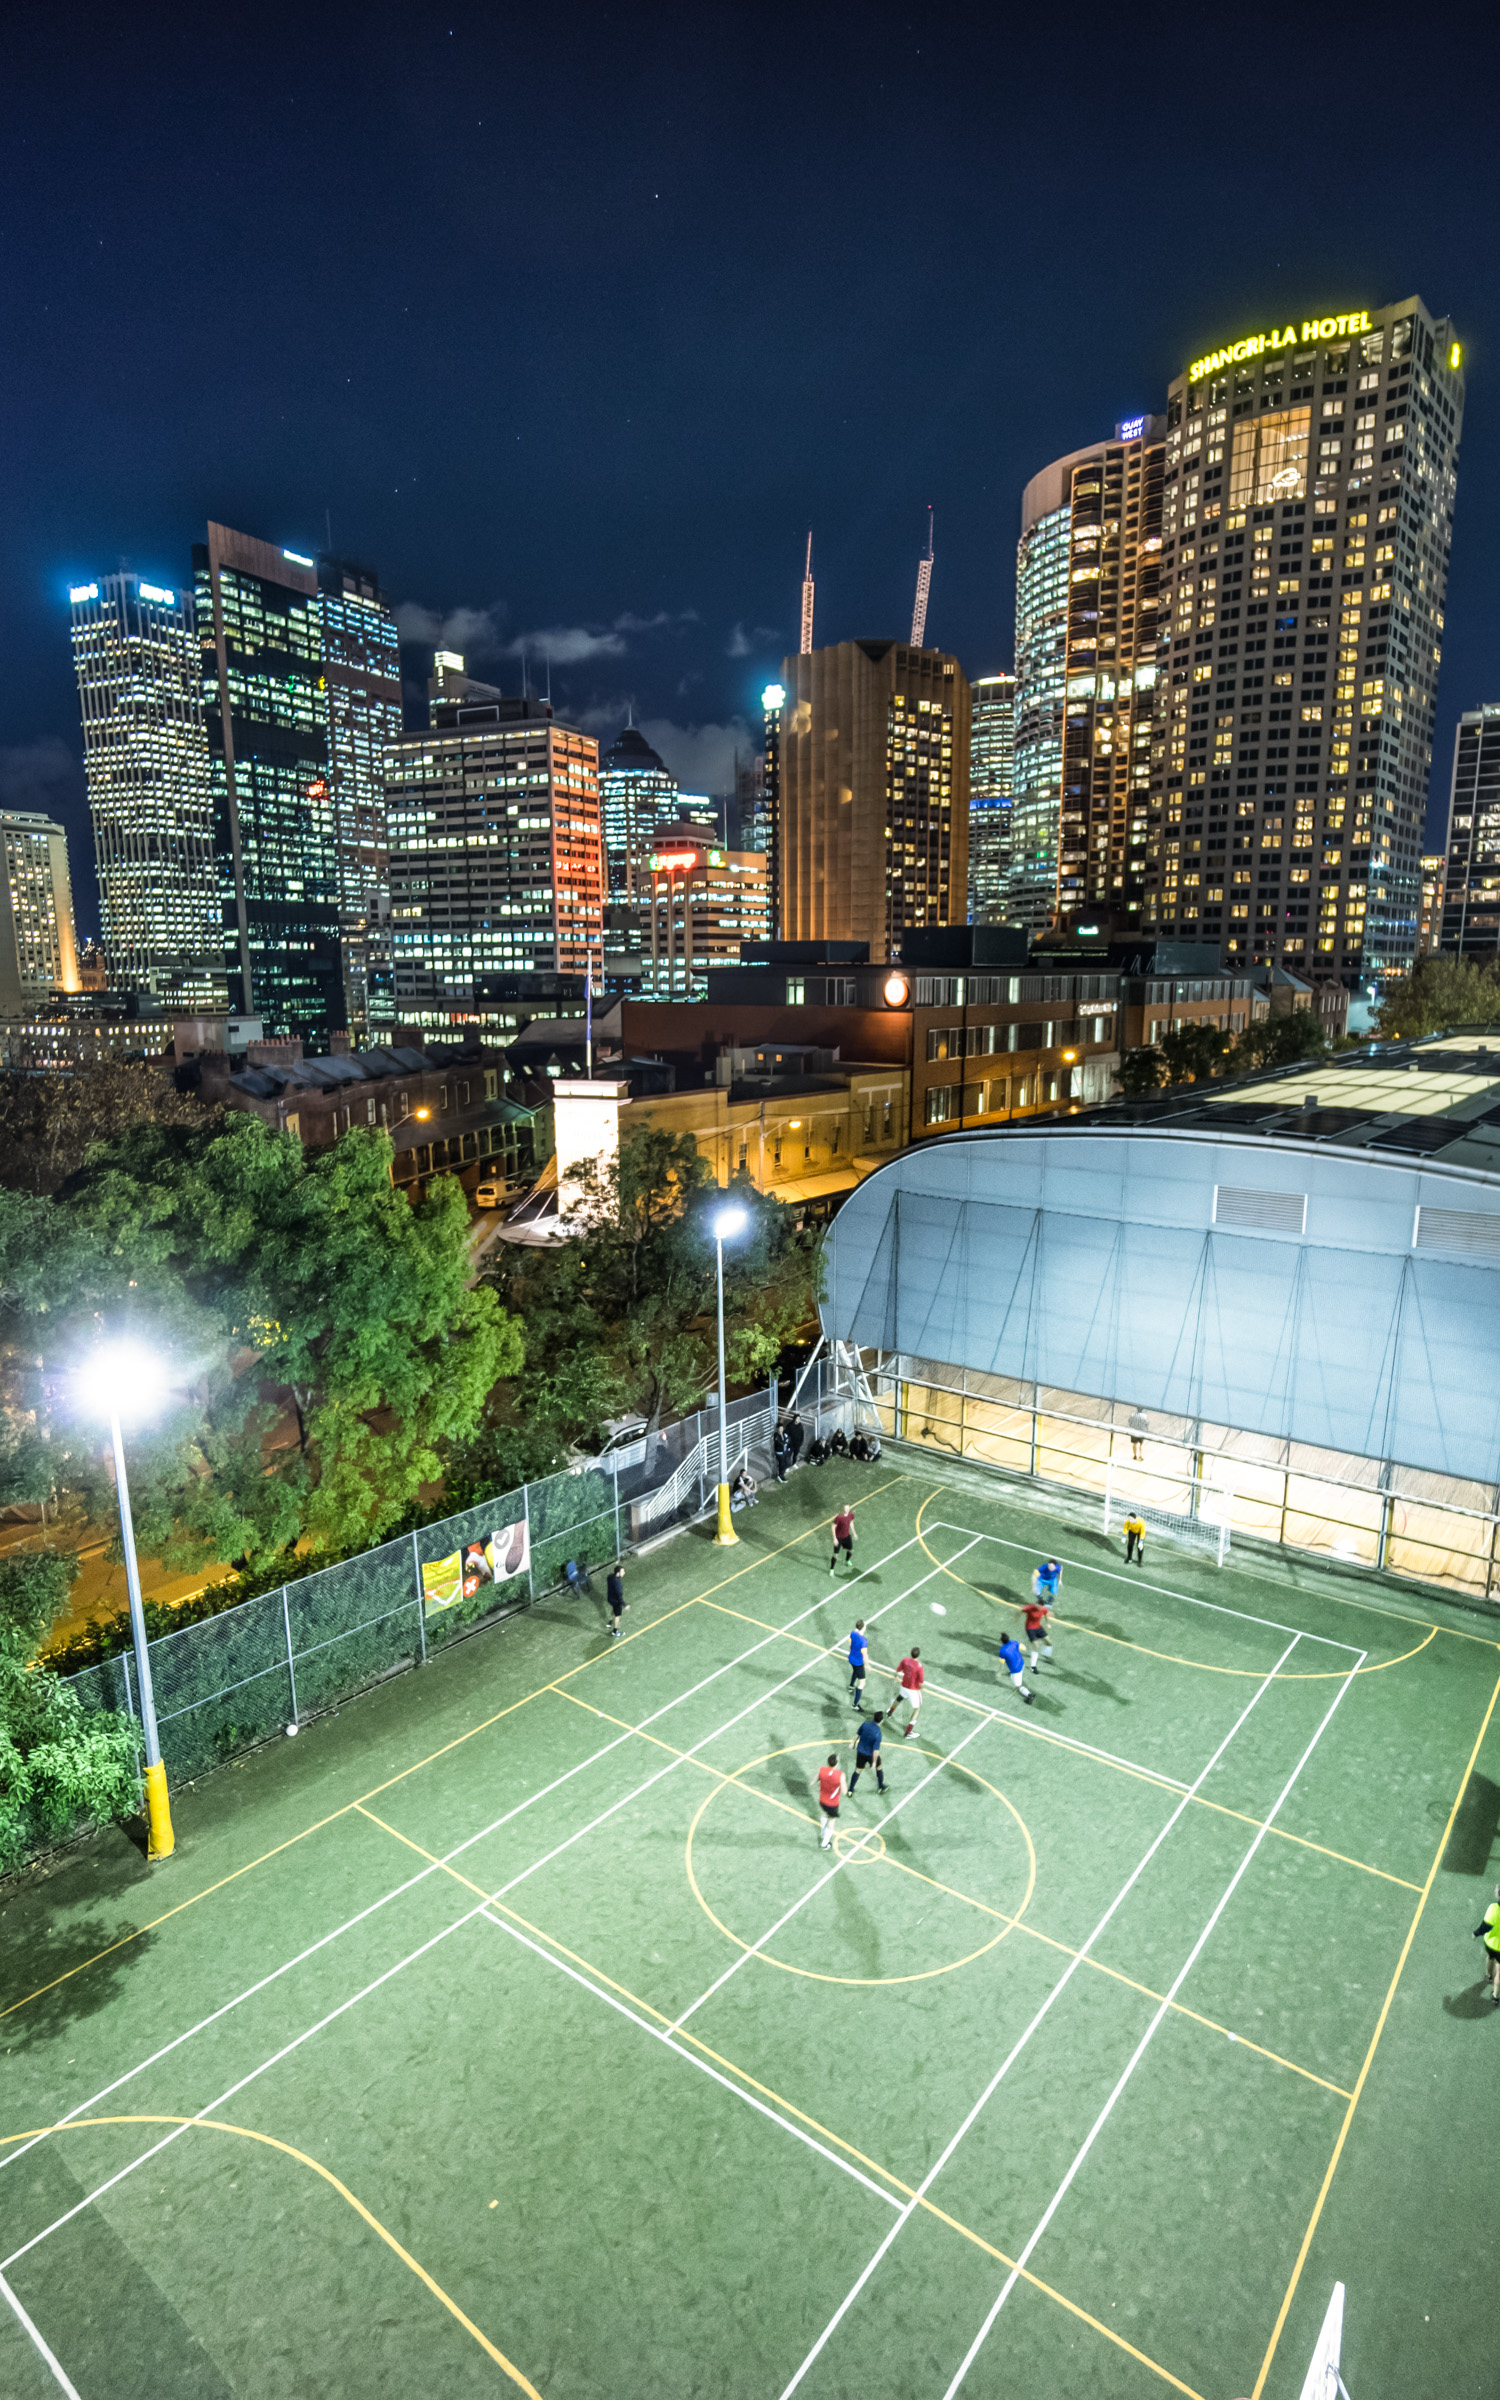
Days of Day-to-Night-to-Day – Captures with my Pi Zero
Shot with my own software, a homemade Raspberry Pi Zero case and hours of trial and error.
Building has taken a lot of effort and it’s still a work in progress. At it’s core, it’s 1) the camera (a Raspberry Pi+HQ Camera, I’ll just call this the camera), 2) the software to make it function, and 3) the case to hold it together. All three areas of this project have plenty of faults and areas for improvement. Which I’ll work through.
The software has two parts; 1) Python code to make the camera shoot, store and do basic photo analysis. And 2) Image blending in in post-processing to help overcome some hardware limitations. More on this below. Ideally, I would do as much as possible in-camera, but the computer is a low power Raspberry Pi Zero.
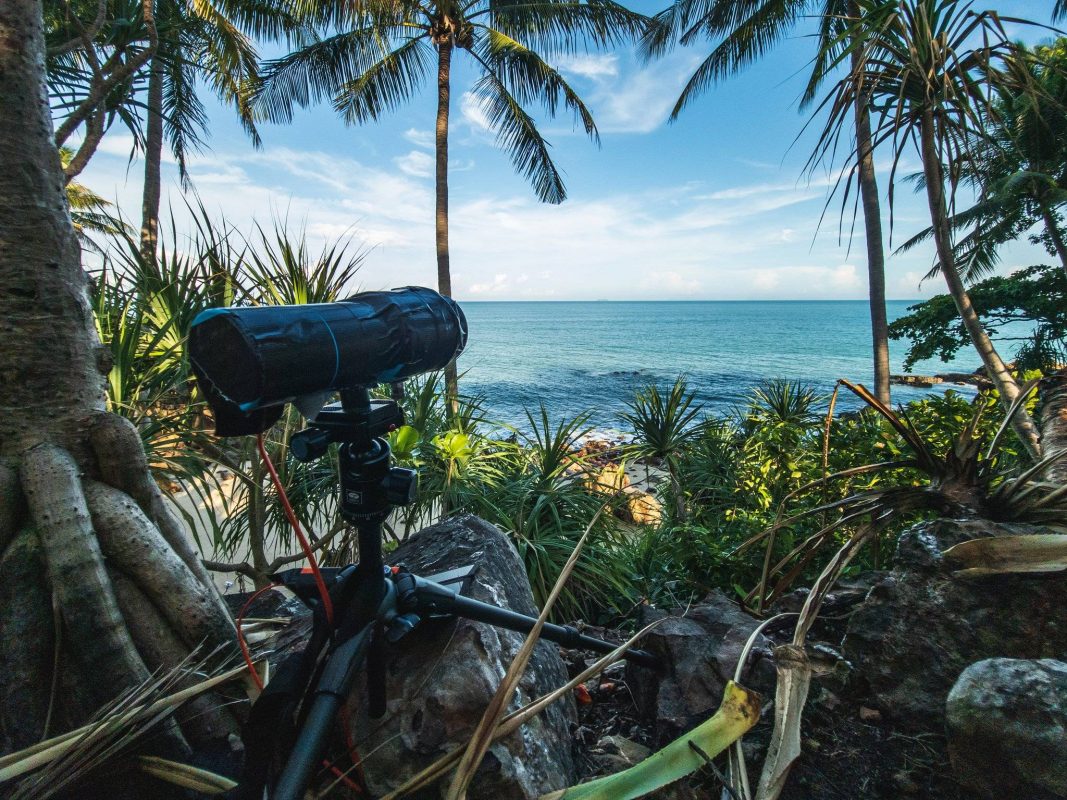
The ‘Camera’
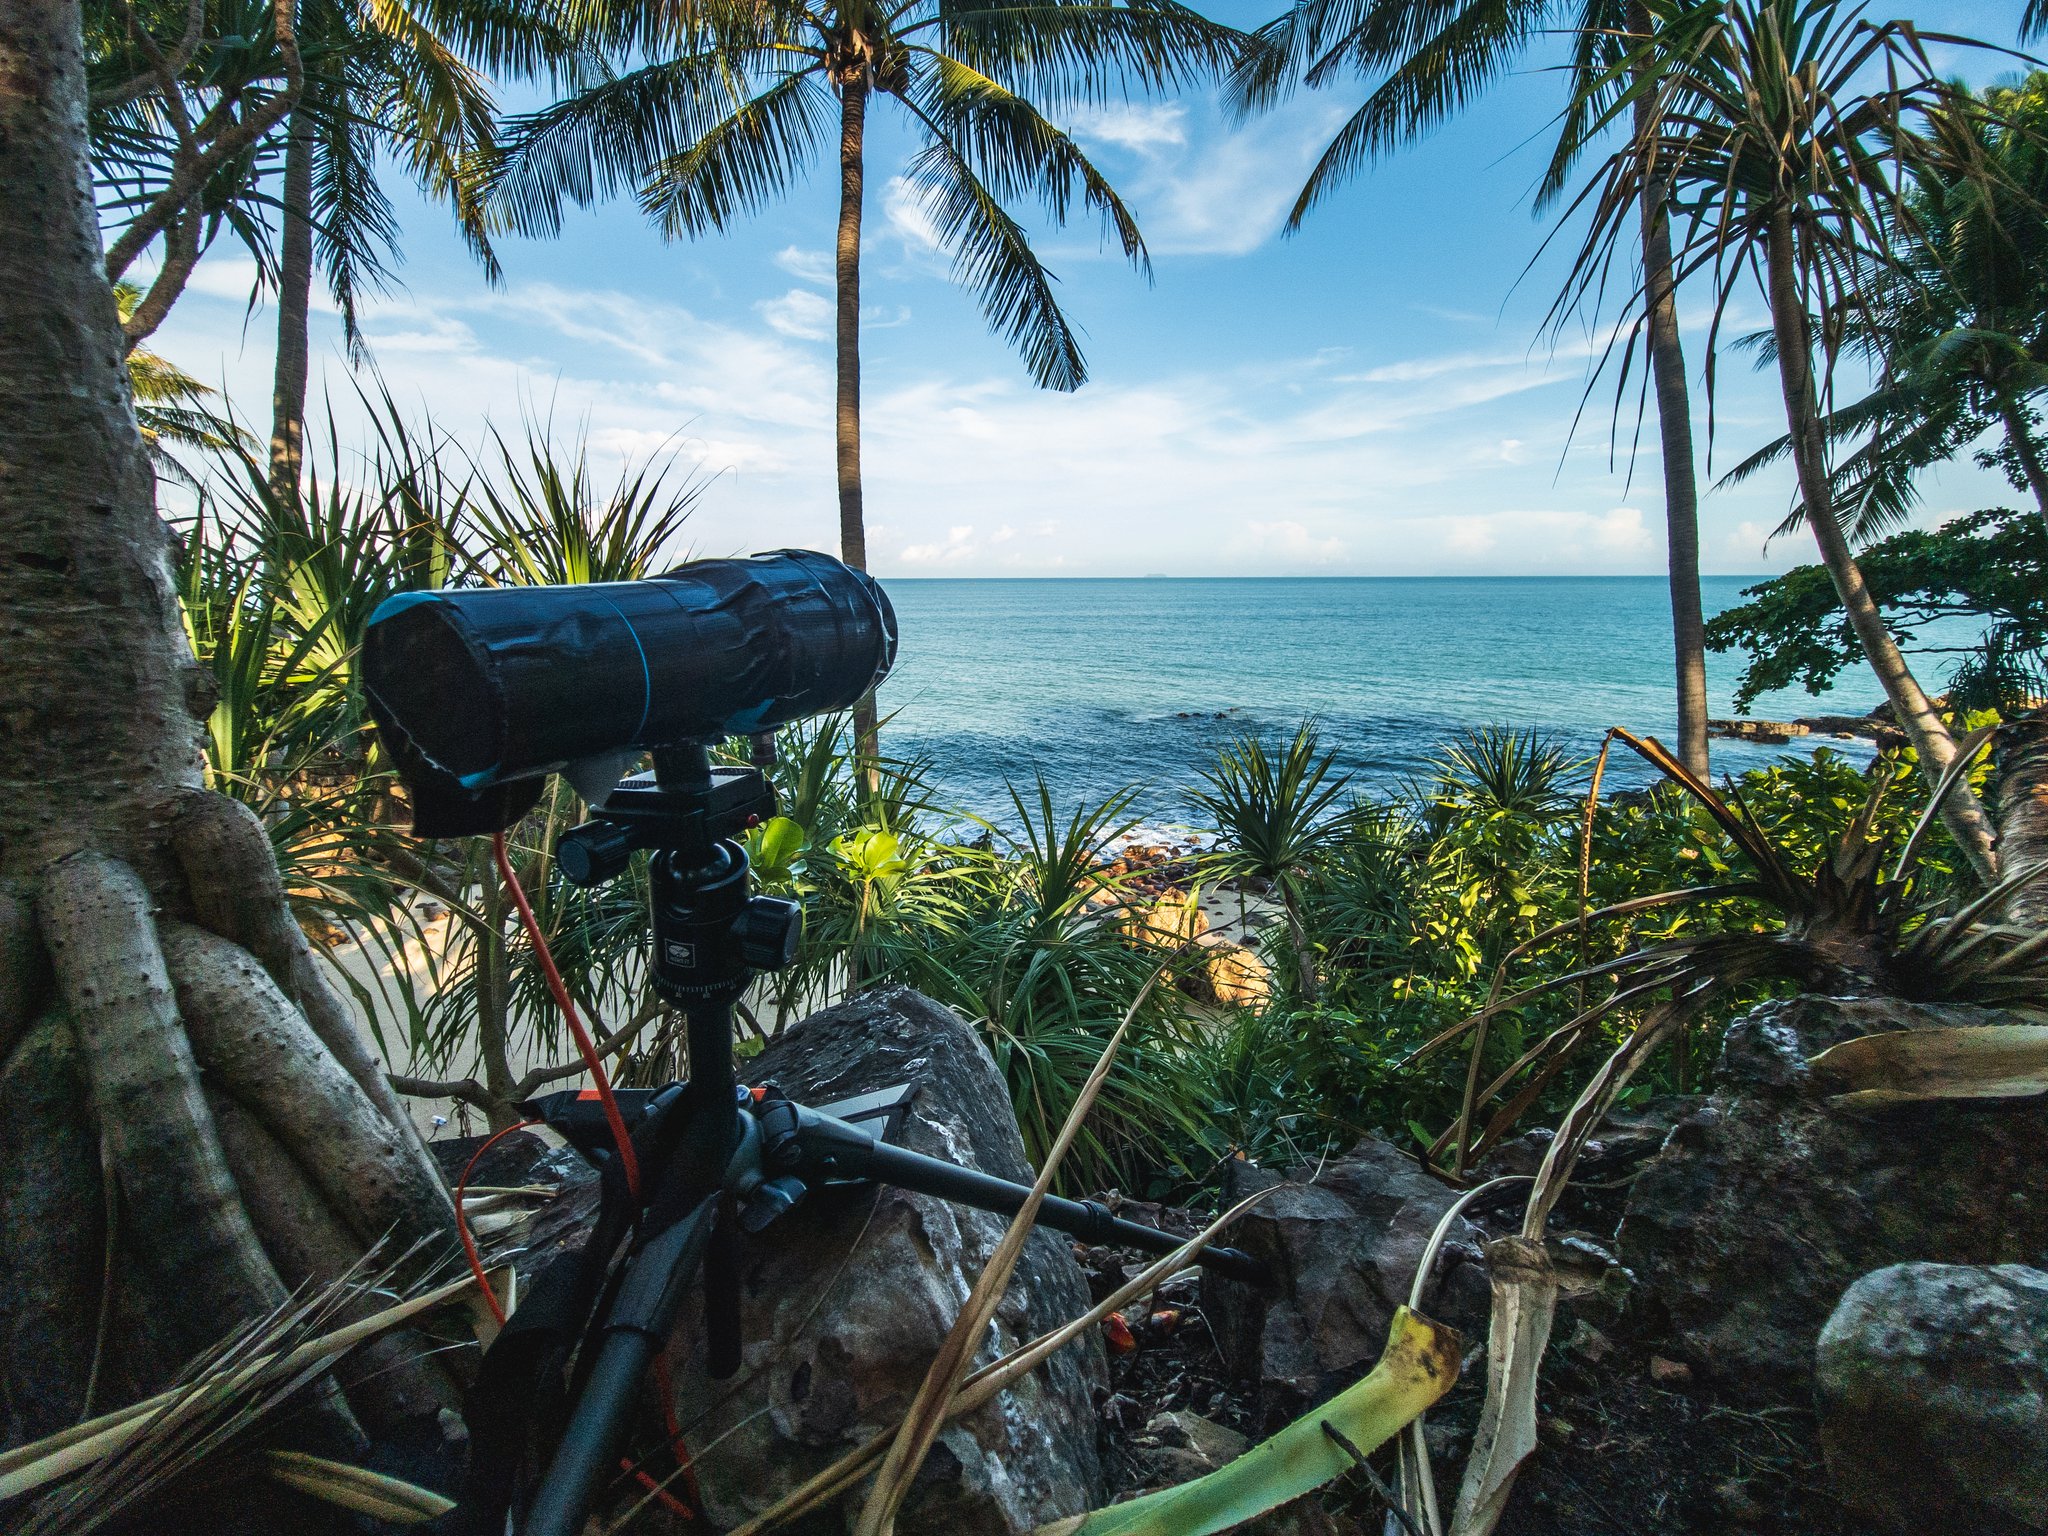
It’s a Raspberry Pi Zero + HQ Camera Module and a CCTV C-Mount Lens. Pictured below are the basics of it, as well as home-made case that it’s housed in. The CPU and power of the Pi Zero is pretty low – but for capturing images with basic analysis – it’s good enough. It’s small, power efficient and while it can’t do as much as a Pi 4b, for example, the lower power use means it can run for days off a standard USB battery.
The camera quality is pretty great. The sensor is a small Sony IMX477R back-illuminated12.3 megapixels sensor – good enough for 4K shooting. Having full control and RAW capability, I felt this would be good enough to capture decent results.
The camera on its own is nothing without the software. It’s also very little without its case, figuratively and literally.
Here's the nuts and bolts of the #piTimelapse. 12 megapixel HQ Camera sensor, a lens and a @Raspberry_Pi Zero. For size, it's small. My prototype case isn't efficient but it's water resisted enough. Also pictured the 5MP camera, but IQ isn't close to the HQ Camera. pic.twitter.com/Cqtc3oRUNw
— Steven Wright (@regularsteven) May 25, 2021
The Software
Starting off, and as a general methodology, I like to not over-complicate things (I should really say “keep it simple”). For example, I tried to keep the camera code very basic. Let the camera decide the white balance, shutter settings, ISO. Basically, keep settings as ‘auto’. But as seen in the photos below – auto capture really introduces some horrible flickers. And these were captured directly after each-other in the space of only a few seconds. Not good enough.


On realising that auto settings weren’t good enough, I opted to manually set image settings. But again, this introduced issues. Taking a photo with manual settings when I don’t know if it were too bright or too dark can’t be done with real accuracy. So, I spent hours and hours (and hours) testing with set shutter speeds and ISO settings from bright daylight, dusk, dawn, midnight and so on. But this was just stupid. Heavy cloud at sunset would make the sky go black when the sensor and software were expecting more light. There were too many things that could change and my approach of pre-programming exposure settings wasn’t going to work; I had to be more dynamic and review the image to analyse the brightness. But doing this in PHP – oh, dear. This was where I started to realise PHP running shell scripts was hitting a wall.
I needed to code a better camera system and I started to look into open-source libraries and it was obvious I had to make the change from PHP to Python. I’d never coded in Python, so no better way of starting than just starting.
I re-wrote all my functions and then started looking into libraries which could read images, extract image histograms, measure how much light and dark was in a shot. Basically for every picture, I check the brightness and if it’s too dark, then shoot for longer in the next time. Too bright – shoot for less time. Kinda simple, but I really had doubts the Pi Zero would manage that type of workload. But it was able to handle this with no obvious problems. I think cooler people would say “handled it like a champ”.
Armed with Python and my basic image analysis, I had no need to pre-program exposure settings depending on the time of day – thank fuck. Looking back, that was so dumb. Now it just works. Heavy cloud, unexpected brightness – whatever. It will just manage and set the right exposure for light. With this brightness monitoring, I didn’t want to change every image with tiny changes in light, so there’s a basic range where some variance is allowed. For example, if a cloud covers the sun, the image should naturally get a little darker. With that basic tolerance, it seems to work alright in standard day or night conditions. That said, I’m still not 100% happy with sunset / sunrise. And – I don’t want to talk about it, but I know I have to – color temperature / white-balance is a problem. Especially at sunrise / sunset, or when the environment is lit by unnatural light at night. Urgh, more on this in the future, but now and at the time of writing this, it’s hard-coded to be set for daylight / natural light settings. Even that was a task.
No simple color temperature settings exist with the HQ Camera Module. I’ve got to code a gain offset to work with at the sensor level where I can increase the gain of red and blue (not green). I still don’t really know what it means, but I’ve managed to get it working well-enough for now. But I want this to be better and this is a major task for me.
Post Processing
A big goal of this was to try produce great quality video. In general, time-lapse shots during bright light use ND filters during the day, and at night, you don’t want to block light – so no ND filter in low light. For those unaware, a ND filter is basically like sunglasses for your lens. It stands for Neutral Density and it blocks light and allows for longer exposures in bright conditions. The reason this is so important is based on the need for playback to look smooth. Payback where every frame is played in sequence doesn’t look great if the image has lots of hard edges that change frame-by-frame.
Frame by frame playback of fast exposures
Notice the roughness (or sharpness) of the water in each frame in the video below. It’s super messy and not very ‘calm’. This is the result of every frame playing back where there’s motion inside each image that doesn’t blend into the next image. And oh yeah, the flickering is when the camera needs to adjust the shutter time, along with horrible white balance capture. Basically, this sucks. But with software, some improvements can be made.
Blended playback
This is the same image sequence, but blended for smoother playback. Basically, we have 11,00 images. Some of which are 1/200th of a second, some are 1 seconds (and some even longer). Rather than playing back each image one-by-one as we did above, we blend images within a timeframe of (in this case) 60 seconds. This results in dramatically less images – 72 actually. Where there’s lots of light, we merge 12 or so photos into one image – it make a much softer and nicer image. And when played back in sequence, far out, it’s much faster and much smoother. Still not smooth enough in the example below, but this is a work in progress.
Blended image vs image-as-captured – two quick examples…
Here’s another example of two clips played one after the other. First is without blending, second with blending. Please excuse the colour grading – this was an older test shoot where my color settings were a little whack.
#piTimelapse progress. 1600 images played in 6 seconds. First play is using regular tools. 2nd using my blending methods, merging 10 photos into one and averaging each pixel to fake long exposures for each frame. @Raspberry_Pi #HQcamera w/ #PiZero can fake it til it makes it pic.twitter.com/htLcAaP0X4
— Steven Wright (@regularsteven) May 26, 2021
While this isn’t an invention, by any stretch, I do think this functionality I’ve integrated with photos for time-lapse is a real game-changer for higher quality playback using lower end equipment. Adobe Premiere, DaVinci Ressolve – they just don’t do this. Playback at higher frame-rates, even with their own implementation of blending, just doesn’t blend like my solution. This brings a much higher quality look to images and video in playback.
Not only, but it re-times playback to keep the speeding up of time to be consistent. For example, if bright light conditions allow for 25 or 30 photos to be taken in a minute, 10 seconds of day playback takes 10 minutes of captures. At night, each image might be 30 seconds. To get 10 seconds of at night playback, we need to shoot for almost 3 hours. Basically, with less light, playback looks absurdly fast and it’s not always what we want.
Grouping of images by a timeframe allows for consistent playback – with the added benefits of smoothing out for a more professional look and no need to change filters. Changing filters isn’t always possible possible. For example, the tide will come in and make the camera inaccessible. This blending solution gets right around that problem.
The Case
This seems like the simplest component, but for me – a software and camera guy – it’s been a little troublesome. That said, it’s nice to ‘get on the tools’ and mean it when I use the expression. Starting off, the case wasn’t really functional, just held it together for testing. It’s so cute and tiny, basically the standard Pi Zero Case with some cable ties. 🙂
Obviously, very un-weather proof.
Building a dedicated @Raspberry_Pi zero #timelapse system. Aiming to make a 48+ hour time-lapse, variable shooting exposures + hacky water resistant case. Battery lasts for days. Running some exposure / iso tests with variable light from sunrise. Quality great for $120 USD pic.twitter.com/HRX1hcpheC
— Steven Wright (@regularsteven) April 30, 2021
Given the idea was to put this device in the outdoors, I had to come up with something more robust. Looking at my case now, and the evolution is somewhat embarrassing to be honest. But at each iteration, I just made improvements.
Rough shell of my soon to be weather sealed #piTimelapse box. Will blacken it up, put a 58mm UV filter on front. Solar battery keeps it going for … many days pic.twitter.com/k6lsbbOWEe
— Steven Wright (@regularsteven) May 8, 2021
The big problem with the white case above was it caught way too much wind. And it was stupid and big. It blew around in gusts and had way too much free space on the inside. I mean, I did have plans to put the battery inside / have scope for a Pi 4B, and so on – but it was horribly big and bulky.
With the faults obvious, I gave the case some consideration and realised the Pi Zero would actually fit inside a basic plumbing tube. So – keep it simple, and make it smaller. It introduced some issues, though. By having everything crammed in a small space, it made retrieval of the MicroSD card quite hard which didn’t matter too much as I was happy to use WiFi to transfer the images. But the case was a much better design – and it allowed for simpler weather sealing. Also had the added bonus of a circular shape which closely fit a 58mm UV filter. Perfect for some better protection.
Alongside the evolution of the case, was enhanced software too. Better functionality, testing out the capture methods and refining things like ISO / Shutter Speed, and so on. So it’s nice to have made some real progress and looking forward to making this even better.
Been waking up pre-first light for testing shots. Doing sunset shots, coding on the fly to make corrections. Building a good quality 24 hour timelapse rig is quite a task. Re-worked my case to be simpler + better weather sealed. #piTimelapse pic.twitter.com/P7bFyf13yM
— Steven Wright (@regularsteven) May 11, 2021